
The air is crisp, and pumpkin spice lattes are making their grand return, which can only mean one thing—Halloween is creeping up! This year, I decided to embrace the spirit of the season and bring spooky fun right into my kitchen with these Halloween Mummy Cookies. They’re not just any cookies; these fudgy chocolate treats are a delightful project for the whole family. Quick and easy to whip up, they promise to be a crowd-pleaser at any Halloween gathering or a fun after-school activity with the kids. Imagine the joy on their faces as they pipe gooey vanilla buttercream and decorate with candy eyes! Get ready to create some joy and deliciousness—who’s excited to get baking?
Why Are Halloween Mummy Cookies a Must-Bake?
Spookily Fun: These Halloween Mummy Cookies are not only easy to make but also a delightful activity to share with your little ones!
Fudgy Goodness: The rich, fudgy texture pairs perfectly with the creamy vanilla buttercream, making them a treat both kids and adults will crave.
Creative Outlet: Let your imagination run wild with decoration—use candy eyes and colorful icing to create your own spooky designs!
Quick and Easy: With simple ingredients and straightforward steps, these cookies are ready to enchant in just a short time.
Perfect for Gatherings: Impress your friends at Halloween parties or make them a fun after-school treat! Whether you’re hosting or just enjoying with family, these cookies will surely wow everyone.
Halloween Mummy Cookies Ingredients
For the Cookie Dough
- Butter – Adds richness and moisture; margarine can be used as a substitute.
- Granulated Sugar – Sweetens the cookies while contributing to their lovely texture; coconut sugar works well for a lower glycemic option.
- Dark Brown Sugar – Imparts a deeper flavor and lasting moisture; light brown sugar can be a good alternative.
- Egg – Binds ingredients and adds structure; substitute with aquafaba for a vegan version.
- Egg Yolk – Enriches the cookies for a fudgier texture; can be omitted for a lighter bite.
- Vanilla Extract – Enhances flavor beautifully; use pure vanilla for the best results.
- All-Purpose Flour – Provides the essential structure; a gluten-free flour blend can be used to meet dietary needs.
- Cocoa Powder – Gives that rich chocolate flavor; Dutch-processed cocoa can enhance the depth of flavor.
- Baking Powder & Baking Soda – Essential leavening agents for achieving that perfect fluffy texture; don’t substitute as they serve unique purposes.
- Salt – Balances sweetness and boosts the overall flavor of the cookies.
For the Buttercream Frosting
- Powdered Sugar – Sweetens the buttercream; blend granulated sugar to create your own if preferred.
- Milk – Adds moisture to the frosting; any plant milk can be used for a dairy-free version.
With these ingredients in hand, you’re well on your way to creating those irresistible Halloween Mummy Cookies that both kids and adults will love!
Step‑by‑Step Instructions for Halloween Mummy Cookies
Step 1: Prepare Butter
Begin by melting the butter in a saucepan over low heat until just liquefied. Remove it from the heat and allow the butter to cool to room temperature, ensuring it doesn’t cook the eggs later. This rich ingredient is key to achieving that fudgy texture in your Halloween Mummy Cookies.
Step 2: Mix Sugars
In a mixing bowl, combine the cooled butter with granulated sugar and dark brown sugar. Using an electric mixer, beat on medium speed for about 2-3 minutes until the mixture is light and fluffy, creating a delightful base for your fudgy cookies. The sugar should be fully incorporated and look slightly creamy.
Step 3: Add Wet Ingredients
Add in the egg, egg yolk, and vanilla extract to the sugar mixture, continuing to mix until well-blended and smooth. This step enriches the dough, contributing to the tender texture of your Halloween Mummy Cookies. Ensure there are no visible streaks of egg, allowing the mixture to blend seamlessly.
Step 4: Combine Dry Ingredients
In a separate bowl, whisk together the all-purpose flour, cocoa powder, baking powder, baking soda, and salt. Gradually add this dry mixture to the wet ingredients, stirring gently until just combined. Be careful not to overmix, as this could affect the fudgy nature of your cookies, which you want to be soft and chewy!
Step 5: Chill Dough
Cover the cookie dough with plastic wrap and chill it in the refrigerator for 30 minutes. This step is crucial for maintaining the shape of your cookies while baking, ensuring they won’t spread too much and retain their delightful, fudgy texture.
Step 6: Preheat Oven
While your dough chills, preheat the oven to 350°F (175°C). Prepare baking trays by lining them with parchment paper, which will prevent your Halloween Mummy Cookies from sticking and allow for easy cleanup once they’re baked to perfection.
Step 7: Scoop Cookies
Using a cookie scoop, form balls of dough and place them on the prepared baking tray, spacing them about 2 inches apart. Gently flatten each ball slightly with your hand—this will help them spread evenly while baking, ensuring perfect fudgy cookies.
Step 8: Bake
Slide the baking trays into the preheated oven and bake your cookies for approximately 9-10 minutes. The edges should look set while the centers remain slightly soft—that’s the secret to those fudgy centers in your Halloween Mummy Cookies!
Step 9: Cool Cookies
After baking, allow the cookies to cool on the trays for about 3 minutes. This resting time helps them firm up a bit before transferring to a wire cooling rack. Gently move them onto the rack and let them cool completely to prepare for the delicious frosting.
Step 10: Make Buttercream
In a mixing bowl, beat together the powdered sugar, room temperature butter, vanilla extract, and milk until the mixture is light, creamy, and spreadable. This fluffy buttercream will be the perfect topping for your spooky Halloween Mummy Cookies, creating that delectable contrast with the rich chocolate flavor.
Step 11: Decorate
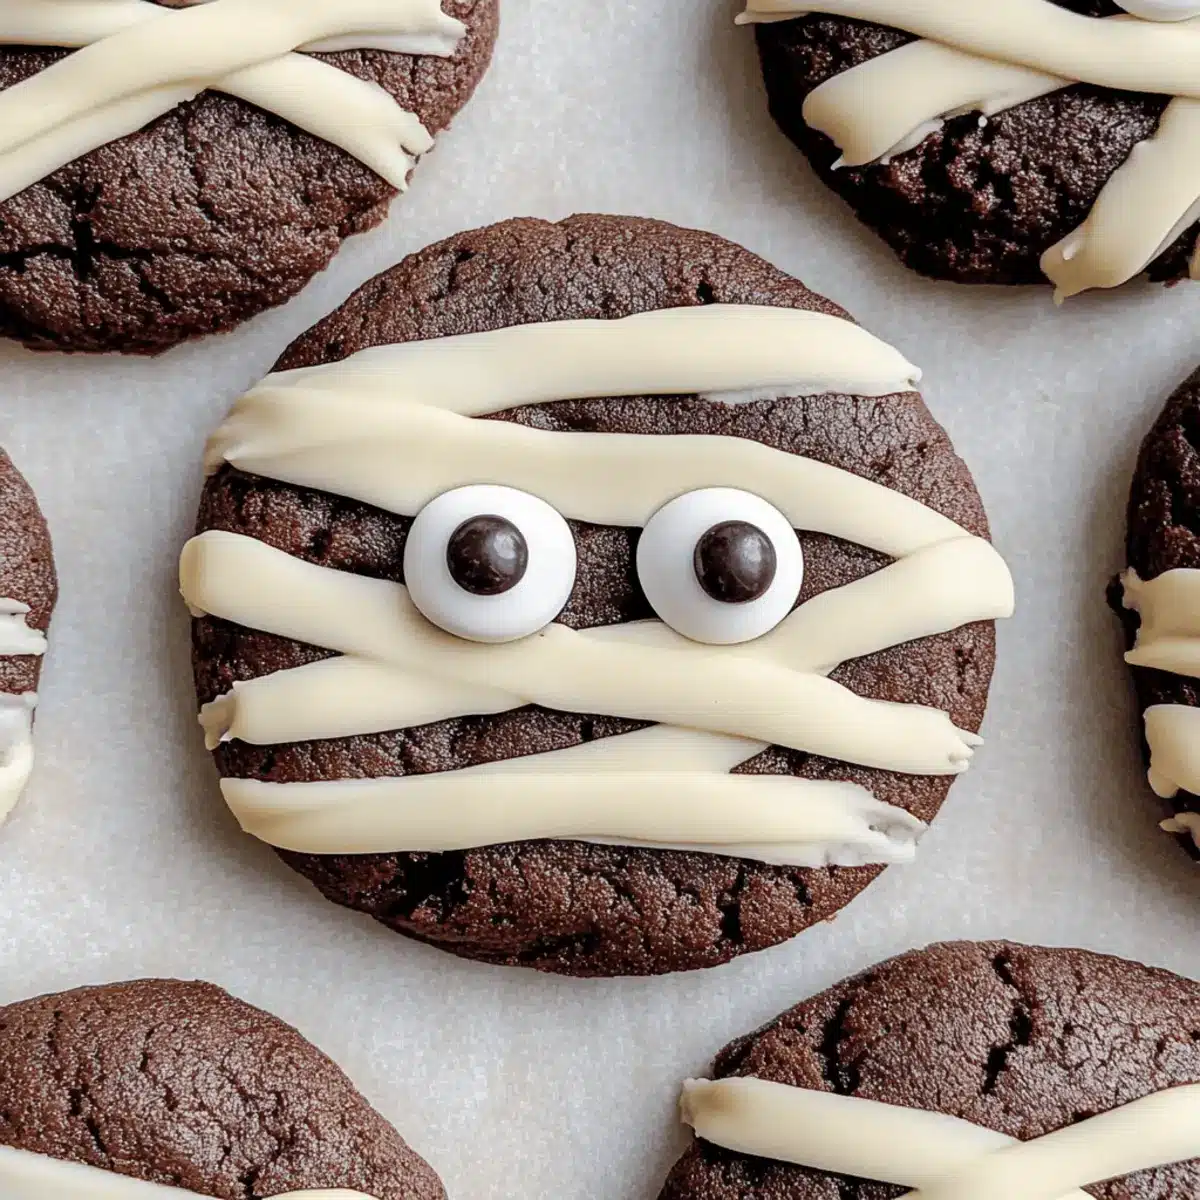
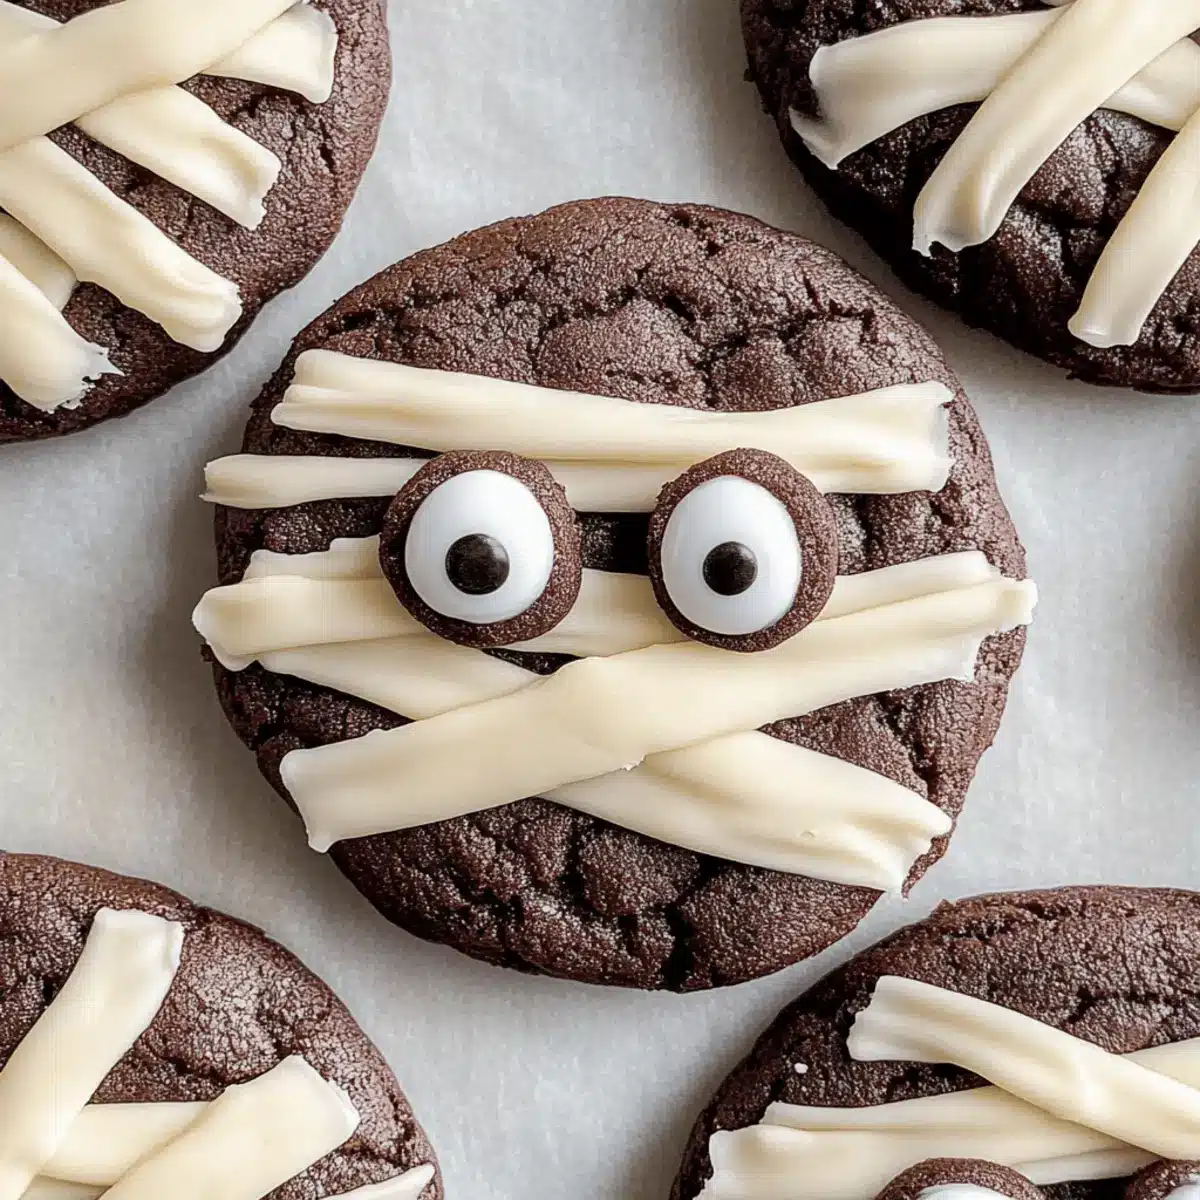
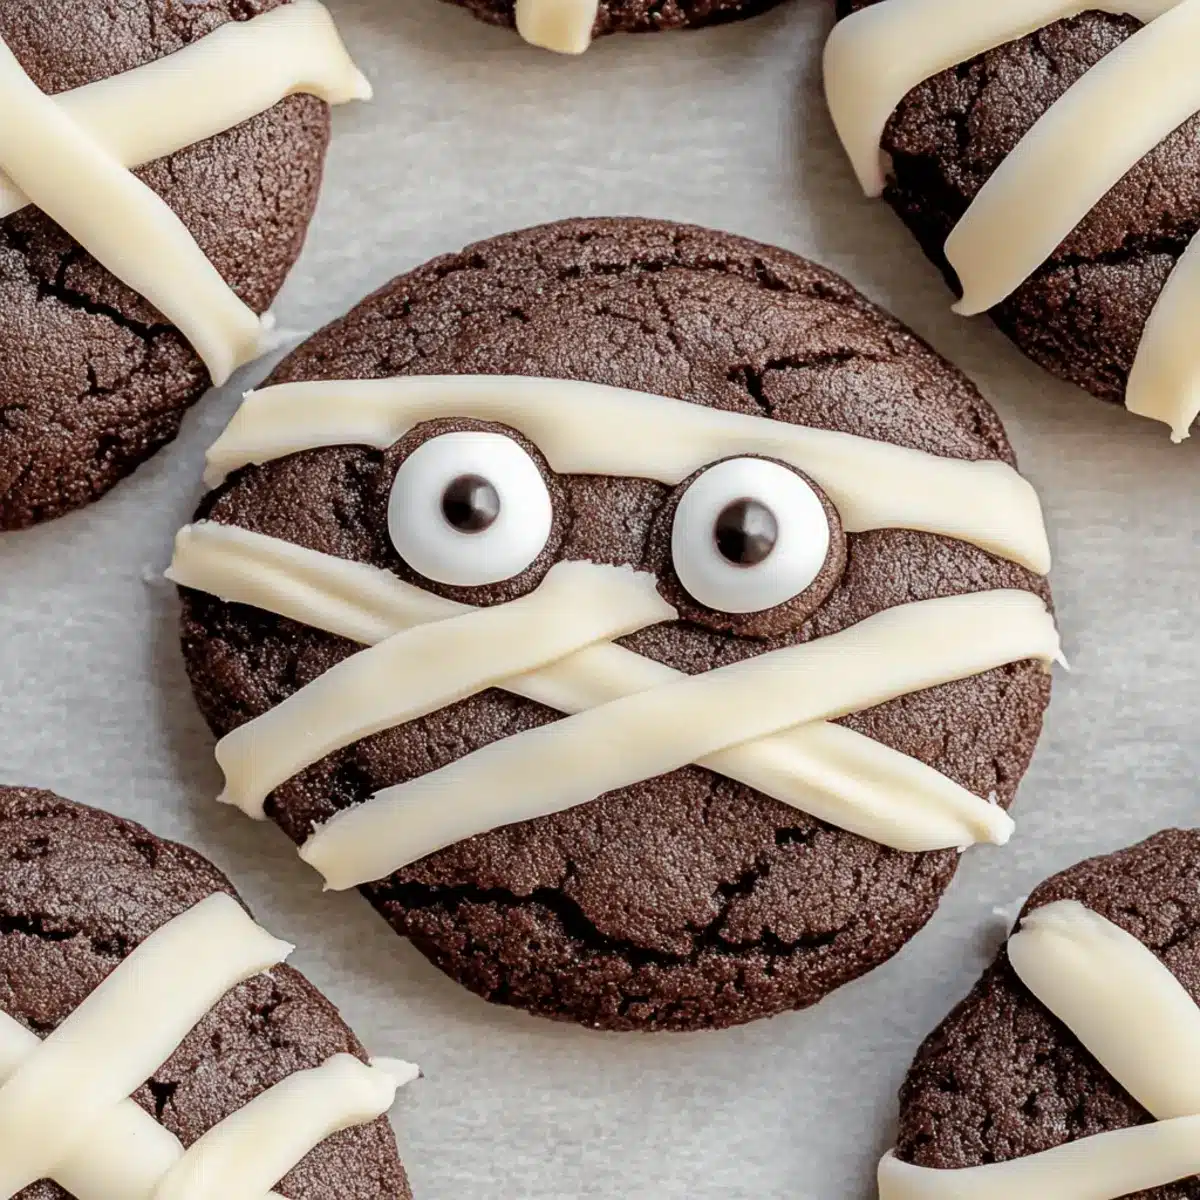
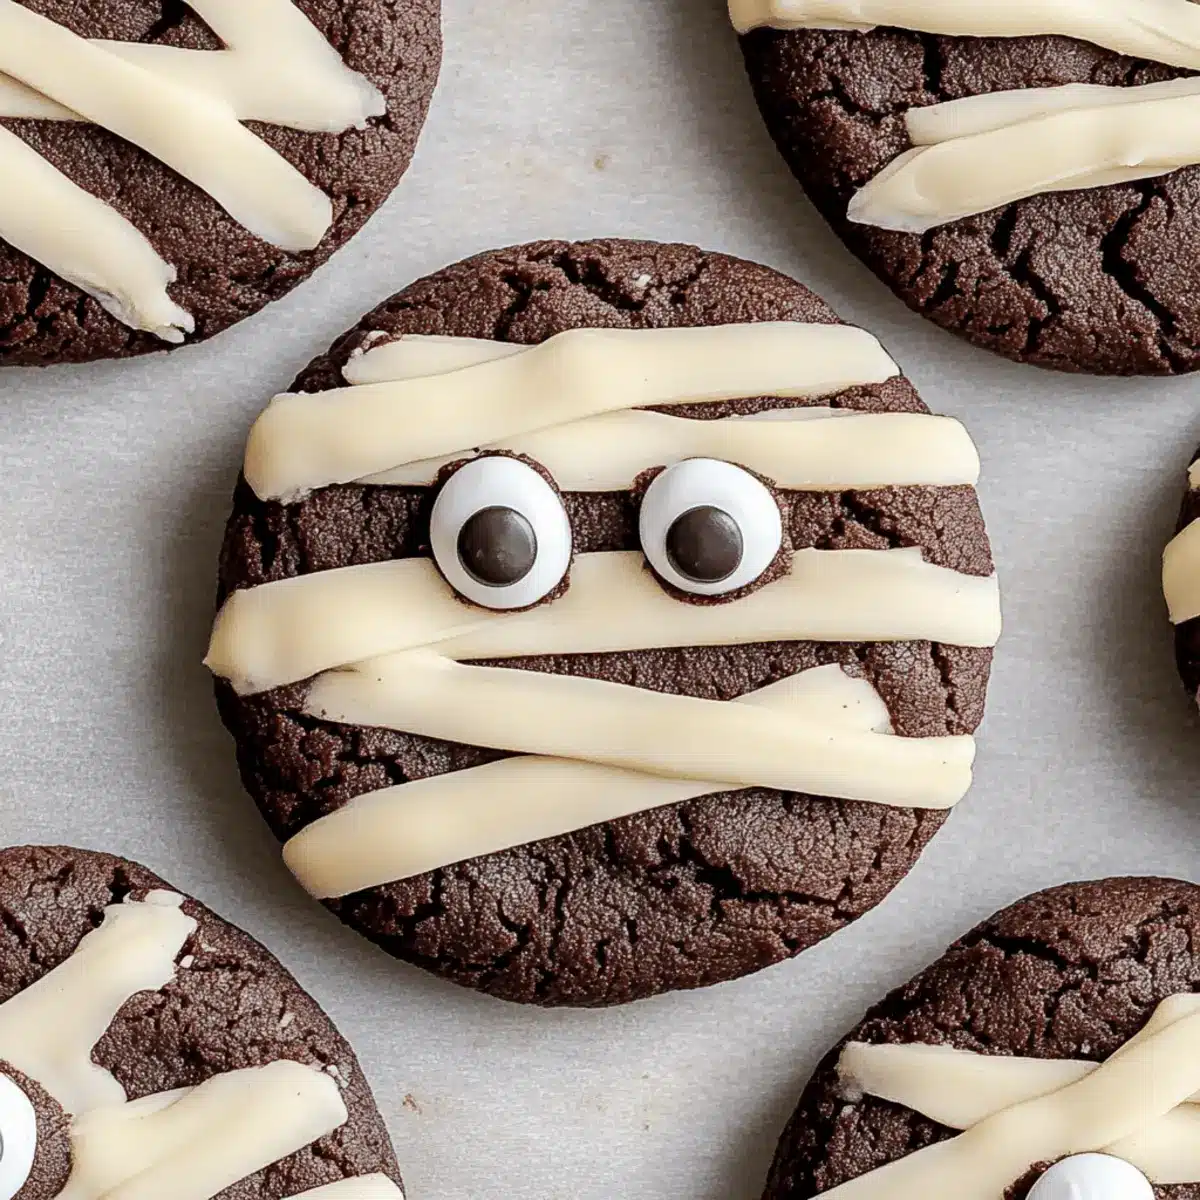
Using a piping bag or a ziplock bag with the corner snipped off, pipe the vanilla buttercream onto the cooled cookies in zigzag patterns to resemble mummy wrappings. Finish with placing candy eyes on top while the frosting is still soft, giving each cookie a spooky face sure to delight kids and adults alike!
Storage Tips for Halloween Mummy Cookies
Room Temperature: Keep cookies in an airtight container at room temperature for up to 3 days to maintain their soft and fudgy texture.
Fridge: If you prefer longer freshness, store them in the fridge for up to a week. Just be aware that they may become slightly firmer.
Freezer: For longer storage, freeze the Halloween Mummy Cookies in a single layer on a baking sheet, then transfer to an airtight container or freezer bag for up to 30 days.
Reheating: To enjoy them warm, simply thaw in the refrigerator overnight and then reheat in the microwave for a few seconds until just warmed through.
Halloween Mummy Cookies Variations & Substitutions
Feel free to let your creativity shine by customizing your Halloween Mummy Cookies with these delightful variations!
-
Nutty Addition: Add chopped walnuts or almonds to the dough for a satisfying crunch and a boost of flavor that perfectly complements the chocolate.
-
Chocolatey Twist: Swap out the vanilla buttercream for rich chocolate frosting to amp up the chocolate goodness. Your cookies will resemble mini chocolate cakes—irresistible!
-
Spooky Color: Use colored icing or edible glitter to add that festive touch. Play with Halloween colors like orange, black, or purple for fun decorative flair!
-
Crunchy Texture: Mix in some crushed pretzels or toffee bits for an unexpected crunch that will add a fun twist to each bite!
-
Dairy-Free Delight: Substitute regular butter and milk with plant-based alternatives, maintaining the delicious texture and flavor while accommodating vegan guests.
-
Boozy Boost: Add a splash of vanilla or almond extract to the frosting for an added layer of flavor. This slight touch elevates the sweetness and makes for a memorable experience.
-
Heating Things Up: Incorporate a pinch of cinnamon or a hint of cayenne pepper to the batter for a subtle spicy kick. It’s a fun surprise amidst the sweet chocolate!
-
Festive Filling: Consider adding a filling of pumpkin puree in the center before baking; then, top it with the buttercream. This twist adds moistness and a delightful seasonal flavor to your cookies.
These variations can turn your Halloween Mummy Cookies into an even more diverse treat. Don’t forget to pair these spooky delights with a cozy glass of hot cocoa during those chilly Halloween nights!
Make Ahead Options
These Halloween Mummy Cookies are perfect for busy home cooks looking to save time during the spooky season! You can prepare the cookie dough up to 24 hours in advance—just cover it tightly with plastic wrap and refrigerate. When you’re ready to bake, simply scoop and shape the dough, and bake according to the instructions. The buttercream frosting can also be made a day ahead; store it in an airtight container in the fridge to maintain its creamy texture. For the best results, frost the cookies shortly before serving to keep them just as delicious, while ensuring the candy eyes stay vibrant and fun!
What to Serve with Halloween Mummy Cookies
Delight in the magic of the season with these festive treats perfectly paired to enhance your Halloween festivities.
-
Creamy Hot Cocoa: The rich chocolate flavor of hot cocoa is a match made in heaven with your fudgy cookies, warming you up on chilly evenings.
-
Pumpkin Spice Latte: Embrace the flavors of fall with this cozy beverage, adding a spicy twist that complements the sweetness of the cookies.
-
Vanilla Ice Cream: A scoop of creamy vanilla ice cream adds a delightful contrast to the soft, chewy cookies, bringing harmony to every bite.
-
Chocolate Dipped Pretzels: The salty crunch of pretzels dipped in chocolate offers a fun texture contrast that’ll satisfy any sweet-and-salty cravings at your Halloween party.
-
Spooky Fruit Skewers: Add a vibrant and fresh touch with fruit skewers shaped like ghosts or pumpkins; they’ll bring brightness and a healthy balance to your dessert table.
-
Halloween Punch: Create a vibrant punch with fruit juices and a splash of ginger ale; it’s a festive drink that kids will love, perfect for washing down those delicious cookies.
-
Ghostly Cupcakes: Frosted with ghoulish decorations, these cupcakes will complement the theme and bring more joy to your Halloween dessert spread.
-
Candied Apples: The caramel sweetness of candied apples makes an old-fashioned treat that pairs wonderfully with the chocolate flavors of your cookies.
-
Caramel Sauce for Dipping: Serve your cookies with a side of rich caramel sauce for dipping, enhancing their fudgy goodness with an indulgent twist.
Expert Tips for Halloween Mummy Cookies
-
Cool Butter First: Ensure the melted butter cools to room temperature before mixing. This prevents cooking the eggs and keeps your cookies fudgy.
-
Chill the Dough: Don’t skip the chilling step! Refrigerating the dough for 30 minutes helps maintain shape and creates that perfect fudgy texture for your Halloween Mummy Cookies.
-
Space It Out: Leave enough space between cookie dough balls on the baking tray. This allows them to spread without merging into each other while baking.
-
Pipe with Precision: Use a piping bag for crafting the buttercream decoration. It offers better control and allows for artistic mummy wrappings that kids will love!
-
Watch Your Bake Time: Keep an eye on the baking time. Removing the cookies when slightly soft in the center ensures a delicious, gooey, fudgy finish.
Halloween Mummy Cookies Recipe FAQs
How do I select the best ingredients for my Halloween Mummy Cookies?
Absolutely! For the butter, choose unsalted for better control over the sweetness, and look for fresh eggs which should have a clean shell without any cracks. For sugar, selecting organic options can enhance the flavor. Use high-quality cocoa powder for rich chocolate flavor—Dutch-processed cocoa provides a deeper taste, making your cookies truly decadent.
What’s the best way to store Halloween Mummy Cookies?
To maintain their soft and fudgy texture, store your Halloween Mummy Cookies in an airtight container at room temperature for up to 3 days. If you’re keeping them longer, the fridge can extend freshness for up to a week, but they might firm up a bit. Ensure to wrap any extra cookies in plastic wrap if you’re refrigerating them!
Can I freeze the cookie dough for later use?
Yes, you can easily freeze the cookie dough! After mixing, scoop the dough into balls and place them on a baking sheet lined with parchment paper. Freeze until solid, then transfer to an airtight container or freezer bag. They can be stored for up to 30 days. When you’re ready to bake, simply thaw them in the fridge overnight before baking at 350°F (175°C) without needing to adjust the baking time!
What if my cookie dough is too dry or crumbly?
Don’t worry! If your dough seems too dry, try kneading it gently with your hands or adding a splash of milk a teaspoon at a time until it holds together. This often happens if there’s too much flour or not enough moisture. Also, make sure you’re measuring flour correctly—spoon it into the cup without packing it down for the right consistency!
Are there any dietary considerations I should be aware of with these cookies?
If you’re baking for others, it’s important to consider allergies. Since this recipe includes egg and dairy, those with allergies can substitute the egg with aquafaba (3 tablespoons per egg) and use dairy-free butter and plant-based milk in the buttercream. For gluten sensitivities, a gluten-free flour blend works perfectly in place of all-purpose flour. Always check labels, especially for chocolate, to ensure they are allergy-friendly.
Fudgy Halloween Mummy Cookies to Wow Your Little Ghouls
Ingredients
Equipment
Method
- Prepare Butter: Melt the butter in a saucepan over low heat until liquefied. Allow to cool to room temperature.
- Mix Sugars: Combine cooled butter with granulated and dark brown sugars. Beat on medium speed until light and fluffy, about 2-3 minutes.
- Add Wet Ingredients: Mix in the egg, egg yolk, and vanilla extract until smooth and well-blended.
- Combine Dry Ingredients: Whisk together flour, cocoa powder, baking powder, baking soda, and salt. Gradually add to wet ingredients, stirring until just combined.
- Chill Dough: Cover dough with plastic wrap and chill in the refrigerator for 30 minutes.
- Preheat Oven: Preheat the oven to 350°F (175°C) and line baking trays with parchment paper.
- Scoop Cookies: Form balls of dough and place them on the baking tray, spaced about 2 inches apart. Flatten slightly.
- Bake: Bake for approximately 9-10 minutes until edges are set and centers are slightly soft.
- Cool Cookies: Allow to cool on trays for 3 minutes, then transfer to a wire rack to cool completely.
- Make Buttercream: Beat together powdered sugar, room temperature butter, vanilla extract, and milk until creamy and spreadable.
- Decorate: Pipe buttercream onto cooled cookies in zigzag patterns and add candy eyes.
Leave a Reply