
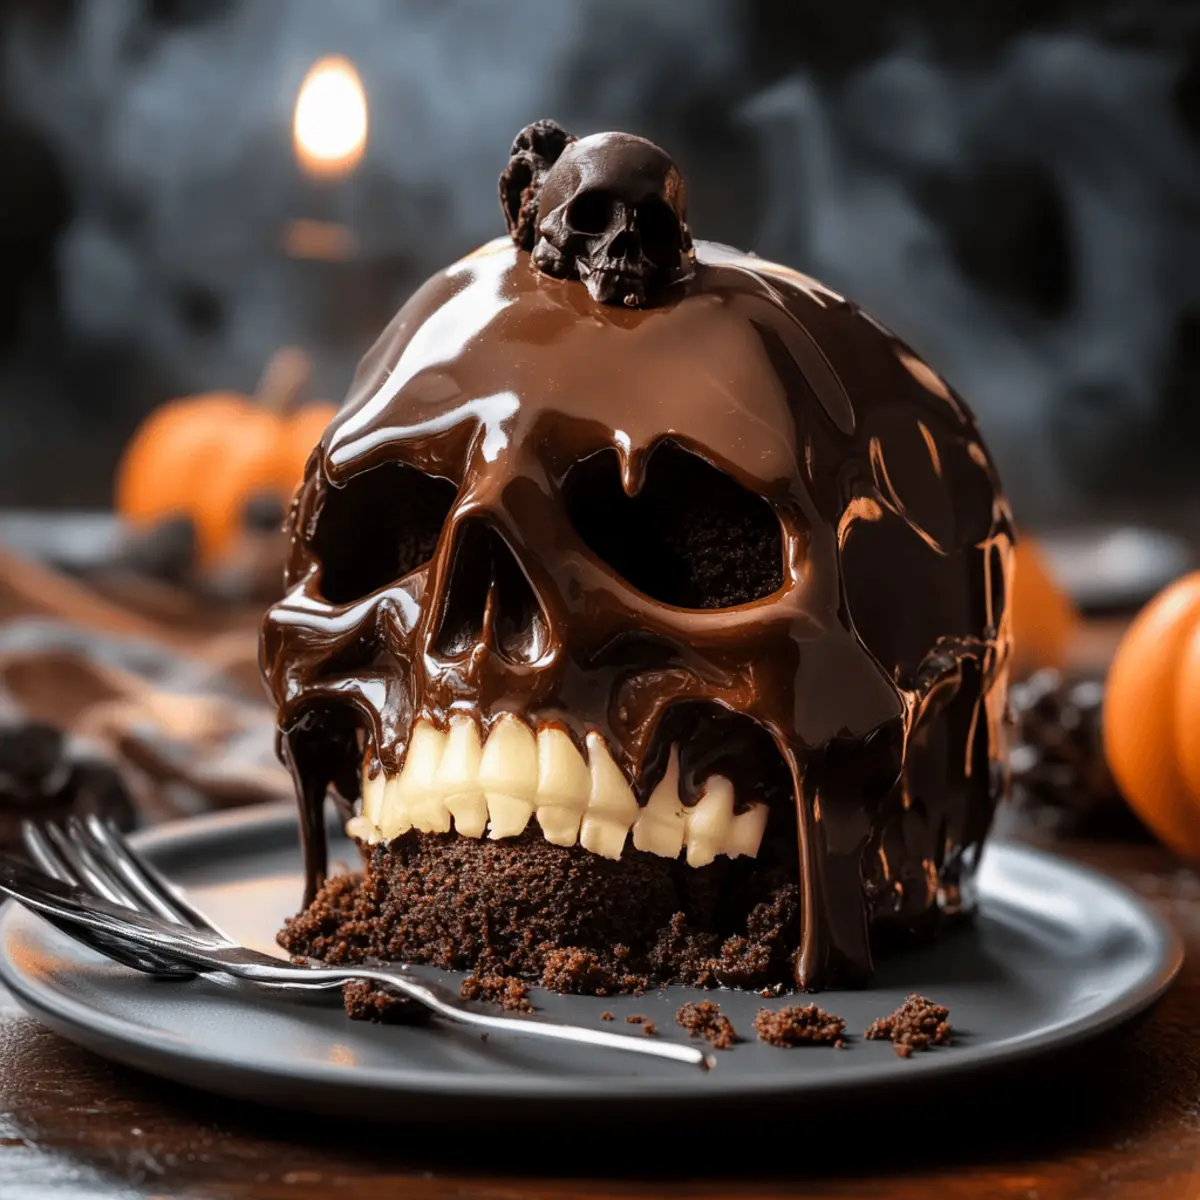
As the autumn air turns crisp and leaves begin to fall, the excitement for Halloween creeps in like a deliciously spooky specter. This year, why not take your festive gathering to a new level with the Halloween Chocolate Skull Cake Recipe? This captivating confection combines rich, dark chocolate with an eye-catching skull design, making it not just a dessert but the centerpiece of your celebration. The best part? It’s surprisingly approachable, perfect for bakers of all skill levels, and offers options for vegan adaptations too! With its glossy shell and moist cake filling, this eerie treat promises impressive indulgence while being a real showstopper at any Halloween party. Ready to impress your friends and family? Let’s dive into creating this edible masterpiece!
Why make a Halloween Chocolate Skull Cake?
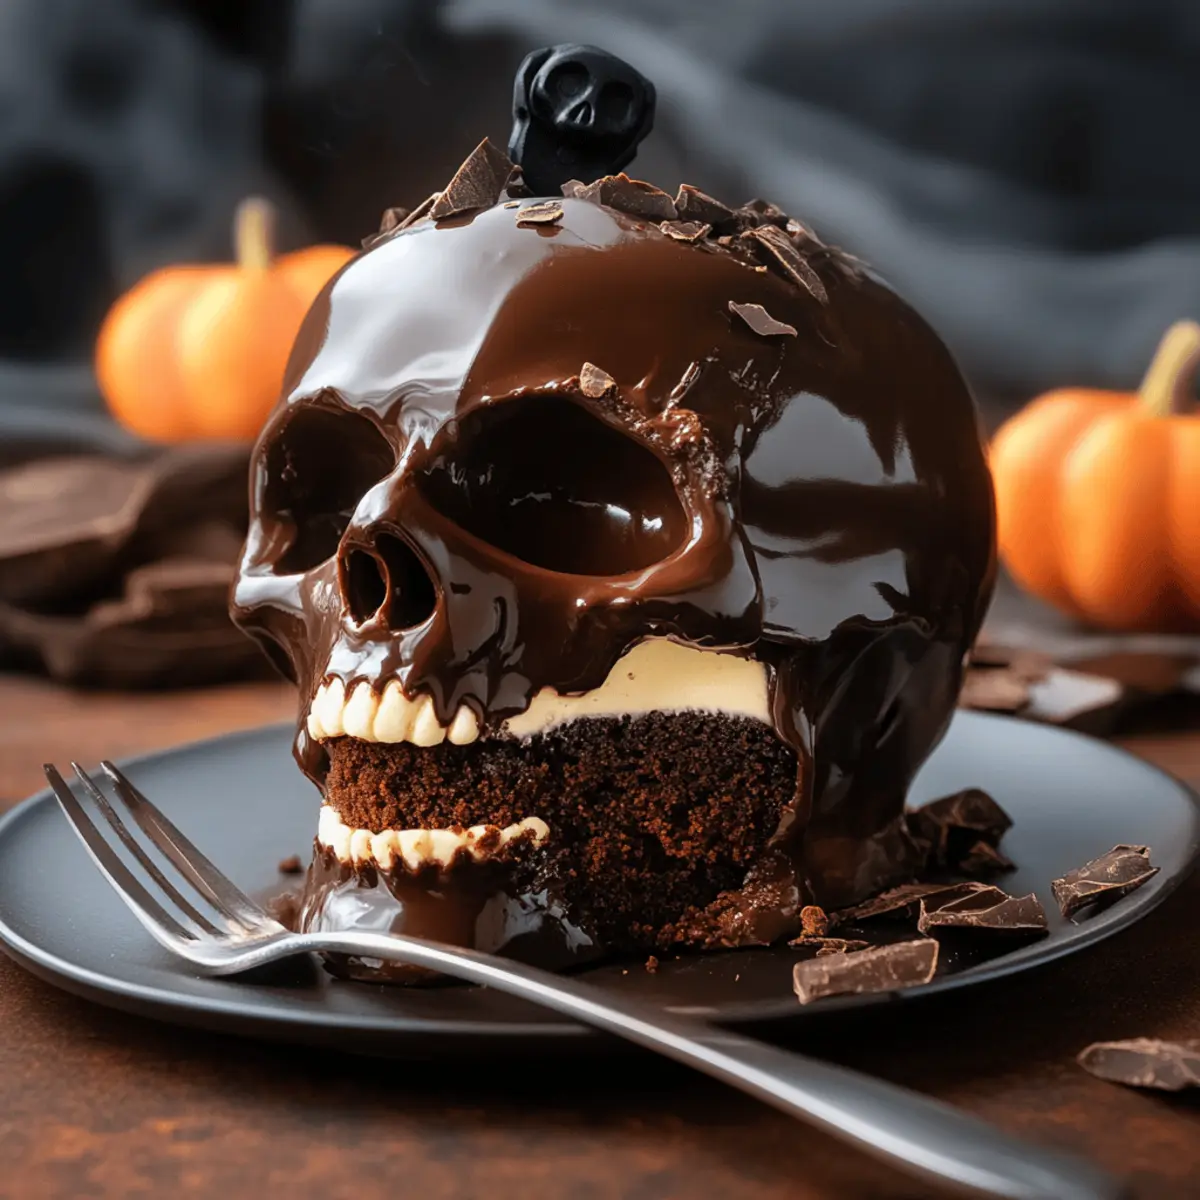
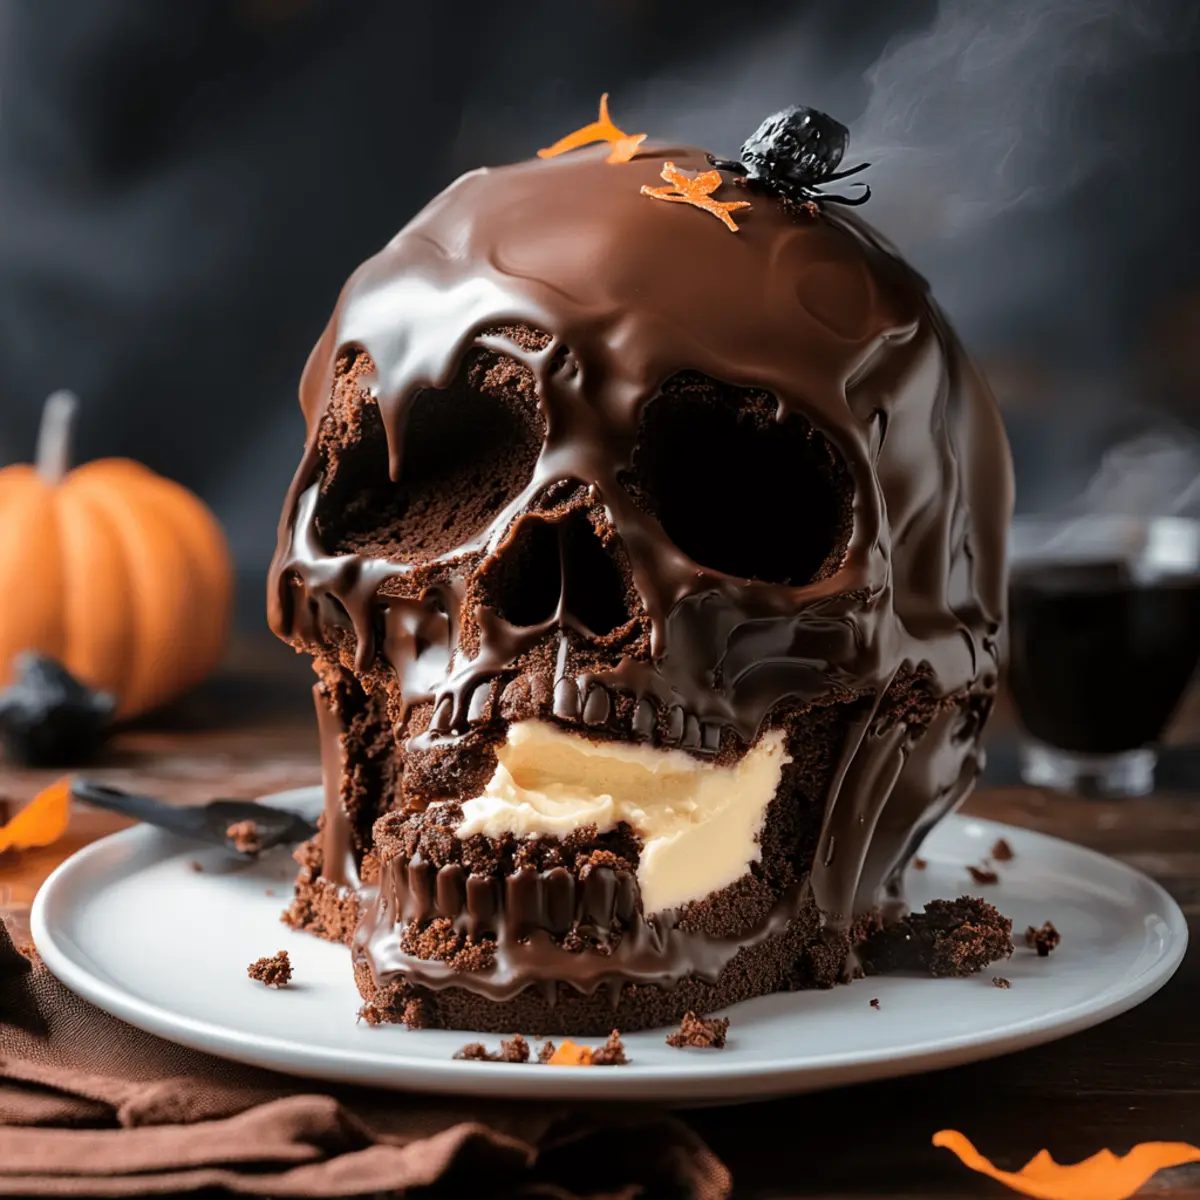
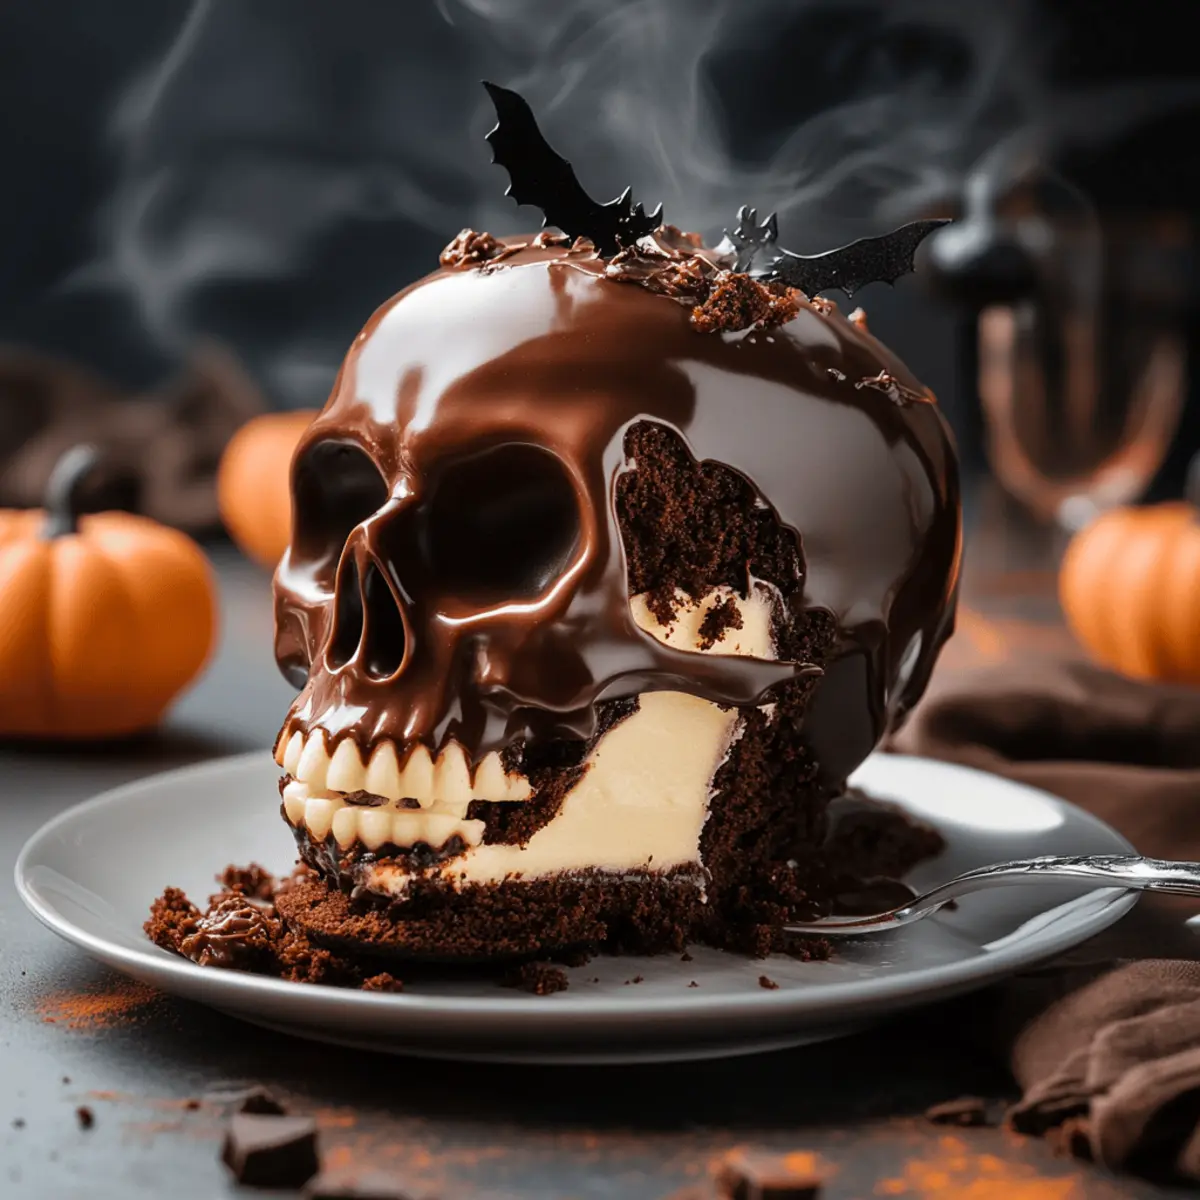
Visual Appeal: This cake is not just delicious; its spooky skull design will thrill your guests and elevate your Halloween ambiance.
Rich Flavor: Deep, dark chocolate combined with ganache or fruit compote filling brings a burst of gourmet taste that will leave everyone wanting more.
Easy to Customize: You can switch up fillings and decorations to suit your style, whether you prefer a classic chocolate ganache or a vibrant fruit layer. Make it personal!
Perfect for Any Baker: This recipe is designed for everyone! From novice to expert, you’ll find the process straightforward and enjoyable.
Baker’s Delight: Why stop at just one when you can pair it with other festive treats? Serve this skully beauty alongside a delightful Pastel Halloween Donuts or a Chocolate Tuxedo Cake for an impressive dessert table!
Memorable Centerpiece: Your Halloween gathering will be unforgettable with this show-stopping cake as the centerpiece. Get ready for the compliments!
Halloween Chocolate Skull Cake Ingredients
• For a spooktacular treat, here are the essential components for your Halloween Chocolate Skull Cake Recipe!
For the Chocolate Shell
- Couverture Dark Chocolate – This high-quality chocolate creates a gorgeous, glossy exterior; aim for a cocoa butter content of 31–38% for best results.
- Eggs – Essential for structure and moisture; using room temperature eggs ensures they mix well into the batter.
For the Cake Batter
- All-Purpose Flour – Provides the necessary structure; feel free to swap it with gluten-free flour for those dietary needs.
- Granulated Sugar – Sweetens your cake; consider substituting with brown sugar for added depth in flavor.
- Buttermilk – Offers moisture and a slight tang; can be replaced with Greek yogurt or a non-dairy option for a vegan twist.
- Baking Soda & Baking Powder – Ensure your baked goods rise properly; make sure they’re fresh for optimal results.
- Hot Brewed Coffee – Intensifies the chocolate flavor and depth; you can skip this if a classic chocolate taste is preferred.
For the Filling Options
- Ganache – Simply mix equal parts chocolate and cream for a classic, silky filling.
- Fruit Compote (e.g., raspberry or cherry) – Adds a deliciously tangy contrast that your guests will adore; great for dramatic presentation.
- Cream Cheese Frosting – A rich and tangy option; it can easily be turned into a vegan treat with the right substitutions.
This delightful mix of ingredients sets you on the right path to creating your standout Halloween Chocolate Skull Cake Recipe. Happy baking!
Step‑by‑Step Instructions for Halloween Chocolate Skull Cake Recipe
Step 1: Prepare the Mold
Start by chilling your silicone skull mold in the refrigerator for at least 30 minutes. This step is crucial as it helps achieve defined edges for your cake. Ensure the mold is clean and dry before use, preventing any unwanted residue from sticking to the chocolate shell later on.
Step 2: Make Chocolate Shell
Temper 200g of couverture dark chocolate until it reaches 45°C (113°F), then cool it back down to 28°C (82°F). Use a pastry brush to carefully coat the chilled mold with a layer of chocolate, ensuring even coverage. Repeat this process two to three more times, allowing each layer to set slightly in the refrigerator until firm, yet shiny.
Step 3: Bake the Cake
Preheat your oven to 350°F (175°C). In a mixing bowl, whisk together the flour, sugar, baking soda, baking powder, and cocoa powder until well combined. Gradually add eggs, buttermilk, and hot brewed coffee, mixing until the batter is smooth. Pour the mixture into a greased 9-inch round cake pan and bake for 30-35 minutes, or until a toothpick inserted into the center comes out clean. Allow the cake to cool completely.
Step 4: Fill the Skull
Once the cake has cooled, carefully trim it to fit snugly within the skull mold. Gently carve out a cavity in the cake, ensuring it is slightly smaller than the mold. Choose your filling, such as a rich chocolate ganache or a tangy fruit compote, and spoon it into the carved cavity, packing it in gently.
Step 5: Seal the Skull
Now it’s time to combine the halves of your skull. Melt any remaining tempered chocolate or ganache, and carefully spread a thin layer over the edges of the filled cake. Align the two halves of the mold and press them together gently. Allow the chocolate to set fully at room temperature, typically for about 30 minutes, creating a secure seal.
Step 6: Decorate
Remove the chilled cake from the mold and set it on a wire rack. Unleash your creativity by decorating the skull with edible paints, airbrushing techniques, or even adding isomalt flames for a dramatic flair. Let your artistic side shine to make your Halloween chocolate skull cake truly enchanting for this spooky season!
Halloween Chocolate Skull Cake Variations
Feel free to make this delightful recipe your own with these tempting twists and substitutions!
-
Vegan Friendly: Substitute eggs with aquafaba (chickpea water) and use plant-based chocolate for a scrumptious vegan option. This twist doesn’t compromise on deliciousness!
-
Seasonal Flavors: Incorporate pumpkin spice into your cake batter for a cozy autumn taste. The warm spices will enhance the festive feel!
-
Gluten-Free Adaptation: Replace all-purpose flour with a gluten-free blend. This makes it perfect for those avoiding gluten without sacrificing the cake’s rich texture.
-
Sweet and Salty: Add a sprinkle of sea salt to your chocolate ganache filling. This combination of sweet and savory elevates your cake and excites the palate.
-
Unique Filling: Swap the traditional ganache for a tangy citrus curd, like lemon or orange, for a refreshing twist. The bright filling contrasts beautifully with chocolate.
-
Chocolate Trio: Experiment with combining milk, dark, and white chocolate layers in your shell for a stunning visual effect. You’ll have a delightful three-color reveal!
-
Texture Twist: Incorporate crushed cookies or nuts into your filling for extra crunch. It adds delightful texture and flavor complexity.
-
Heat it Up: Mix in a dash of cayenne or chili powder into your chocolate batter for a subtle kick. This surprising warmth complements the sweet chocolate beautifully.
For an incredible dessert spread, consider serving this creepy cake alongside a rich Chocolate Raspberry Cheesecake or a cozy slice of Ultimate Pumpkin Cake that will keep your celebration deliciously festive!
How to Store and Freeze Halloween Chocolate Skull Cake
Fridge: Store your Halloween Chocolate Skull Cake in a cool, dry place for up to 3 days. Keep it in an airtight container to maintain its moisture and prevent it from absorbing other odors.
Freezer: If you need to store the cake longer, wrap it tightly in plastic wrap and then in aluminum foil before freezing. It can be kept for up to 2 months. Thaw in the fridge overnight before serving.
Reheating: To bring back its original texture, gently warm individual cake slices in the microwave for about 10-15 seconds. This adds a fresh, moist feel to the cake.
Decorating Tip: If you’ve used intricate decorations, it’s best to store them separately to maintain their design until you’re ready to serve your Halloween Chocolate Skull Cake.
What to Serve with Halloween Chocolate Skull Cake?
Pair your spooky centerpiece with these delightful accompaniments to make your Halloween gathering unforgettable.
-
Creamy Vanilla Ice Cream:
A scoop of vanilla ice cream adds a delightful contrast to the rich chocolate flavors, creating a delightful taste experience that will melt in your mouth. -
Pumpkin Spice Latte:
Warm and cozy, this seasonal coffee drink echoes the autumn theme while balancing the cake’s sweetness. Perfect for sipping alongside. -
Spiced Apple Cider:
This warm, fragrant drink ties in the flavors of fall. The comforting spices enhance the cake, creating a cozy atmosphere. -
Caramel Sauce Drizzle:
A touch of salted caramel brings a luscious sweetness that beautifully complements the dark chocolate, enhancing each bite. -
Cranberry-Lime Mocktail:
Refreshing and tangy, this vibrant drink cuts through the richness of the cake, offering a bright contrast that’s refreshing and festive. -
Chocolate Dipped Strawberries:
Add a touch of elegance! These berries bring a fruity freshness paired with extra chocolate indulgence that will delight your guests. -
Frosted Sugar Cookies:
Serve these whimsical treats decorated for Halloween; they add a playful touch to your dessert spread, perfect for mixing flavors and textures. -
Pecan Pie Bars:
Rich and nutty, these bars offer a wonderful crunch that balances the cake’s smooth texture. Their slight sweetness makes them a fantastic pairing. -
Dark Chocolate Espresso:
For the adults, a rich espresso served alongside the cake deepens the chocolate flavor and adds a touch of caffeine to keep the party alive!
Make Ahead Options
These Halloween Chocolate Skull Cakes are perfect for busy home cooks looking to save time during Halloween festivities! You can prepare the chocolate shell up to 24 hours in advance, storing it at room temperature in a cool, dry place to prevent condensation. Additionally, the cake batter can be made up to 3 days ahead; simply refrigerate it in an airtight container, and remember to bring it to room temperature before baking. When you’re ready to fill and assemble the cake, carve out a small cavity in the cooled cake, fill with your desired ganache or fruit compote, then seal it by pressing the chocolate halves together. Your cake will be just as delicious and ready to dazzle your guests with minimal last-minute effort!
Expert Tips for Halloween Chocolate Skull Cake
-
Chill for Clarity: Always chill your mold before pouring chocolate; this ensures sharp, defined edges that enhance your Halloween Chocolate Skull Cake’s spooky aesthetic.
-
Quality Matters: Use high-quality couverture dark chocolate instead of compound chocolate. It will hold its shape better and create a more appealing finish.
-
Layer Wisely: When adding your filling, cushion with a layer of buttercream or ganache to prevent cracks in the skull. This will keep your cake looking perfect.
-
Check Freshness: Ensure your baking powder and baking soda are fresh for the best rise in your cake. Stale leavening agents can lead to disappointing flatness.
-
Store Smart: Keep your finished Halloween Chocolate Skull Cake in a cool, dry environment to prevent sweating or cracks when it warms up to room temperature.
Halloween Chocolate Skull Cake Recipe FAQs
What type of chocolate is best for the chocolate shell?
For the chocolate shell, I recommend using couverture dark chocolate with a cocoa butter content of 31–38%. This type helps achieve a strong and glossy exterior that holds its shape beautifully. Avoid compound chocolate, as it often lacks the necessary qualities for a stunning finish.
How should I store the finished Halloween Chocolate Skull Cake?
Store your Halloween Chocolate Skull Cake in a cool, dry place for up to 3 days. It’s best to keep it in an airtight container to help maintain moisture and prevent it from absorbing other odors. This ensures it stays fresh for your spooky festivities!
Can I freeze the Halloween Chocolate Skull Cake?
Absolutely! If you want to keep the cake longer, you can wrap it tightly in plastic wrap and then in aluminum foil to prevent freezer burn. It will stay fresh for up to 2 months in the freezer. Just thaw it in the fridge overnight before serving, and it’ll taste as delightful as when it was first made!
What if my cake sinks in the middle after baking?
If your cake sinks in the middle, it may be due to underbaking or using stale ingredients like baking powder or baking soda. Always check freshness before starting your recipe, and make sure to follow baking times closely. If it does happen, you can always serve the flattened cake as a trifle, layering it with filling and cream—deliciously creative!
Are there any dietary considerations for this recipe?
Yes! If you need to make this cake vegan, you can substitute the eggs with aquafaba (3 tablespoons for each egg) and use plant-based chocolate and non-dairy buttermilk, like almond milk with a splash of vinegar. Additionally, check for allergies when selecting your fillings, as options like cream cheese frosting can be modified to cater to dietary needs.
How can I ensure the chocolate shell is perfectly tempered?
To temper chocolate correctly, heat it to 45°C (113°F), then cool it to 28°C (82°F), and reheat slightly to around 31°C (88°F) before use. Use a thermometer for precise measurements, as this process helps avoid fat bloom, ensuring your chocolate shell looks glossy and appealing when finished.
Spooky Halloween Chocolate Skull Cake Recipe for Fun Festivities
Ingredients
Equipment
Method
- Chill the silicone skull mold in the refrigerator for at least 30 minutes.
- Temper 200g of couverture dark chocolate until it reaches 45°C (113°F), then cool to 28°C (82°F). Coat the mold with chocolate, repeating two to three times.
- Preheat oven to 350°F (175°C). Mix flour, sugar, baking soda, baking powder, and cocoa powder. Add eggs, buttermilk, and coffee, then pour into greased cake pan and bake for 30-35 minutes.
- Trim the cooled cake to fit in the skull mold, carve out a cavity for the filling, and fill with ganache or fruit compote.
- Melt remaining tempered chocolate, spread over the edges of the filled cake, seal the halves together, and let set at room temperature for 30 minutes.
- Remove from the mold and decorate with edible paints or airbrush techniques.
Leave a Reply