
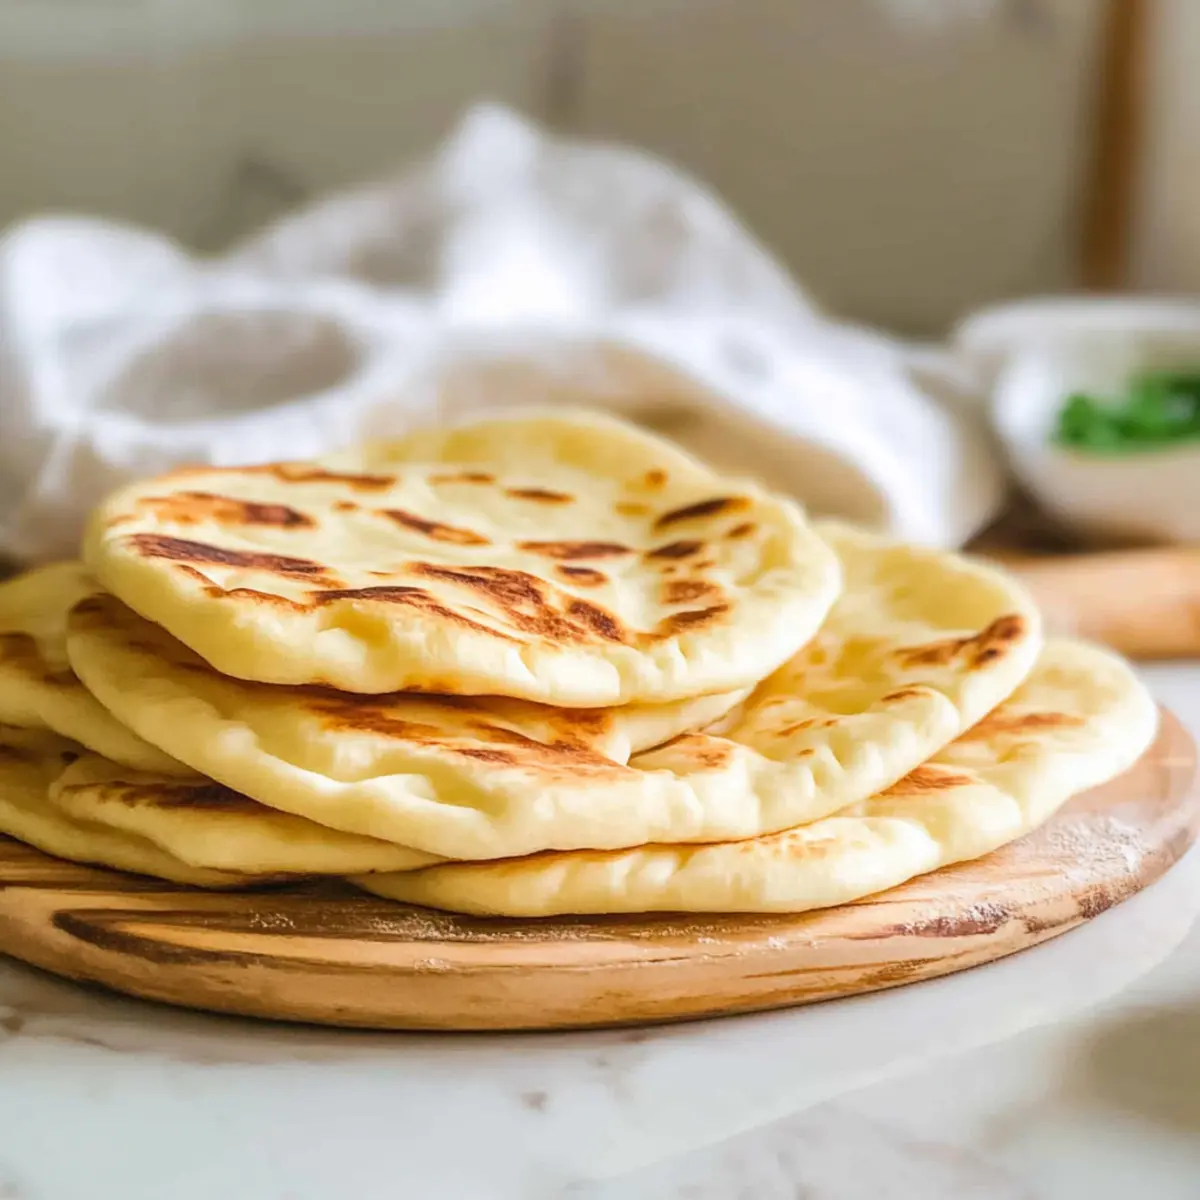
As I stood in my kitchen, the aroma of warm dough rising filled the air, taking me back to sun-drenched Mediterranean afternoons. It’s in moments like these that I whip up one of my all-time favorites: Greek Pita. This easy pita recipe yields irresistibly soft, fluffy bread that’s perfect for everything from dipping into creamy hummus to wrapping around tender grilled meats. Not only is it a quick fix for busy weeknights, but it’s also the kind of comfort food that brings people together. Plus, with a gluten-free option available, there’s something for everyone to enjoy. Ready to elevate your next meal with homemade Greek Pita? Let’s dive in!
Why is Homemade Greek Pita Exceptional?
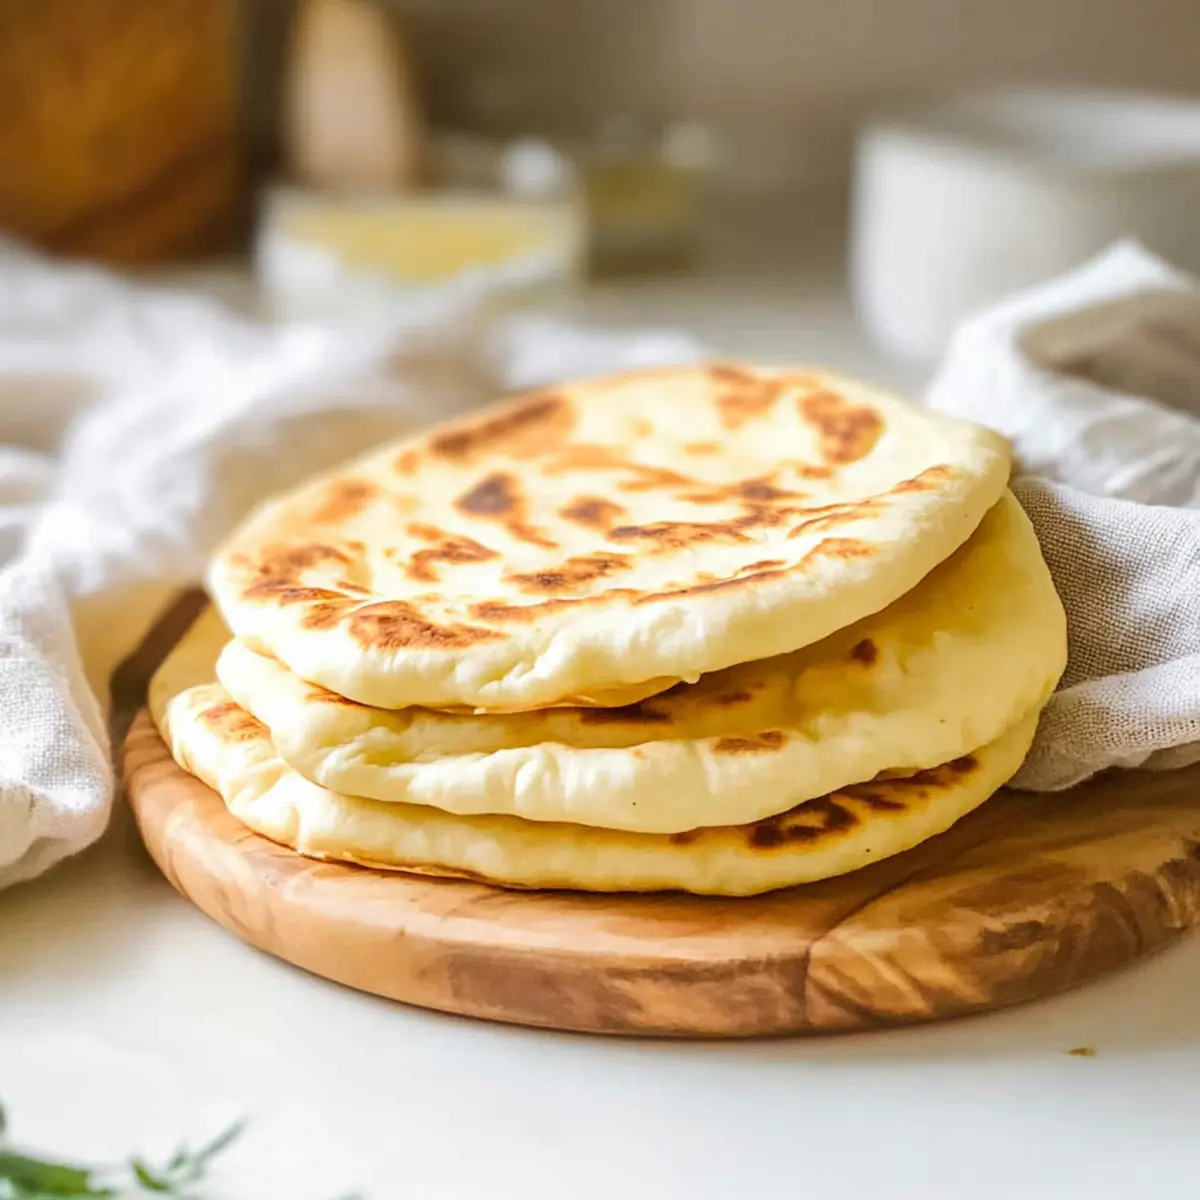
Irresistibly Soft: The pillowy texture of these pitas makes them incredibly satisfying to eat, creating the perfect vehicle for all your favorite fillings and dips.
Quick and Easy: This easy pita recipe can be whipped up in no time, making weeknight dinners a breeze—no more fast food!
Versatile Delight: Enjoy your Greek Pita with hummus, tzatziki, or stuffed with grilled veggies and meats for a delightful meal.
Gluten-Free Option: With a simple swap, you can make these fluffy pitas gluten-free, ensuring everyone can indulge.
Crowd-Pleaser: Perfect for gatherings, these homemade pitas will have your friends and family raving about your culinary skills!
Greek Pita Ingredients
For the Dough
- All-Purpose Flour – Provides structure to the pita; can be substituted with a 1:1 gluten-free flour blend for a gluten-free option.
- Active Dry Yeast – Helps the dough rise and gives pitas their fluffy texture; ensure it’s fresh for optimal results.
- Kosher Salt – Enhances flavor; essential for balanced taste.
- Warm Milk – Adds moisture and richness to the dough.
- Warm Water – Activates the yeast, ensuring proper dough rise.
- Olive Oil – Adds flavor and helps keep the pitas tender; additional olive oil may be needed for cooking.
For Cooking
- Olive Oil – Vital for grilling the pitas to achieve a golden color and delicious taste.
Optional Toppings
- Melted Garlic and Herb Butter – Brush on cooked pitas for an irresistible finishing touch; elevates the flavor profile of your Greek Pita.
Step‑by‑Step Instructions for Greek Pita
Step 1: Mix Dry Ingredients
In a large mixing bowl, combine 3 cups of all-purpose flour, 2 teaspoons of active dry yeast, and 1 teaspoon of kosher salt. Using a whisk, stir the dry ingredients together until well blended. This foundational step is crucial for ensuring that your Greek Pita has consistent flavor and texture throughout.
Step 2: Add Wet Ingredients
Pour in 1 cup of warm milk and 1 cup of warm water into the bowl with the dry ingredients. Mix everything together until a dough starts to form. This step should take about 1-2 minutes of mixing, and you want the mixture to come together into a shaggy dough, ready for kneading.
Step 3: Knead the Dough
Add 2 tablespoons of olive oil to the dough and begin kneading on a lightly floured surface. Knead vigorously for about 8-10 minutes until the dough becomes smooth and elastic. You will know it’s ready when it springs back after being pressed and feels soft to the touch.
Step 4: Let Dough Rise
Lightly coat a bowl with olive oil and place the dough inside, turning it to coat. Cover the bowl with plastic wrap or a clean kitchen towel, and allow it to rise in a warm spot for about 1 hour, or until doubled in size. This step is essential for achieving the fluffy texture characteristic of Greek Pita.
Step 5: Divide the Dough
After the dough has risen, dust a clean surface with a bit of flour and gently punch down the dough to release air. Divide it into 8 equal pieces, shaping each piece into a small ball. This helps ensure each Greek Pita will have a uniform size and cooking time.
Step 6: Roll Out the Dough
Take each ball of dough and flatten it slightly. Using a rolling pin, roll each piece into a circle about ¼ inch thick. Aim for smooth edges, and don’t worry about making them perfect! Each rolled-out piece should feel soft and supple, ready to puff up when cooked.
Step 7: Preheat the Skillet
Heat a cast-iron skillet over high heat and add a small drizzle of olive oil. Allow the skillet to get hot, which typically takes about 5 minutes; this is key for making sure your Greek Pita puffs beautifully.
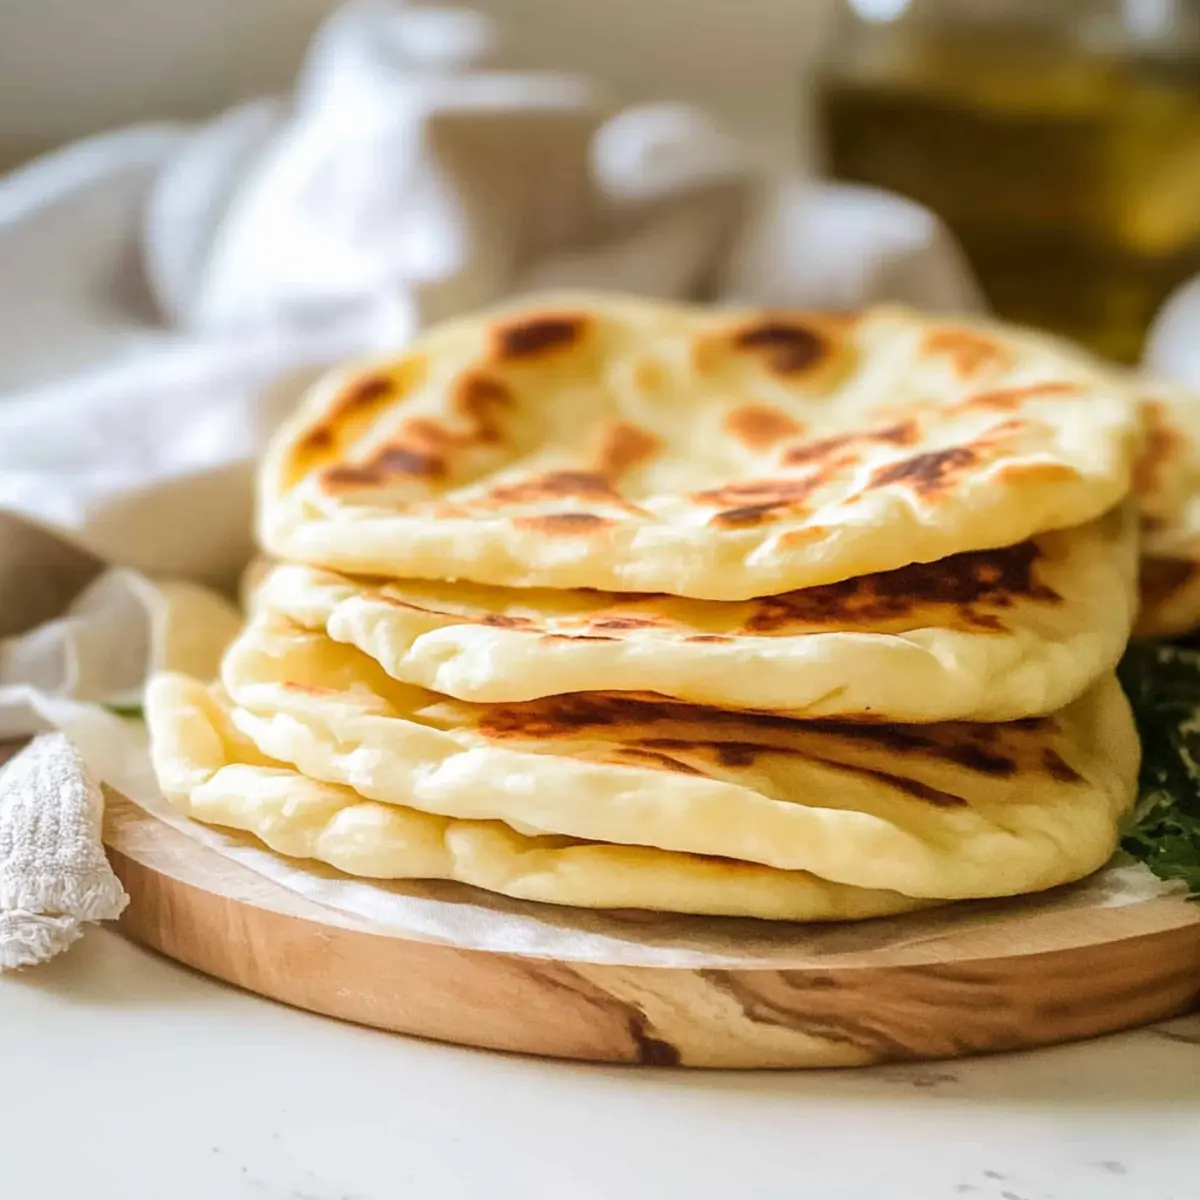
Step 8: Cook the Pitas
Carefully place one rolled-out pita in the skillet and cook for about 1 minute, or until it puffs up and turns lightly golden. Flip it over and cook for another 30 seconds to 1 minute. The surface should be golden brown with puffed sections; this indicates that your Greek Pita is nearing perfection.
Step 9: Optional Flavor Boost
If desired, brush your hot cooked pitas with melted garlic and herb butter for an extra layer of flavor. This step not only adds richness but also elevates the overall taste of your homemade Greek Pita, making them irresistible.
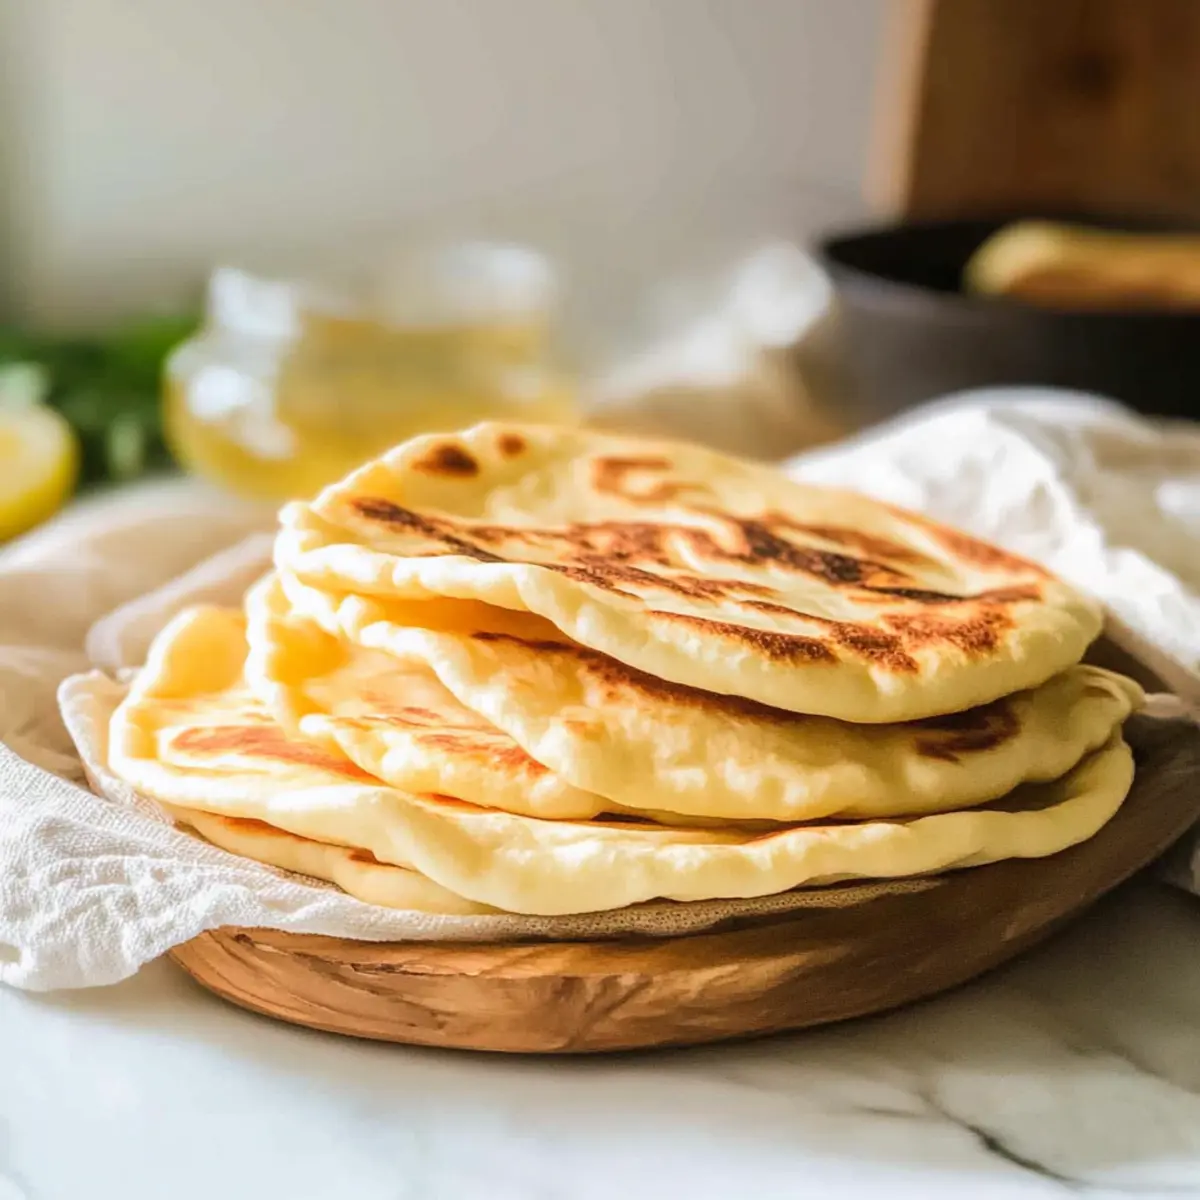
Step 10: Serve Warm
Remove the cooked Greek Pita from the skillet and wrap them in a clean kitchen towel while you finish cooking the rest. Serving them warm will keep them soft and fluffy, making them perfect for dipping or stuffing right away. Enjoy your delightful creations!
Greek Pita Variations & Substitutions
Feel free to explore these delightful twists that will make your Greek Pita even more exciting and personalized!
-
Gluten-Free: Use a 1:1 gluten-free flour blend for a gluten-free version. This way, everyone can enjoy the deliciousness without compromise.
-
Whole Wheat: Swap out half of the all-purpose flour with whole wheat flour for a nuttier flavor and extra nutrients. It adds a lovely dimension to your pitas.
-
Herbed Pita: Incorporate dried herbs like oregano or rosemary into the dough for a fragrant twist. These herbs can transport your pitas to the sunny Mediterranean coast!
-
Cinnamon Sugar Pita: Roll out your pitas with a sprinkle of cinnamon and sugar for a sweet treat, perfect for breakfast or a snack. Brush with butter before baking for added richness.
-
Smoky Heat: Add a pinch of smoked paprika or even cayenne pepper to the dough for a touch of warmth and excitement. Spice lovers will savor the kick it brings!
-
Spinach and Feta: For a savory filling option, fill your pitas with sautéed spinach and crumbled feta cheese. It’s a quick and nutritious way to enjoy them!
-
Stuffed with Grains: Try stuffing your pitas with cooked quinoa or brown rice mixed with roasted veggies for a hearty meal. It’s a delightful way to incorporate more fiber!
-
Cheese-Topped: Sprinkle shredded cheese on top of the pitas while they cook for a melty, cheesy experience. Feta or mozzarella works wonderfully!
No matter your preference, these variations will ensure your Greek Pita experience is nothing short of delightful! For more fun, consider pairing them with homemade dips like hummus or tzatziki to really elevate your meal!
Storage Tips for Greek Pita
- Room Temperature: Wrap leftovers in plastic wrap and store them at room temperature for up to 3 days to maintain freshness.
- Fridge: You can refrigerate the pitas for up to 5 days, but make sure to seal them tightly to prevent them from drying out.
- Freezer: Freeze Greek Pitas in a single layer, then transfer to a freezer bag for up to 3 months. They can be warmed in the oven or skillet to restore softness.
- Reheating: To reheat, place them in a preheated oven at 350°F for about 5-7 minutes or on a skillet for a quick warmth; enjoy them soft and fluffy again!
Make Ahead Options
These Greek Pita breads are perfect for meal prep, saving you time on busy weeknights! You can prepare the dough up to 24 hours in advance; simply follow the recipe through the mixing and kneading steps, then cover and refrigerate the dough after it rises. This allows the flavors to develop beautifully. When you’re ready to serve, remove the dough and let it sit at room temperature for 30 minutes before dividing and rolling out the pitas. Remember to preheat your skillet adequately for the best puff. With these make-ahead tips, you’ll enjoy warm, fluffy Greek Pitas that taste just as delicious as if you made them fresh!
Expert Tips for Greek Pita
- Check Yeast Freshness: Always ensure your active dry yeast is fresh. If it’s expired, the pitas won’t rise properly, resulting in a dense texture.
- Ideal Dough Temperature: The warm milk and water should be just warm to the touch, not hot. Too hot will kill the yeast and prevent the dough from rising for your easy pita recipe.
- Don’t Skip the Resting: Allow the dough to rest until it doubles in size. This step is crucial for achieving that tender, fluffy Greek Pita you desire!
- Hot Skillet is Key: Preheat your skillet adequately; if it’s not hot enough, the pitas won’t puff properly. A nice, high temperature is essential for that perfect puff!
- Store Properly: Keep any leftover pitas wrapped in plastic. To revive softness, reheat gently in the oven or on a skillet—microwaving can lead to a chewy texture.
What to Serve with Homemade Greek Pita Bread
The sun-kissed flavors of Mediterranean cuisine come alive when you pair these soft, fluffy pitas with delightful accompaniments.
- Creamy Hummus: This classic dip adds a rich, nutty flavor that beautifully complements the warm pita’s softness.
- Zesty Tzatziki Sauce: Cool and refreshing, tzatziki creates a vibrant contrast, enhancing the pita’s chewiness with its creamy texture.
- Grilled Chicken Gyros: Flavorful marinated chicken wrapped in warm pita creates a hearty meal that’s sure to please everyone at the table.
- Roasted Vegetables: The caramelized sweetness of roasted veggies adds a lovely texture and earthy flavor, perfect for a light, healthy meal.
- Spanakopita (Spinach Pie): Pairing with these savory pastries makes for an authentic Greek experience that will have your guests raving.
- Mediterranean Salad: A fresh mix of tomatoes, cucumbers, and olives brightens up the meal, delivering crispness that balances the soft pita.
- Baba Ganoush: This smoky eggplant dip is a perfect companion, offering depth in flavor that contrasts beautifully with the pitas.
- Olive Oil and Herbs: A simple dish of quality olive oil drizzled with fresh herbs is perfect for dipping, enhancing the pita experience.
- Greek Yogurt Parfait: For dessert, layer Greek yogurt with honey and nuts for a delightful, sweet finish after enjoying your homemade Greek Pita.
Greek Pita Recipe FAQs
What type of flour should I use for the best Greek Pita?
I recommend using all-purpose flour for a perfectly soft and fluffy pita, but if you’re looking for a gluten-free option, a 1:1 gluten-free flour blend works just as well. Ensure it’s a good quality blend for the best results!
How should I store my leftover Greek Pita?
Wrap any leftover pitas tightly in plastic wrap and store them at room temperature for up to 3 days. For longer storage, refrigerate them for up to 5 days, ensuring they are well-sealed to prevent drying out.
Can I freeze Greek Pita?
Absolutely! To freeze, place the pitas in a single layer on a baking sheet for about an hour until they’re firm, then transfer them to a freezer bag for up to 3 months. When ready to enjoy, simply reheat in a preheated oven at 350°F for about 5-7 minutes.
What should I do if my pitas don’t puff while cooking?
If your Greek Pita doesn’t puff, it might be due to insufficient heat. Ensure your skillet is very hot before cooking and that your yeast is fresh and active. If the dough hasn’t risen enough during resting, try allowing it more time before rolling out.
Can my pet eat Greek Pita?
While plain Greek Pita doesn’t contain harmful ingredients for dogs, it’s best to limit their intake due to the carbohydrates. Always check for any allergies and avoid giving them pitas with toppings like garlic or butter, which can be harmful.
Can I use instant yeast instead of active dry yeast?
Certainly! If using instant yeast, you can mix it directly with the flour without needing to activate it in water first. Use the same amount as called for in the recipe. The texture and flavor will remain just as delicious!
Soft and Fluffy Greek Pita - A Homemade Delight Awaits
Ingredients
Equipment
Method
- In a large mixing bowl, combine all-purpose flour, active dry yeast, and kosher salt. Whisk together until blended.
- Pour in warm milk and warm water. Mix until a shaggy dough forms.
- Add olive oil and knead on a floured surface for 8-10 minutes until smooth and elastic.
- Coat a bowl with olive oil, place the dough inside, cover, and let rise in a warm spot for 1 hour.
- Punch down the dough, divide into 8 pieces, and shape into balls.
- Flatten each ball and roll into circles about ¼ inch thick.
- Preheat a skillet over high heat and add a bit of olive oil.
- Cook each pita for about 1 minute until it puffs and turns golden, then flip and cook for another 30-60 seconds.
- Brush with melted garlic and herb butter for added flavor, if desired.
- Wrap cooked pitas in a towel to keep warm and soft until serving.
Leave a Reply