
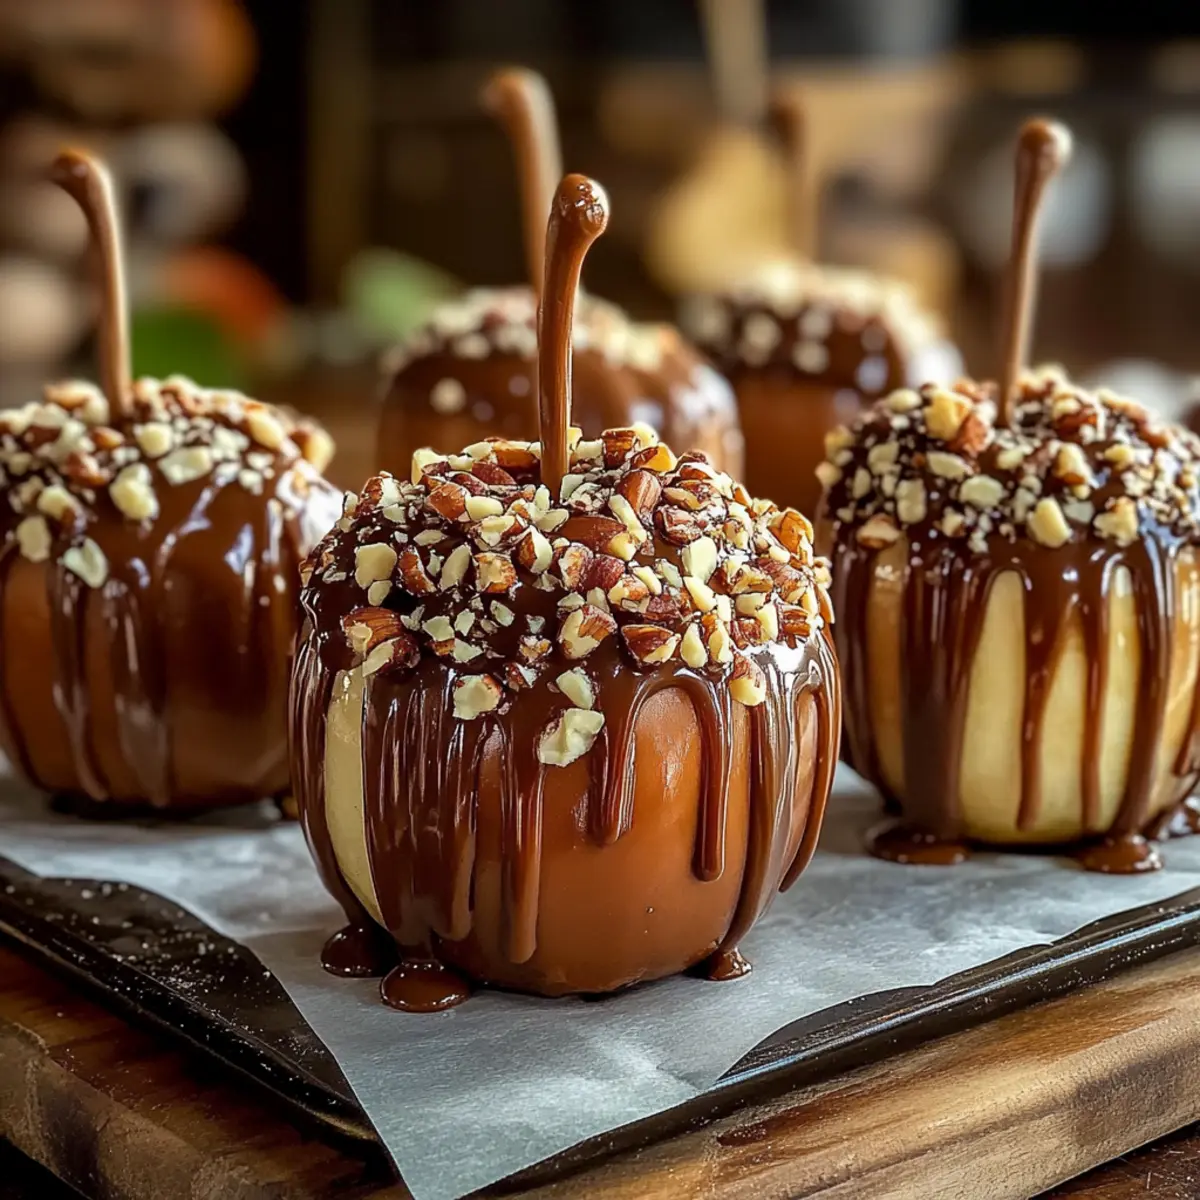
As autumn leaves crunch underfoot, the sweet aroma of caramel starts to fill the air, evoking cherished childhood memories of fairs and family gatherings. There’s something undeniably delightful about crafting Classic Caramel Apples: A Classic Fall Delight, where crisp, tart apples meet rich, silky caramel. This simple yet satisfying recipe is perfect for cozy evenings and festive occasions, allowing for quick preparation that fits seamlessly into your busy schedule. Plus, the real beauty lies in the customization—whether you want to top them with crushed nuts, drizzle chocolate, or keep it classic, the choice is yours! Will you stick with the traditional flavors, or dare to add your own twist?
Why Are Caramel Apples So Irresistible?
Nostalgic Experience: The joy of biting into a caramel apple instantly transports you back to carefree childhood days.
Customize Your Way: Endless topping possibilities let you personalize with favorites like crushed nuts or chocolate drizzles.
Quick and Easy: Prepare these treats in just a short time, perfect for busy evenings or unexpected gatherings.
Tasty and Fun: Not just delicious, but also a playful dessert that appeals to all ages, making them great for Halloween and fall celebrations.
To elevate your fall gatherings even more, consider trying other festive recipes like Fall Harvest Pasta or Delightful Stuffed Seafood. Enjoy crafting your caramel apple masterpiece!
Caramel Apples: A Classic Fall Delight Ingredients
• Dive into the sweetest season with these caramel apple ingredients!
For the Apples
- Crisp Apples – The tartness provides a perfect contrast to the sweet caramel; Granny Smith is highly recommended.
For the Caramel
- Heavy Cream – This ingredient adds richness and ensures a smooth caramel texture; don’t substitute for flavor consistency.
- Butter – Enhances the flavor and provides a silky smooth finish; use unsalted for better salt control.
- Brown Sugar – Offers deep sweetness and a beautiful color; dark brown sugar yields the most flavor.
- Corn Syrup – Essential for keeping the caramel smooth and glossy; no substitute for texture consistency.
- Salt – A pinch balances the sweetness beautifully; consider using sea salt for a gourmet touch.
For Setting
- Parchment Paper – Crucial for preventing the apples from sticking once coated with delicious caramel.
Experiment with these key ingredients to create your own batch of caramel apples, a truly delightful fall treat!
Step‑by‑Step Instructions for Caramel Apples: A Classic Fall Delight
Step 1: Prepare the Apples
Begin by washing your crisp apples thoroughly to remove any wax or residue. Once cleaned, ensure they are completely dry, as moisture can cause the caramel to slip right off. Insert wooden sticks into the center of each apple, pushing them about halfway down for easy handling during dipping.
Step 2: Set Up Your Surface
Line a baking sheet with parchment paper, which will be essential for setting your caramel apples without sticking. Ensure the parchment is smooth and wrinkle-free so that your beautiful creations have a perfect resting place once dipped in the luscious caramel.
Step 3: Make the Caramel
In a heavy saucepan, combine brown sugar, corn syrup, butter, heavy cream, and a pinch of salt. Heat this mixture over medium heat, stirring continuously until it comes to a gentle boil. Keep cooking until the caramel reaches a golden-brown color and hits around 240°F on your candy thermometer, about 5-10 minutes, then remove it from heat and let cool slightly.
Step 4: Dip the Apples
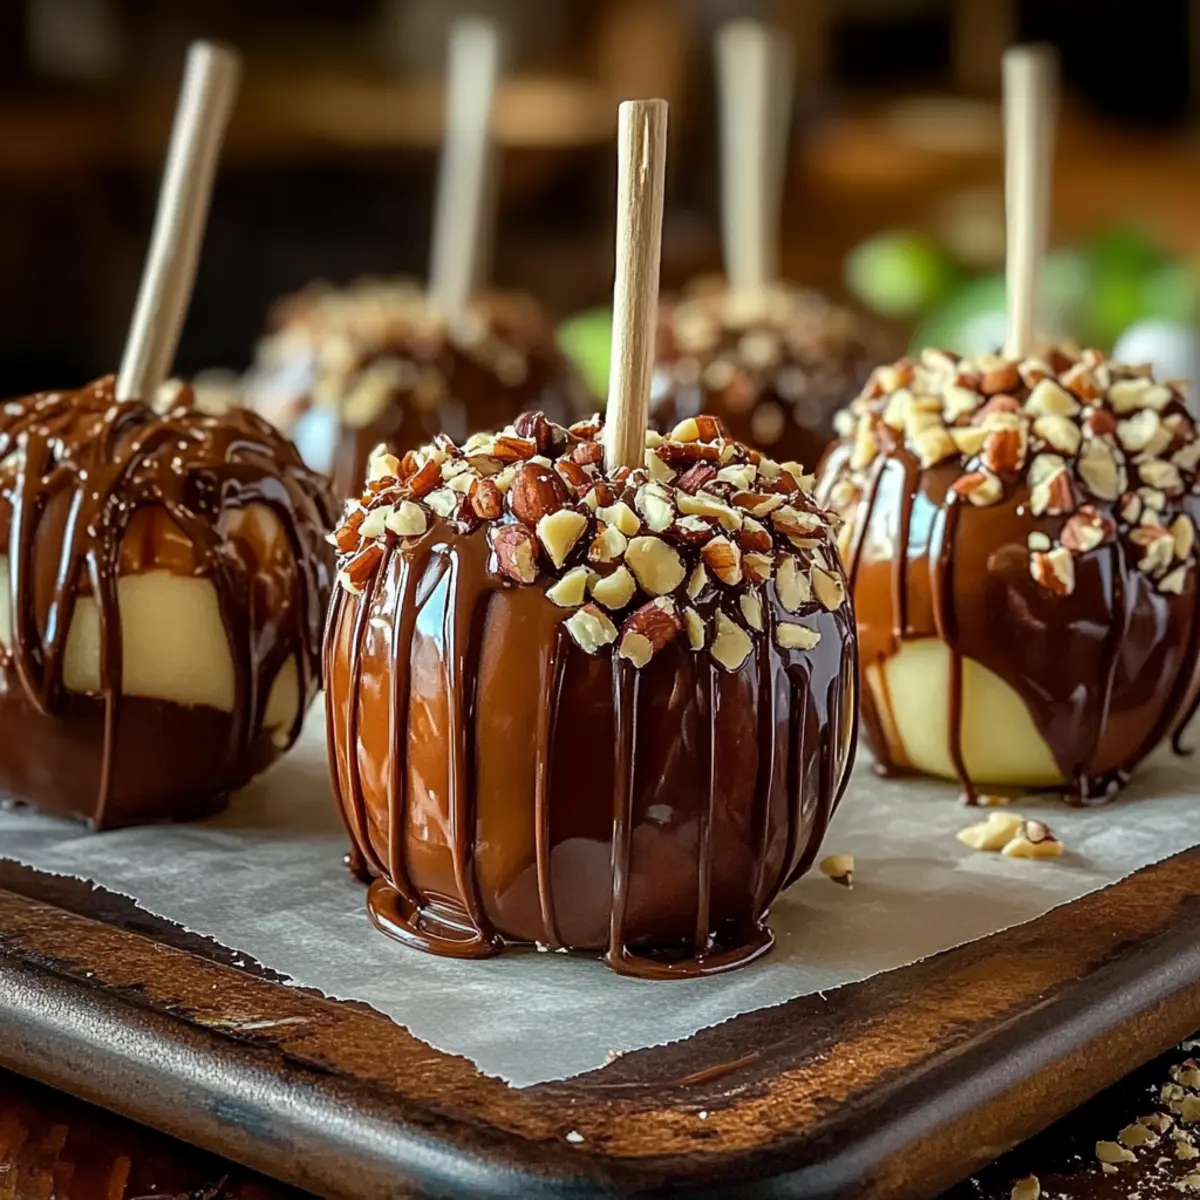
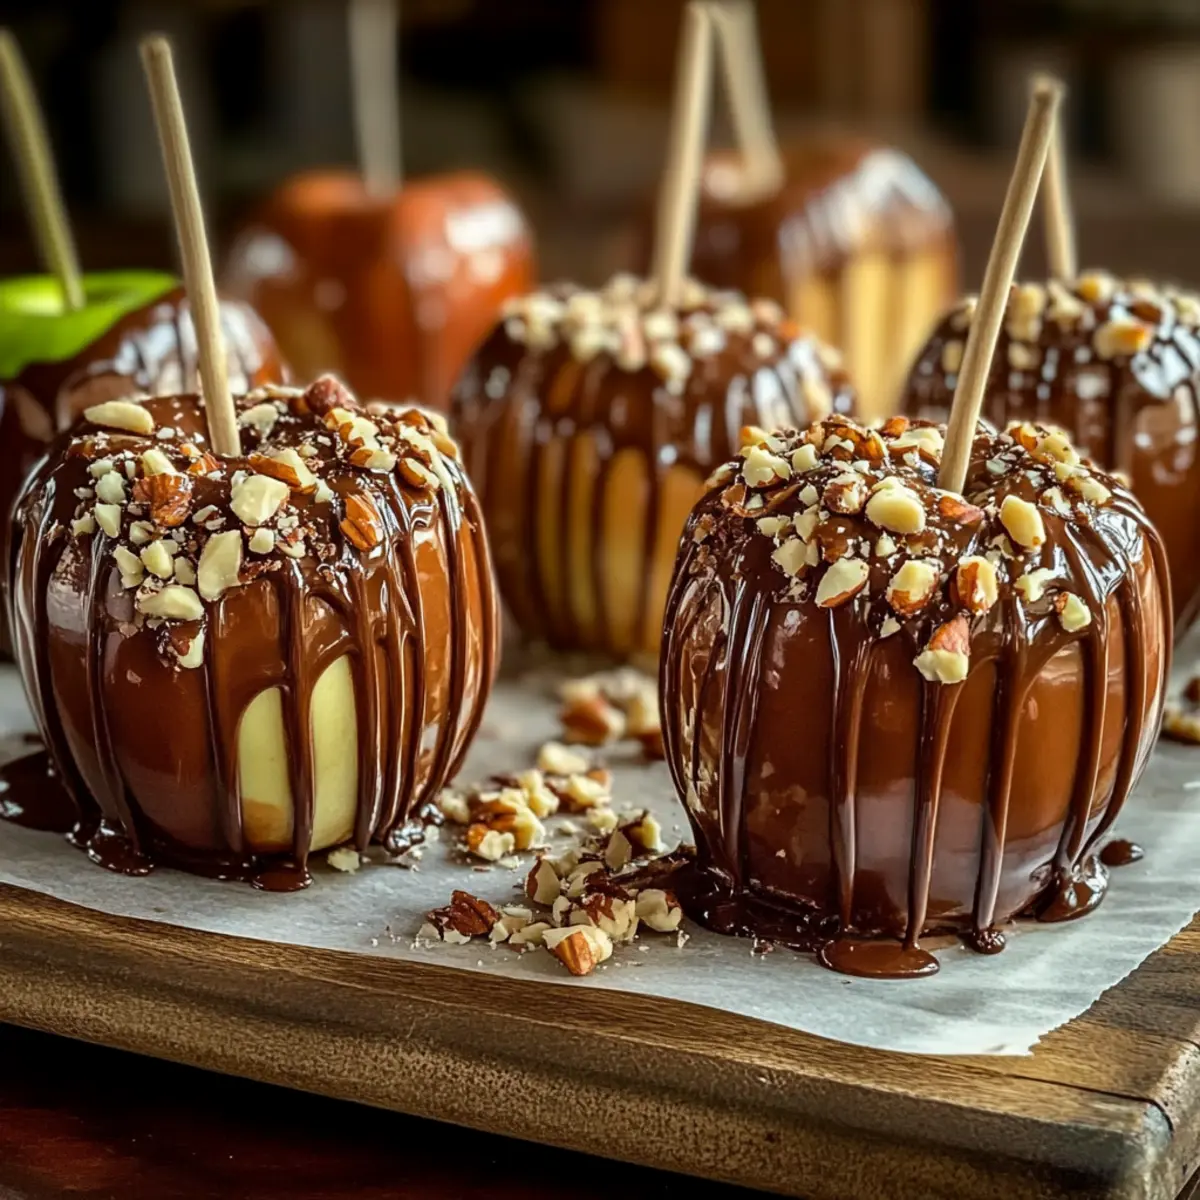
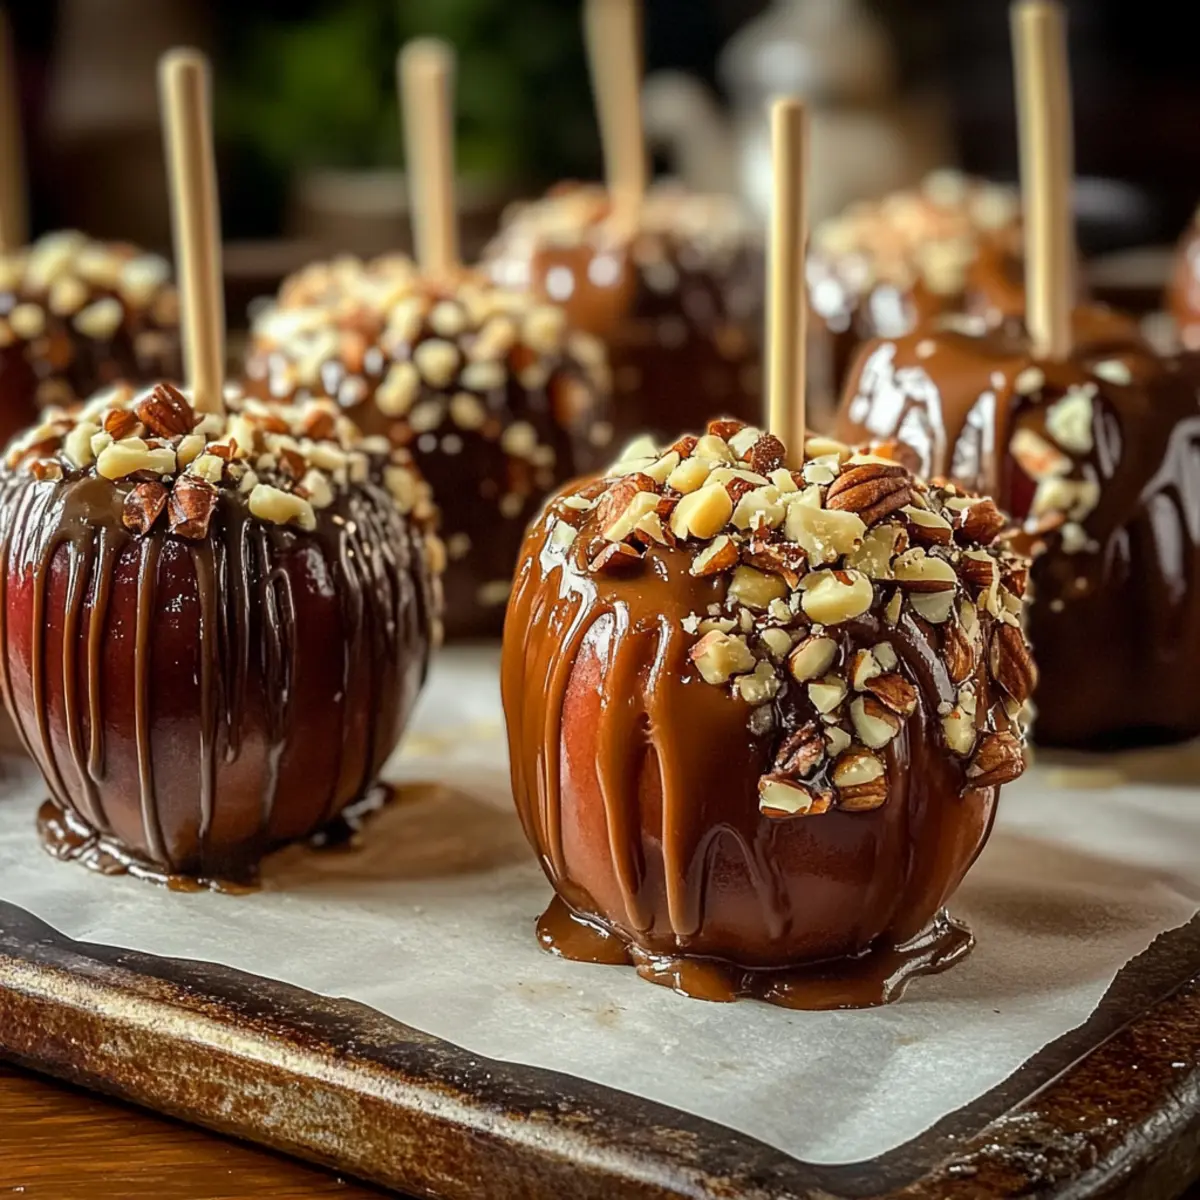
Once your caramel has cooled just enough to thicken, it’s time to dip the apples! Holding each apple by its stick, dip it into the warm caramel, twisting it to ensure even coverage. Allow any excess caramel to drip back into the saucepan, creating a beautiful glossy finish on each apple.
Step 5: Add Toppings
If you’re looking to customize your caramel apples, now is the time! While the caramel is still warm and pliable, quickly roll the coated apples in your favorite toppings, such as crushed nuts or sprinkles. This is a fun way to personalize your classic caramel apples according to your taste.
Step 6: Cool and Set
Gently place your finished caramel apples onto the lined baking sheet. Allow them to rest for at least 20 minutes at room temperature, so the caramel firms up nicely. The end result will be stunning caramel apples that are ready to be admired and enjoyed!
Make Ahead Options
These Classic Caramel Apples are perfect for meal prep enthusiasts looking to save time during the busy fall season! You can wash, dry, and insert the sticks into the apples up to 24 hours in advance, keeping them in the refrigerator to maintain their freshness. Additionally, you could prepare the caramel sauce up to 3 days ahead; simply store it in an airtight container at room temperature and reheat gently before dipping the apples. When you’re ready to serve, just dip the prepared apples into the warmed caramel, add your favorite toppings, and let them set as you enjoy the delightful aroma filling your kitchen. With these make-ahead tips, you’ll have delicious caramel apples that are just as wonderful as those made fresh!
What to Serve with Classic Caramel Apples?
As you delight in your homemade caramel apples, think about adding some complementary dishes that enhance the flavors of this sweet treat.
- Creamy Mashed Potatoes: Their buttery richness serves as a comforting counterpart to the sticky sweetness of caramel apples.
- Chili con Carne: The spicy warmth of chili balances the sugary notes, making for a hearty fall meal.
- Roasted Brussels Sprouts: The crispy texture of Brussels sprouts adds a delightful crunch and earthy flavor that pairs beautifully.
- Cheddar Cheese Platter: The sharpness of cheddar contrasts the sweetness, creating an interesting flavor dynamic for your guests.
- Spiced Apple Cider: Warm, cozy, and fragrant, spiced cider complements the autumn essence of caramel apples perfectly.
- Pumpkin Spice Cookies: These cookies add another layer of fall flavor, making your dessert table irresistibly festive for gatherings.
- Caramel Drizzle on Ice Cream: For a decadent dessert, serve your caramel apples with a scoop of vanilla ice cream, drizzled with more caramel for a sweet surprise.
- Fruit and Nut Board: Accompany the apples with a selection of fresh fruits and nuts to balance flavors and texture in a colorful display.
Storage Tips for Caramel Apples
Room Temperature: Store your caramel apples at room temperature in a cool, dry place for up to 2 days—this keeps them fresh and ready to enjoy!
Refrigeration: If you need to keep them longer, refrigerate the apples loosely covered with foil; allow them to return to room temperature before serving for the best texture.
Container Guidance: If stacking, place parchment between the apples to prevent sticking and maintain that delicious glossy caramel finish.
Freezer: While not ideal, you can freeze caramel apples for up to 3 months; wrap each apple tightly in plastic wrap to protect against freezer burn, but expect the texture to change slightly upon thawing.
Caramel Apples: Creative Twists Await
Feel free to explore your culinary creativity with these delicious twists on caramel apples that promise to tantalize your taste buds!
-
Nutty Delight: Roll your apples in crushed peanuts or almonds for a delightful crunch in every bite.
-
Chocolate Drizzle: Melt chocolate and drizzle over the caramel for an extra indulgent treat that adds richness and flair.
-
Spicy Kick: Sprinkle a hint of cayenne or chili powder to create a surprisingly delightful heat that balances the sweetness.
-
Seasonal Flavors: Use seasonal apple varieties like Honeycrisp or Fuji for a twist in taste depending on what’s fresh and available. They’re perfect for those fall gatherings!
-
Coconut Twist: Roll in toasted coconut flakes after caramel coating for a tropical flair that adds texture and festiveness to your fall treat.
-
Sweets Galore: Have a sweet tooth? Roll your apples in crushed Oreos or toffee bits for a dessert lovers’ dream come true.
-
Fruitful Additions: Add a layer of smooth peanut butter or almond butter before dipping in caramel; it creates an irresistible combination.
-
Gourmet Touch: Consider finishing with a sprinkle of flaky sea salt over the caramel for that perfect sweet-salty balance, reminiscent of the flavors in Caramelized Slow Roast.
These variations inspire you to create your signature caramel apples perfect for any occasion—be it Halloween, family gatherings, or just a cozy evening in! Enjoy bringing a bit of personal flair to this beloved classic!
Expert Tips for Caramel Apples
- Choose the Right Apples: Opt for tart varieties like Granny Smith; their crispness pairs perfectly with sweet caramel and enhances the overall flavor.
- Ensure Dryness: Always wash and dry apples thoroughly before dipping; any moisture will prevent the caramel from adhering properly.
- Watch the Temperature: Use a candy thermometer for accurate caramel consistency; cooking too long can lead to a grainy texture instead of smooth, glossy caramel.
- Twist for Coating: When dipping the apples, twist gently to ensure an even coat of caramel and let excess drip off for a clean finish.
- Customize with Toppings: Get creative with toppings like crushed nuts or chocolate; just remember to add them while the caramel is warm to ensure they stick.
Caramel Apples: A Classic Fall Delight Recipe FAQs
What kind of apples should I use for caramel apples?
Absolutely! For the best flavor contrast, I highly recommend using tart apples like Granny Smith. Their crispness elevates the sweetness of the caramel. However, you can also try Honeycrisp or Fuji apples for a different twist!
How should I store my caramel apples?
For optimal freshness, store your caramel apples at room temperature in a cool, dry place for up to 2 days. If you need longer storage, wrap them loosely in foil and refrigerate them. Just remember to allow them to return to room temperature before serving for the best taste and texture.
Can caramel apples be frozen?
Yes, you can freeze caramel apples, but keep in mind that their texture may change slightly upon thawing. To freeze, wrap each apple tightly in plastic wrap to prevent freezer burn, and store them in an airtight container for up to 3 months. When you want to enjoy one, let it thaw in the fridge or at room temperature.
What if the caramel doesn’t stick to the apples?
Very! If the caramel doesn’t adhere well, it could be because the apples weren’t completely dry, or they were too cold. To avoid this, wash and dry the apples thoroughly before dipping, and make sure they are at room temperature. Ensuring a thicker caramel consistency by cooling it slightly before dipping can also help.
Are caramel apples suitable for everyone?
Absolutely! Caramel apples are a vegetarian-friendly treat since they are primarily made from fruit and sugar-based ingredients. However, check for any allergies related to specific toppings like nuts or chocolate if you’re sharing with friends or family. Always feel free to customize your batch to accommodate dietary restrictions!
Caramel Apples: A Classic Fall Delight You’ll Love to Create
Ingredients
Equipment
Method
- Wash and dry the apples thoroughly. Insert wooden sticks into the center of each apple.
- Line a baking sheet with parchment paper.
- Combine brown sugar, corn syrup, butter, heavy cream, and salt in a heavy saucepan. Heat over medium until gentle boil, about 5-10 minutes.
- Dip the apples into the caramel, twisting for even coverage. Let excess caramel drip off.
- Roll the coated apples in your favorite toppings before the caramel sets.
- Place finished caramel apples on the lined baking sheet and allow to cool for at least 20 minutes.
Leave a Reply