
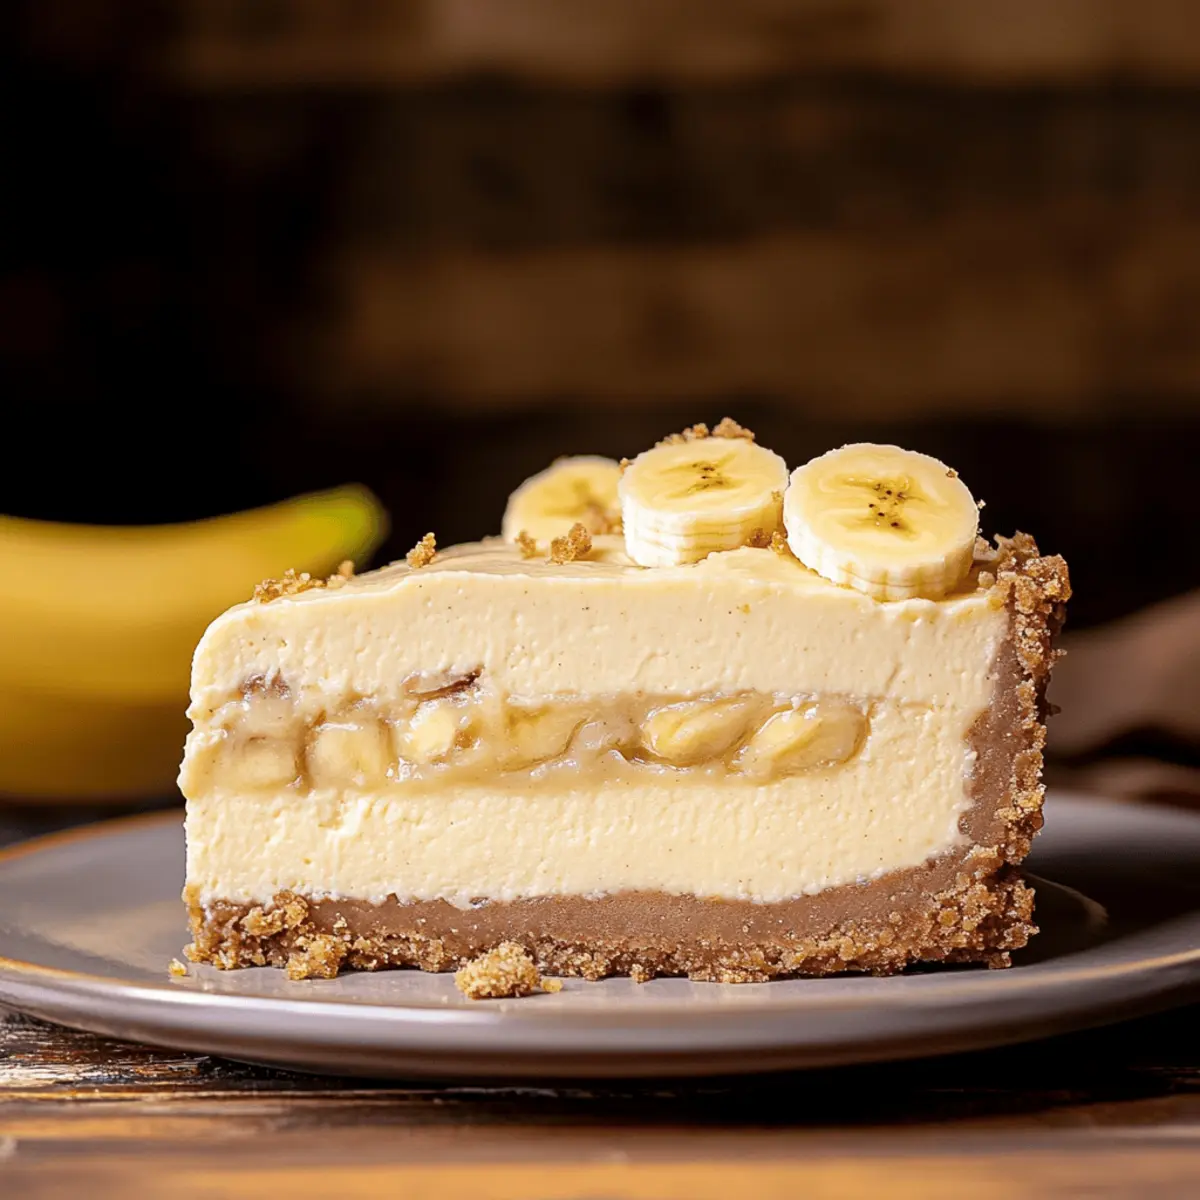
A wave of nostalgia washes over me as I think about the first time I tasted banana pudding. The creamy layers and the crunch of those darling Nilla Wafers created a dessert experience that was nothing short of magical. Today, I’m beyond excited to share my version of this classic in the form of a decadent Banana Pudding Cheesecake. With its deliciously buttery Nilla Wafer crust and the perfect harmony of ripe bananas mixed into a creamy filling, this dessert is both a feast for the eyes and the tastebuds. It’s not only a showstopper for family gatherings but also simple enough for a cozy weeknight treat, tempting you to enjoy every last bite. Curious to explore all the delightful layers this recipe has to offer? Let’s dive into creamy bliss!
Why is this Banana Pudding Cheesecake a Must-Try?
Unique Flavor Fusion: This recipe brings together the beloved classic banana pudding and rich cheesecake into one unforgettable dessert.
Easy to Make: With straightforward steps and accessible ingredients, even novice bakers can achieve delicious results effortlessly.
Crowd-Pleasing Treat: Whether it’s a family gathering or a casual dinner with friends, this cheesecake will surely impress your guests.
Versatile Serving Options: Enjoy it as a whole cheesecake or transform it into mini cheesecakes or bars for delightful variations. For more fun ideas, check out my Velvet Strawberry Cheesecake or Velvet Strawberry Cheesecake recipes!
Perfect Texture: The silky smooth filling, combined with the crunchy Nilla Wafer crust, creates a delightful contrast that everyone will adore.
Banana Pudding Cheesecake Ingredients
Unlock the secret to creamy bliss with this delightful dessert!
For the Crust
- Nilla Wafers – A sweet and crunchy base; feel free to use graham crackers if you’re in a pinch.
- Brown Sugar (2 TBSP) – Adds warmth and complexity to the crust; light or dark sugar works beautifully.
- Unsalted Butter (½ cup, melted) – Binds the crust together for a cohesive texture; coconut oil can be a dairy-free alternative.
For the Cheesecake Filling
- Cream Cheese (24 oz, room temperature) – Provides the main structure and creaminess; softening it makes mixing easier.
- Granulated Sugar (¾ cup) – Sweetens the cheesecake perfectly; sugar alternatives can work but may change the texture.
- Pure Vanilla Extract (1 tsp) – Elevates the dessert’s flavor; homemade extract lends an extra special touch.
- Bananas (2, mashed; 2, sliced) – Infuses natural sweetness and banana flavor; be sure to use well-ripened bananas for the best results.
- Sour Cream (½ cup, room temperature) – Adds tanginess and creaminess; Greek yogurt can be used as an alternative.
- Heavy Cream (¼ cup, room temperature; 1 cup, cold) – Creates a fluffy texture; non-dairy alternatives can perform well here.
- Large Eggs (4, room temperature) – Essential for structure; mix in gently to avoid adding air bubbles.
For the Layering and Topping
- Crushed Nilla Wafers (1 cup) – Maintain that signature banana pudding cheesecake flavor in the layers.
- Instant Vanilla Pudding (1 package, 3.4 oz) – A key player for the topping; ensure it’s the instant variety, not cook-and-serve.
- Milk (1 cup, cold) – Necessary for achieving the pudding consistency; non-dairy substitutes are also effective.
- Crushed Nilla Wafers (for decorating) – Adds a decorative and flavorful finish to your stunning cheesecake.
With these carefully chosen ingredients, your Banana Pudding Cheesecake will not only satisfy your sweet tooth but also bring a smile to your loved ones’ faces. Now let’s get baking!
Step‑by‑Step Instructions for Banana Pudding Cheesecake
Step 1: Preheat and Prepare
Preheat your oven to 325°F (163°C) and get a 9-inch springform pan ready by lightly greasing it with nonstick spray and lining the bottom with parchment paper. This preparation sets the stage for your creamy Banana Pudding Cheesecake and ensures a smooth release after baking.
Step 2: Make the Nilla Wafer Crust
In a food processor, blend Nilla Wafers until they form fine crumbs. Combine these crumbs with brown sugar and melted butter in a mixing bowl, stirring until fully coated. Press the mixture firmly into the bottom of the prepared pan. Bake for 11 minutes until golden and fragrant, then let it cool while you prepare the filling.
Step 3: Prepare the Cheesecake Filling
In a large mixing bowl, beat the cream cheese and granulated sugar together until creamy and smooth. Incorporate the mashed bananas, vanilla extract, sour cream, and be sure to add the room-temperature heavy cream, mixing until you achieve a slightly lumpy texture. Beat in the eggs one at a time on low speed to avoid excessive air bubbles, ensuring a rich filling for your Banana Pudding Cheesecake.
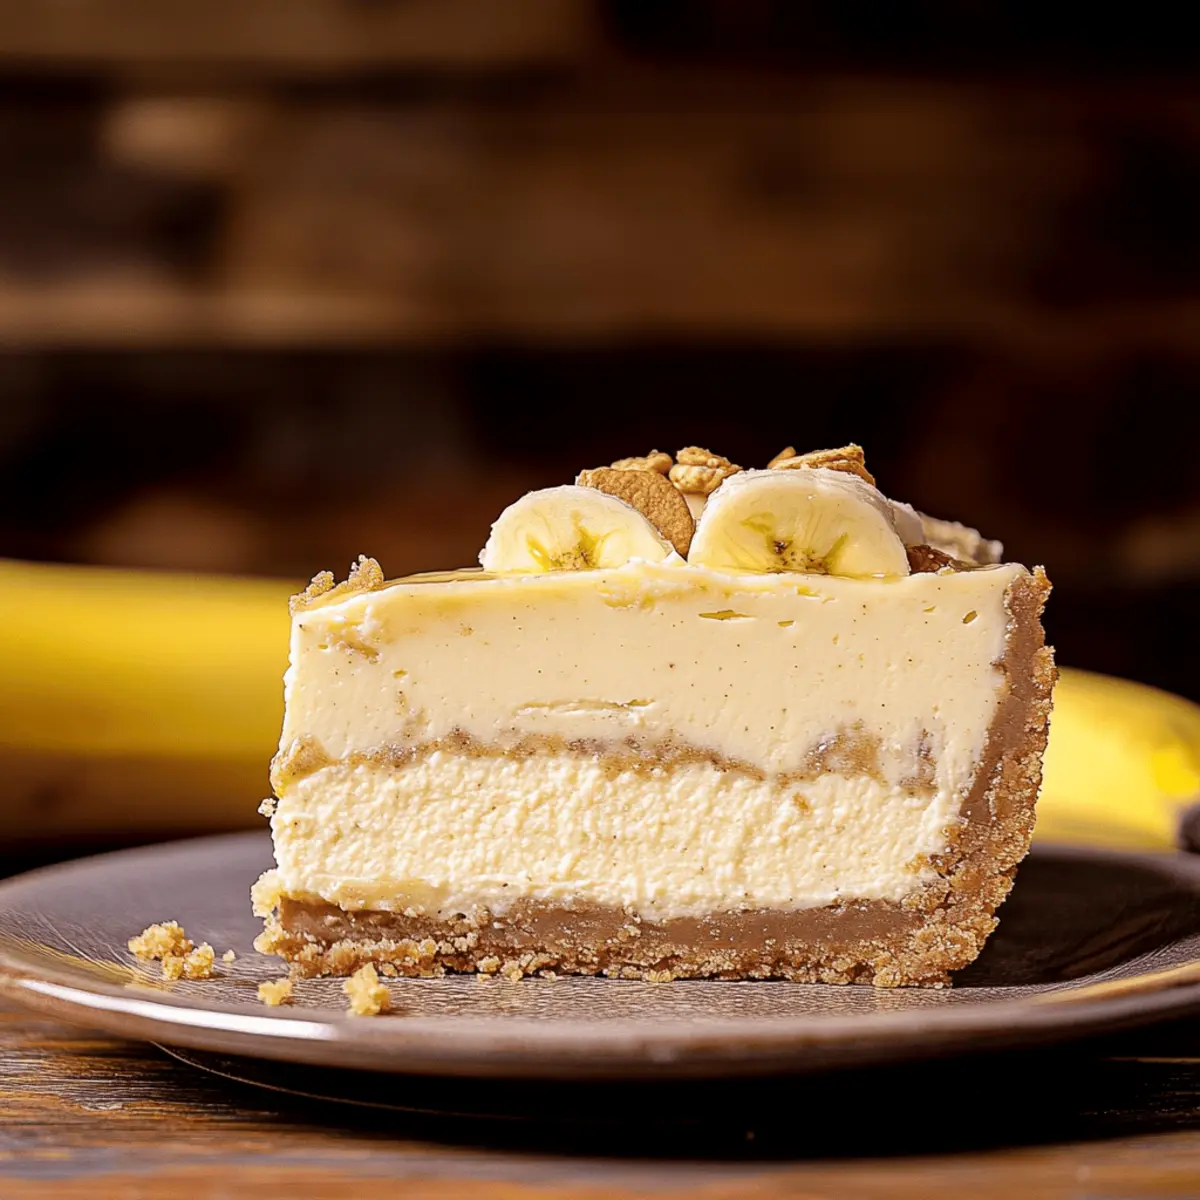
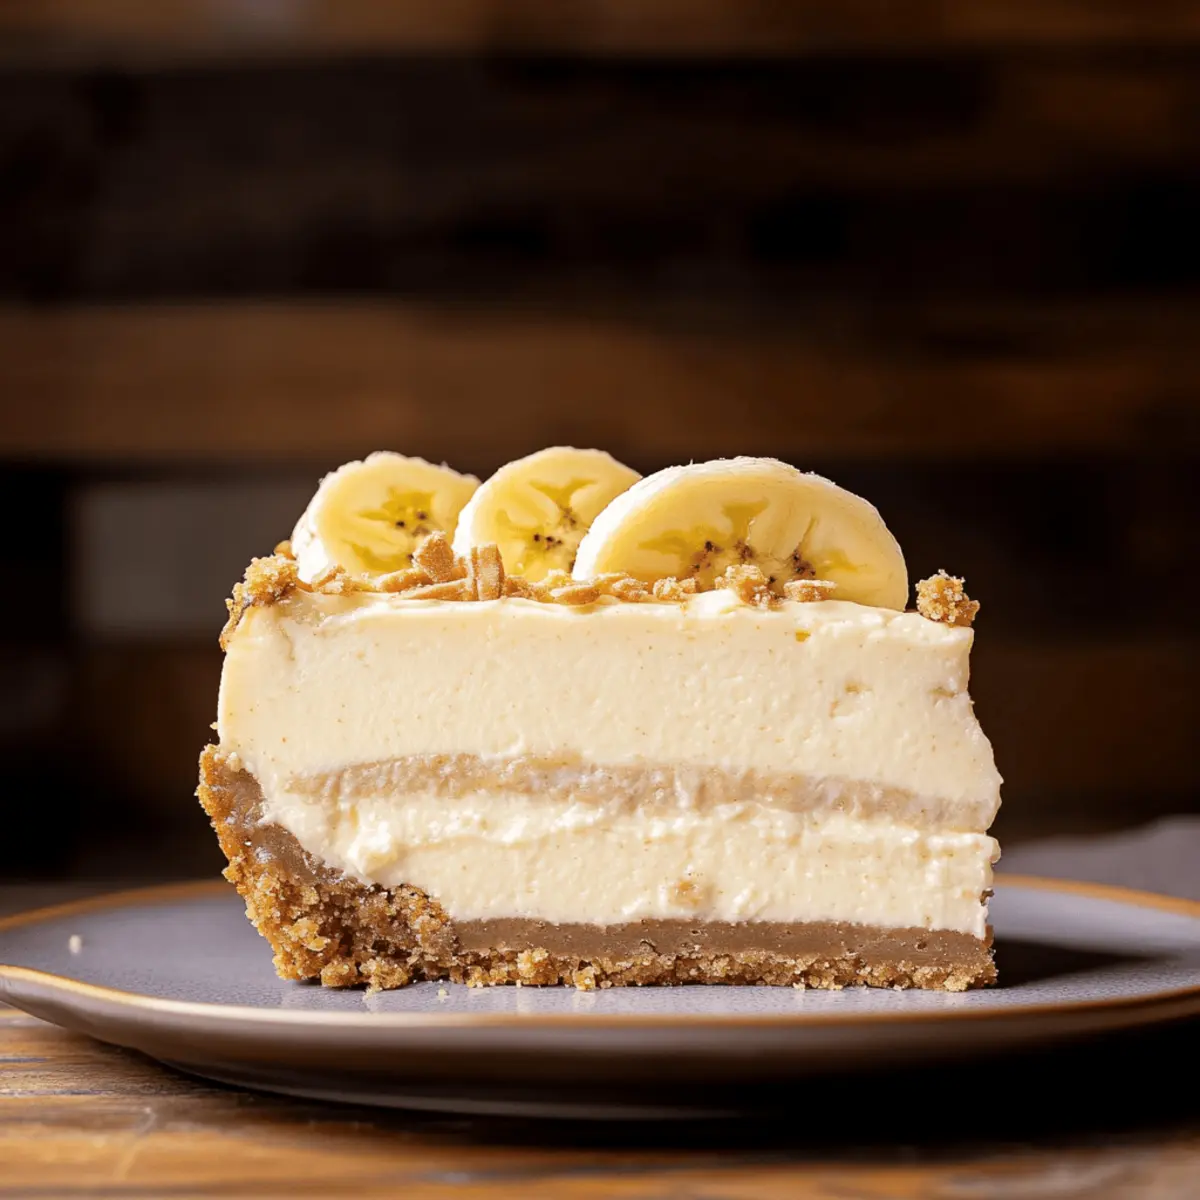
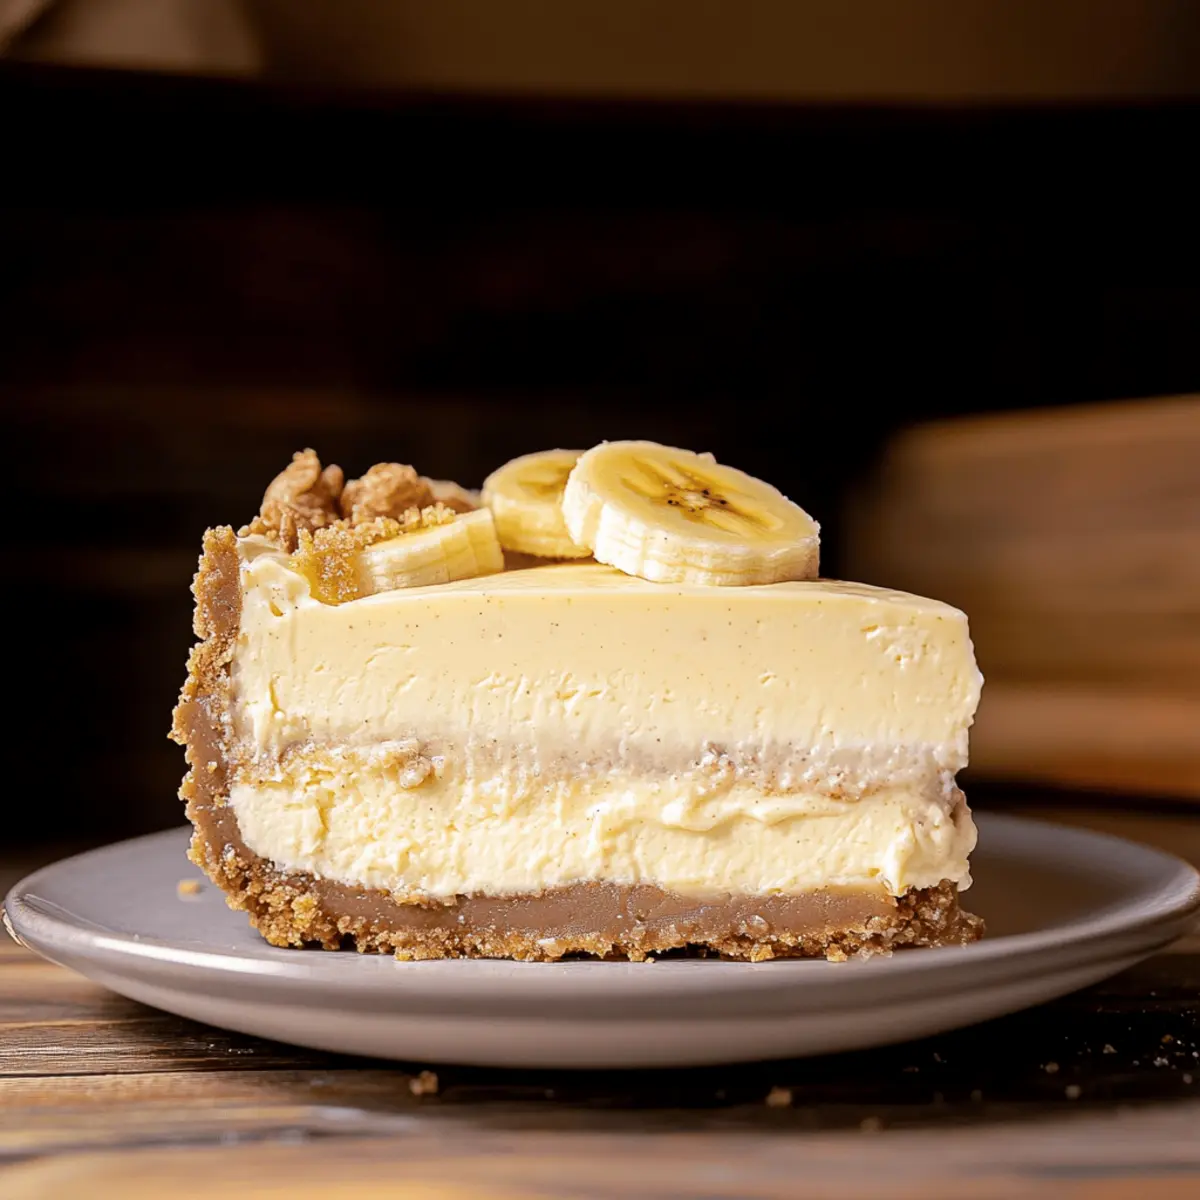
Step 4: Layer the Cheesecake
Carefully pour half of the cheesecake batter over the cooled crust. Arrange the sliced bananas evenly on top, followed by a generous sprinkle of crushed Nilla Wafers for delightful crunch. Pour the remaining cheesecake batter over the layered bananas, smoothing the top with a spatula for an even finish.
Step 5: Create a Water Bath
To prevent the cheesecake from cracking, wrap the outside of the springform pan with aluminum foil, ensuring it’s securely sealed. Place the wrapped pan into a roasting pan and fill it halfway with hot water. This water bath will help maintain moisture during baking, allowing your Banana Pudding Cheesecake to cook evenly for 80-90 minutes or until the edges are set but the center remains slightly wobbly.
Step 6: Cool Slowly
Once baked, turn off the oven and let the cheesecake cool inside with the door slightly ajar for 30 minutes. This gradual cooling prevents drastic temperature changes that can cause cracks. Afterward, transfer the springform to a wire rack and allow it to cool completely before chilling in the refrigerator for at least 6 hours or overnight to develop its flavors.
Step 7: Whip the Topping
When ready to serve, prepare the topping by whisking the instant vanilla pudding mix with cold milk until thickened. In a separate bowl, whip the cold heavy cream until stiff peaks form, then gently fold this into the pudding mixture. This creates a light and fluffy topping that beautifully contrasts with the dense filling of your Banana Pudding Cheesecake.
Step 8: Decorate and Serve
Spread the whipped pudding topping evenly over the chilled cheesecake, creating an inviting finish. Sprinkle crushed Nilla Wafers on top for decoration and added flavor. Slice your creamy Banana Pudding Cheesecake into generous pieces, and delight in this layered masterpiece that’s sure to impress family and friends alike.
Expert Tips for Banana Pudding Cheesecake
-
Room Temperature Ingredients: Allow your cream cheese, sour cream, and eggs to reach room temperature before mixing. This ensures a smooth cheesecake texture without lumps.
-
Prevent Cracks: Use a water bath during baking to maintain moisture, which helps prevent cracks in your cheesecake. Always wrap the springform pan securely in foil.
-
Gradual Cooling: Cool the cheesecake slowly in the oven with the door slightly ajar to stabilize the temperature, helping to avoid cracks in the top.
-
Clean Cuts: For perfect slices, use a sharp knife and dip it in hot water before cutting. Wipe the knife clean between each cut to maintain neat edges.
-
Flavor Variations: Feel free to experiment with mix-ins like chocolate chips or crushed nuts in your banana pudding cheesecake for added flavor and texture.
How to Store and Freeze Banana Pudding Cheesecake
Fridge: Store leftovers in an airtight container for up to 5 days. This keeps the creamy layers and buttery crust fresh, so you can enjoy every delightful bite.
Freezer: Freeze individual slices of banana pudding cheesecake in a freezer-safe container for up to 30 days. Wrap each slice in plastic wrap for extra protection against freezer burn.
Reheating: Thaw frozen slices in the refrigerator overnight. For a warm treat, reheat in a microwave on low power for 15-20 seconds, just until slightly warmed.
Serving Tips: When serving leftovers, consider adding fresh banana slices and crushed Nilla Wafers on top for an appetizing touch that brightens up the cheesecake!
Make Ahead Options
These Banana Pudding Cheesecake options are perfect for busy weeknights or special gatherings, allowing you to plan ahead and save time! You can prepare the Nilla Wafer crust and the cheesecake filling up to 24 hours in advance; simply store them in the refrigerator in airtight containers to maintain freshness. Additionally, slice your bananas and toss them with a bit of lemon juice to prevent browning, then store them separately. When it’s time to serve, layer the prepped filling and bananas in the crust and whip your pudding topping. This way, you’ll have a stunning, homemade dessert ready to impress, all with minimal last-minute effort!
What to Serve with Creamy Banana Pudding Cheesecake
The perfect meal should be a balance of flavors, textures, and a sprinkle of creativity that leaves everyone craving more.
- Classic Vanilla Ice Cream: A scoop alongside warms up the rich flavors of the cheesecake while adding a creamy contrast that delights every spoonful.
- Whipped Cream Topping: Light and airy, it enhances the creamy layers without overpowering; add a sprinkle of cinnamon for warmth!
- Fresh Fruit Salad: A medley of citrus and berries offers a refreshing contrast that cuts through the richness of the cheesecake.
- Chocolate Drizzle: A decadent touch of melted chocolate elevates flavor profiles, creating a luxurious experience that’s hard to resist.
- Coffee or Espresso: The robust flavors of coffee complement the sweetness of the cheesecake beautifully, perfect for a warm finishing touch after a dinner gathering.
- Spiced Nuts: Add some crunch with spiced pecans or walnuts for a delightful flavor contrast; their saltiness balances the sweetness of the cheesecake.
Imagine indulging your senses with this rich Banana Pudding Cheesecake paired alongside a warm cup of coffee, enveloping you in a cozy embrace. The delicious interplay of flavors and textures turns dessert into an unforgettable moment worth savoring.
Banana Pudding Cheesecake Variations
Get creative with ways to enhance this delicious recipe and make it your own!
-
Mini Cheesecakes: Divide the batter into a muffin tin for cute, individual portions. Bake for 18-20 minutes until set.
-
Cheesecake Bars: Halve the ingredients and pour into an 8×8 or 9×9 pan for delicious, shareable bars! Just ensure you layer them prettily for an eye-catching treat.
-
Dairy-Free Delight: Swap cream cheese and heavy cream with coconut cream and vegan cream cheese for a dairy-free option. The flavor & texture will still enchant you!
-
Chocolate Lovers: Add mini chocolate chips to the batter for an irresistible twist. Chocolate and banana create a blissfully sweet combination—perfect for chocoholics!
-
Nutty Crunch: Incorporate crushed nuts like walnuts or pecans into the Nilla Wafer crust for added texture. Their rich flavor complements the sweetness of the bananas beautifully.
-
Extra Sweetness: Drizzle caramel sauce over the topping before serving, giving your cheesecake a luscious, decadent flair that will have everyone reaching for seconds!
-
Spicy Kick: Add a pinch of cinnamon or nutmeg to the cheesecake batter for a warm, spicy undertone—think of it as a new take on the classic!
For more creative cheesecake ideas, swing by my Velvet Strawberry Cheesecake and Velvet Strawberry Cheesecake recipes!
Banana Pudding Cheesecake Recipe FAQs
What type of bananas should I use for the best flavor?
Absolutely! For the most delicious Banana Pudding Cheesecake, opt for well-ripened bananas. Look for bananas that have golden skins with some brown spots; these indicate they are sweet and perfect for mashing into your cheesecake filling. Avoid overly green bananas, as they won’t provide that rich, sweet flavor you desire.
How should I store leftovers of the Banana Pudding Cheesecake?
Very good question! Store any leftover Banana Pudding Cheesecake in an airtight container in the fridge for up to 5 days. If you want to preserve it for longer, you can freeze individual slices in freezer-safe containers wrapped in plastic wrap. This way, they’ll stay fresh for up to 30 days!
Can I freeze the Banana Pudding Cheesecake?
Absolutely! To freeze the Banana Pudding Cheesecake, first, let it cool completely. Then slice it into portions, wrap each slice tightly in plastic wrap, and place them in a freezer-safe container. This method helps maintain the pie’s flavor and texture when frozen for up to 30 days. When ready to enjoy, thaw them in the fridge overnight.
Why did my cheesecake crack during baking?
No worries! If your Banana Pudding Cheesecake cracked, it might be due to a few factors. First, make sure to use a water bath while baking to maintain moisture—this prevents cracking. Additionally, avoid overmixing as it can incorporate too much air, leading to cracks. Lastly, cooling the cheesecake gradually in the oven with the door slightly ajar helps stabilize it and prevents abrupt temperature changes.
Are there any allergy considerations I should keep in mind?
Great question! This Banana Pudding Cheesecake contains dairy and eggs, which are common allergens. For a dairy-free option, you can substitute the cream cheese with a dairy-free cream cheese alternative, use coconut milk for the heavy cream, and opt for non-dairy milk. However, always read labels to be sure your substitutes are allergen-free if you are cooking for someone with allergies.
Banana Pudding Cheesecake: A Creamy Slice of Bliss
Ingredients
Equipment
Method
- Preheat your oven to 325°F (163°C) and prepare a 9-inch springform pan by greasing it and lining the bottom with parchment paper.
- In a food processor, blend Nilla Wafers until fine crumbs. Combine with brown sugar and melted butter; press into the prepared pan. Bake for 11 minutes, then cool.
- Beat cream cheese and granulated sugar until smooth. Add mashed bananas, vanilla extract, sour cream, and heavy cream. Mix until slightly lumpy, then beat in eggs one at a time.
- Pour half of the cheesecake batter over the cooled crust, layer with sliced bananas and crushed Nilla Wafers. Pour remaining batter over the top.
- Wrap the springform pan with foil and place it in a roasting pan filled halfway with hot water. Bake for 80-90 minutes until edges are set and center is wobbly.
- Turn off the oven and let the cheesecake cool inside with the door slightly ajar for 30 minutes. Then transfer to a wire rack to cool completely; refrigerate for at least 6 hours.
- Whisk the instant vanilla pudding mix with cold milk until thickened. Whip remaining cold heavy cream until stiff peaks form, then fold into pudding.
- Spread the whipped pudding topping over the chilled cheesecake. Sprinkle with crushed Nilla Wafers and serve.
Leave a Reply