
You wouldn’t believe the excitement my kids had when I unveiled these Adorable Easter Dirt Cups with Peeps at our family gathering! Each cup is a delightful work of art, layering creamy vanilla pudding and crunchy Oreo cookies for a fun, whimsical dessert. These Easter Dirt Cups aren’t just a hit with kids; adults can’t help but feel a wave of nostalgia alongside that sugary joy. The best part? They come together in mere minutes, making them the perfect festive treat for any spring celebration. Plus, they can be prepped ahead of time, so you can focus on making memories without the stress. Who’s ready to dig into layers of creamy goodness?
Why are Easter Dirt Cups so fun?
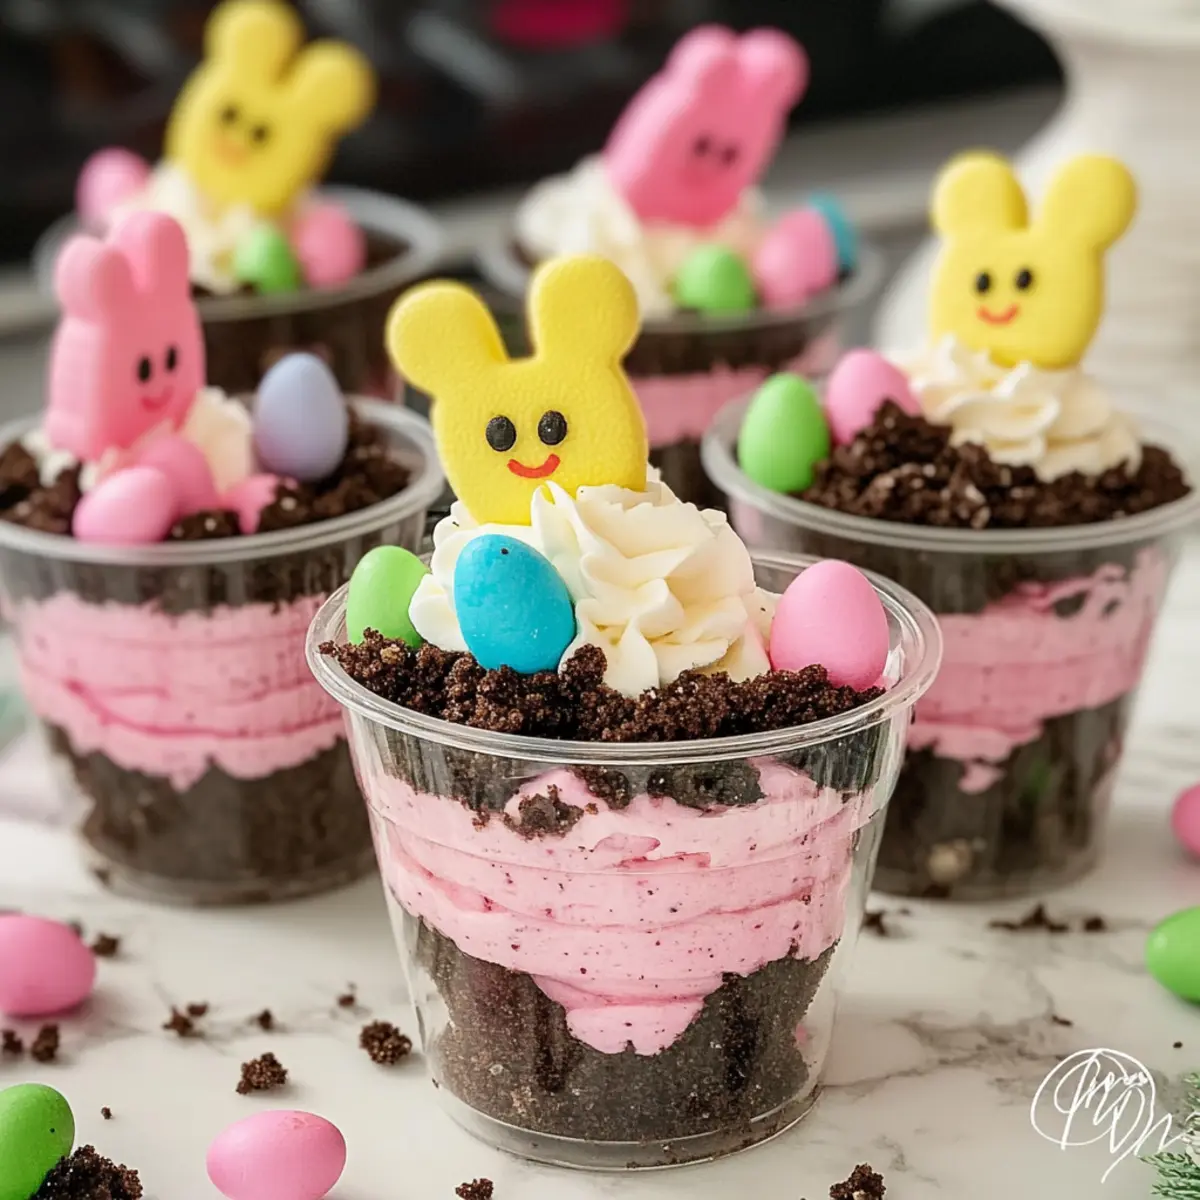
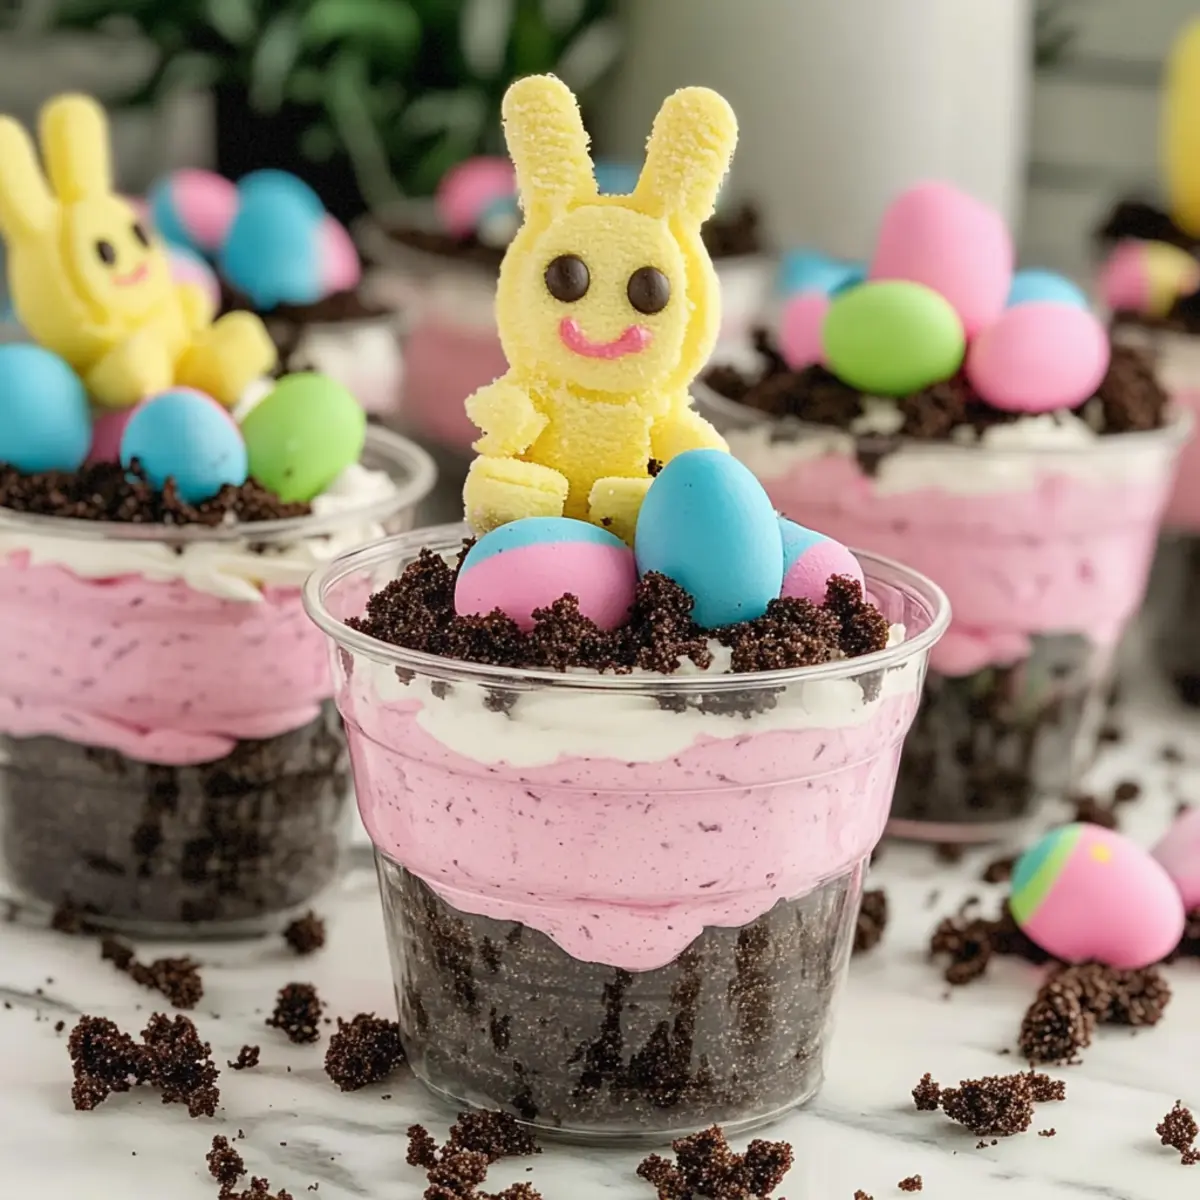
Delightful Appeal: With their colorful layers and whimsical Peeps on top, these cups are eye-catching and perfect for Easter celebrations.
Quick to Prepare: Ready in minutes, they’re ideal for busy schedules and last-minute gatherings.
Fun for All Ages: Both kids and adults enjoy this nostalgic treat, making it a hit at any party.
Customizable Layers: You can easily swap flavors or toppings, like using chocolate pudding or fresh fruit, adding your personal touch!
Make Ahead: Prepare these cups a day in advance, ensuring you can chill and enjoy the festivities without a hassle.
Dig into these delightful Easter Dirt Cups and bring joy to your spring celebrations!
Easter Dirt Cups Ingredients
Get ready to craft delicious Easter Dirt Cups!
For the Cup Layers
- Oreos – Provides the dessert’s crunch and a chocolatey flavor; finely pulse for better texture; substitute with chocolate cookies if desired.
- Vanilla Pudding – Creates a creamy base; can be substituted with chocolate or banana pudding for different flavors.
- Whole Milk – Essential for mixing with the pudding to reach the right consistency; use almond milk for a dairy-free option.
- Cool Whip – Adds lightness and creaminess to the pudding; homemade whipped cream can be a fresh alternative.
For the Topping
- Mini Egg Chocolate Candy – Used as decorative and edible topping; any chocolate egg or sprinkles can be used instead.
- Peeps (Bunny) – Decorative marshmallow topping that enhances the Easter theme; can be replaced with chocolate-covered strawberries or other seasonal candies.
Prepare these delightful Easter Dirt Cups for a sweet treat that will bring smiles to everyone’s faces!
Step‑by‑Step Instructions for Easter Dirt Cups
Step 1: Prepare the Cups
Start by gathering twelve 8-ounce cups and place them on a stable surface. Next, use a food processor or a zip-top bag and rolling pin to finely crush your Oreos until they resemble coarse crumbs. Add about 1½ tablespoons of these crushed Oreos to the bottom of each cup, setting a delightful base for your Easter Dirt Cups.
Step 2: Make the Pudding Mixture
In a large mixing bowl, combine one package of vanilla pudding mix with 2 cups of cold whole milk. Using a whisk, mix vigorously for about 2 minutes until the mixture thickens and becomes smooth. This creamy pudding layer is the heart of your delightful Easter Dirt Cups, ensuring each bite is rich and indulgent.
Step 3: Fold in Cool Whip
Once the pudding mixture is ready, gently fold in one container of thawed Cool Whip using a spatula. This step adds a light and airy texture to the pudding. Be careful to maintain the fluffiness by incorporating the Cool Whip slowly until well blended, resulting in the perfect creamy consistency for your layers.
Step 4: Layer the Cups
Spoon 2 heaping tablespoons of the creamy pudding mixture into each prepared cup, carefully layering it over the crushed Oreo base. Follow this by sprinkling another layer of 1½ tablespoons of the crushed Oreos on top. This will create the first distinct layer of your beautiful Easter Dirt Cups, combining creamy and crunchy textures.
Step 5: Repeat the Layers
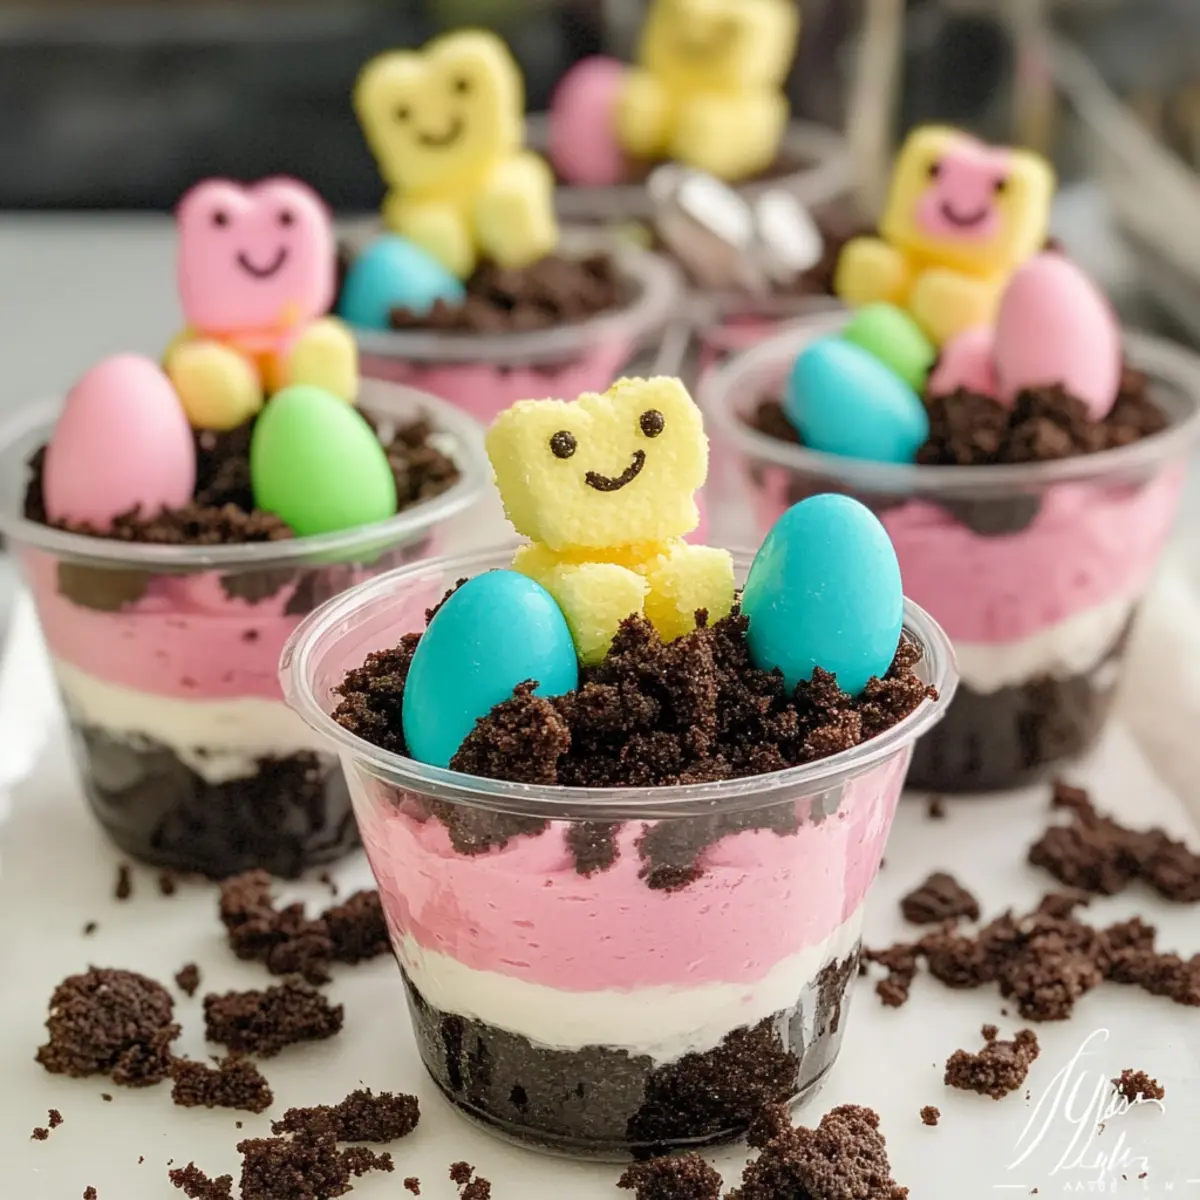
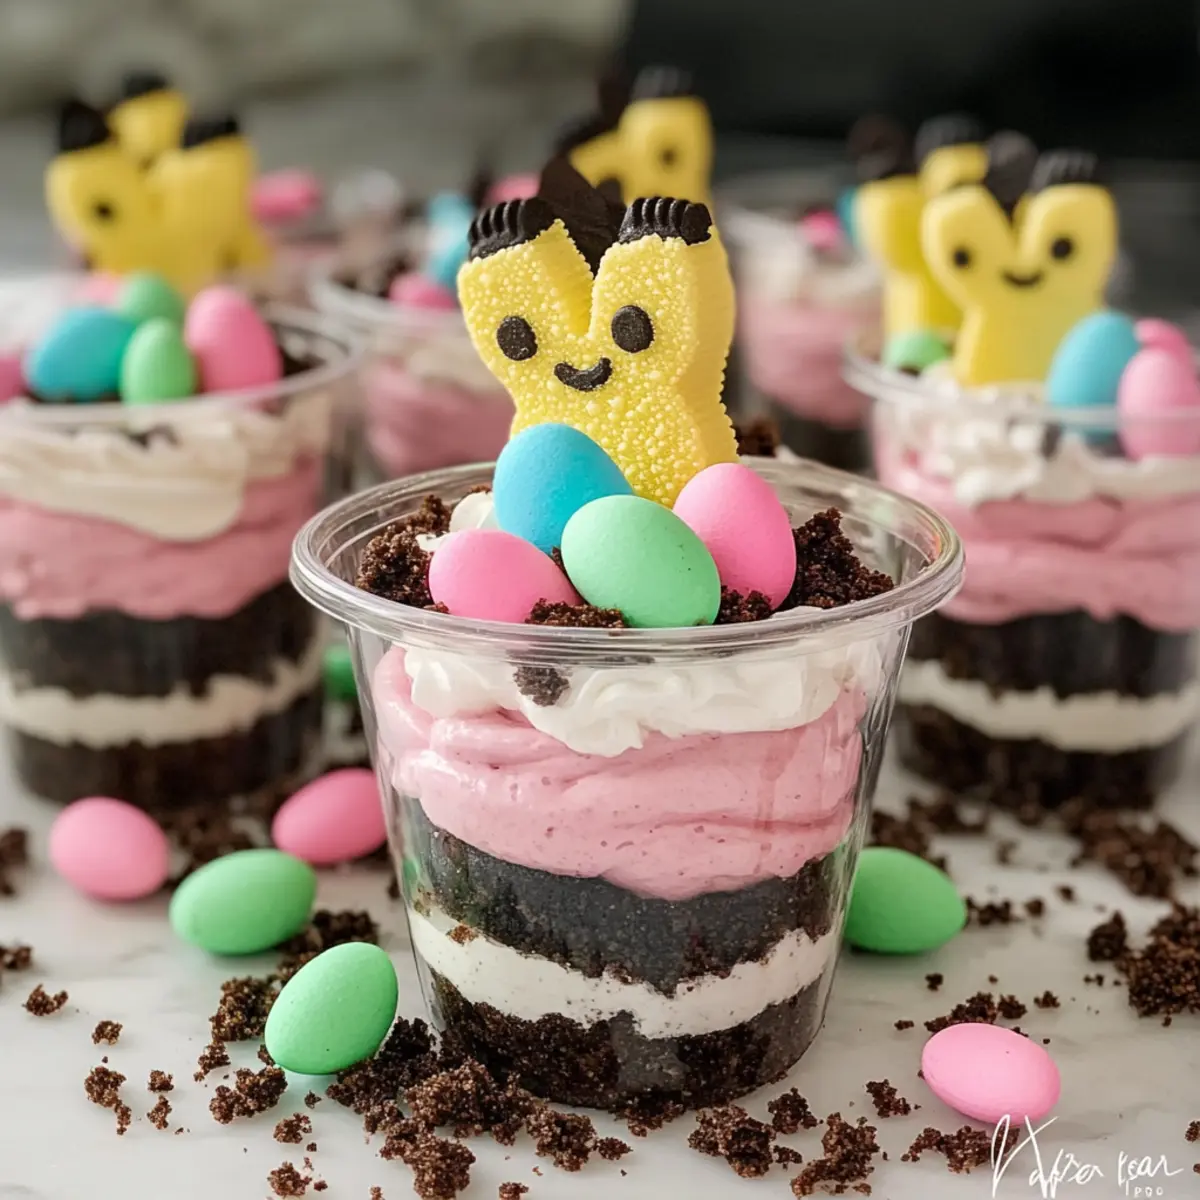
Continue layering with the pudding mixture and crushed Oreos until you fill each cup, ending with a smaller layer of Oreo crumbs on top for that finishing touch. Aim for three layers of pudding and Oreos to achieve an appealing multi-layer effect in your Easter Dirt Cups, creating a delightful visual treat.
Step 6: Chill the Cups
After assembling the layers, refrigerate the cups for at least 1 hour. This chilling step is essential as it allows the flavors to meld together and the pudding to set properly. When you take them out, they should be firm but creamy, ready for that delicious Easter celebration.
Step 7: Decorate with Toppings
Before serving, generously top each cup with at least three mini chocolate eggs and place one colorful Peep candy on top. The vibrant colors and playful toppings not only enhance the visual appeal but also add a festive flair to your Easter Dirt Cups, making them irresistible at gatherings.
Step 8: Serve and Enjoy
Once decorated, your Easter Dirt Cups are ready to be enjoyed! Take them out of the refrigerator and present them on a festive tray. Each cup brings a scoop of joy with layers of creamy pudding and crunchy cookies, a delightful indulgence that everyone will love during your spring celebrations.
Easter Dirt Cups: Customize Your Delight
Feel free to get creative and personalize your Easter Dirt Cups with fun twists and substitutions that will ignite your taste buds!
-
Dairy-Free: Substitute whole milk and Cool Whip with almond milk and coconut whipped cream for a creamy yet dairy-free delight. Enjoy the same festive taste, without the dairy!
-
Chocolate Lovers: Switch vanilla pudding for chocolate pudding to add a rich, chocolaty layer. It’s the perfect treat for those who can’t resist chocolate – truly indulgent!
-
Fruity Twist: Mix in some crushed strawberries or raspberries between pudding layers. The freshness of fruit adds a vibrant flavor that complements the creamy layers beautifully.
-
Nutty Crunch: For an added texture, sprinkle chopped nuts between layers. Peanuts or almonds can add a delightful crunch that contrasts the soft pudding perfectly.
-
Peep Alternatives: If you’re not a fan of Peeps, top your cups with chocolate-covered strawberries or seasonal candy for an equally delightful finish that looks just as festive.
-
Fun Sprinkles: Add a layer of colorful edible sprinkles for a fun pop of color. It’s a delightful way to engage kids and make the dessert even more festive!
-
Lower Sugar Option: Opt for sugar-free pudding and a light whipped topping to enjoy a guilt-free dessert without sacrificing the fun flavors you love.
-
Layered Jab: Consider layering some cookie dough-flavored ice cream between the pudding layers for a cool and creamy surprise in the center! It’s a playful take on the original.
For more ideas that can take your creations to the next level or lend a helping hand with dessert inspiration, check out these delicious holiday-themed gummies or seasonal fruits that add a little twist!
Expert Tips for Easter Dirt Cups
-
Perfectly Crushed Oreos: Aim for a fine consistency when crushing Oreos to avoid big chunks; a food processor works wonders for this.
-
Smooth Pudding Mixture: Whisk the pudding mixture thoroughly to eliminate lumps, ensuring your Easter Dirt Cups have that silky, creamy texture.
-
Chilling is Key: Allow the cups to chill for at least 1 hour to set properly; this makes a noticeable difference in the final consistency.
-
Layer Creatively: Get creative with layers! Consider adding flavored extracts or crushed fruits for an extra burst of flavor in your Easter Dirt Cups.
-
Customize Toppings: Feel free to tweak the toppings based on the festive season; swap Peeps for seasonal fruits or themed candies to match any occasion.
Make Ahead Options
These adorable Easter Dirt Cups with Peeps are perfect for meal prep! You can assemble the layers of crushed Oreos, pudding, and Cool Whip up to 24 hours in advance. Simply prepare the cups according to the instructions, then cover them with plastic wrap and refrigerate to prevent any spoilage. By chilling overnight, you allow the flavors to meld beautifully without sacrificing the dessert’s quality—each cup will be just as delicious when served. When ready to serve, all you need to do is top each cup with mini chocolate eggs and a vibrant Peep. This way, you can enjoy a stress-free celebration while impressing your guests!
How to Store and Freeze Easter Dirt Cups
Fridge: Store leftover Easter Dirt Cups in an airtight container in the fridge for up to 3 days. Cover the cups with plastic wrap to keep them fresh and prevent them from drying out.
Freezer: While it’s best to enjoy these cups fresh, you can freeze them for up to 2 months. Make sure to remove any toppings like Peeps before freezing, as they don’t freeze well.
Reheating: If you’ve frozen your cups, thaw them in the fridge overnight before serving. Avoid reheating these treats; they’re best served chilled and fresh!
Make Ahead: Prepare these Easter Dirt Cups a day in advance to save time. Just be sure to store them covered in the refrigerator to maintain their delightful creaminess.
What to Serve with Easter Dirt Cups
Delight your guests with the perfect accompaniments to elevate your celebration!
- Fresh Fruit Salad: A colorful mix of seasonal fruits adds freshness and balances the sweetness of the cups.
- Chocolate Milk: A creamy, nostalgic drink that complements the chocolatey Oreo layers beautifully, perfect for kids and adults alike.
- Vanilla Ice Cream: A scoop of smooth vanilla ice cream adds richness, making every bite a delightful combination of textures.
- Peach Iced Tea: This lightly sweetened, fruity beverage refreshes the palate, enhancing the overall festive atmosphere.
For a charming twist, serve each cup alongside small jars of colorful sprinkles for a DIY topping station. It’s a fun way for guests to get creative while enjoying these whimsical treats!
Easter Dirt Cups Recipe FAQs
What type of Oreos should I use for the layers?
Absolutely! Regular Oreos provide a wonderful chocolatey crunch, but you can use any chocolate cookie if desired, such as chocolate cream-filled cookies. Finely pulsing them for a better texture is recommended; this way, they blend beautifully between the layers.
How should I store leftover Easter Dirt Cups?
These delightful Easter Dirt Cups can be stored in an airtight container in the fridge for up to 3 days. Cover each cup with plastic wrap to maintain freshness and avoid drying out. Keeping them chilled ensures the creamy layers stay delightful!
Can I freeze Easter Dirt Cups?
Very much! To freeze, remove any toppings like Peeps, which don’t freeze well. Place the cups in an airtight container or tightly wrap them. They can be frozen for up to 2 months. When you’re ready to enjoy, just thaw them overnight in the fridge—their delightful flavors will still shine!
What should I do if my pudding mixture becomes lumpy?
If you find lumps in your pudding mixture, don’t worry! Simply whisk it vigorously for an additional couple of minutes, adding a splash of milk to loosen it up if needed. If it’s still not smooth, you can strain the mixture through a fine sieve to achieve that perfect silky texture!
Are there any dietary considerations for these cups?
Absolutely! While Easter Dirt Cups are generally kid-friendly, consider dietary restrictions such as dairy allergies. You can easily substitute regular ingredients with dairy-free options, like almond milk instead of whole milk and coconut whipped cream instead of Cool Whip, ensuring everyone can indulge in this festive treat!
How long should I chill the Easter Dirt Cups before serving?
Chilling the cups for at least 1 hour is essential for achieving the perfect consistency. This allows the layers to set and the flavors to meld wonderfully. If you have the time, chilling them longer—up to 3 hours—can enhance the creaminess and overall satisfaction of each bite!
Easter Dirt Cups: Delightful Treats for Spring Celebrations
Ingredients
Equipment
Method
- Gather twelve 8-ounce cups and finely crush the Oreos. Add about 1½ tablespoons of crushed Oreos to the bottom of each cup.
- In a mixing bowl, combine the vanilla pudding mix with cold milk and whisk for about 2 minutes until thickened.
- Gently fold in the thawed Cool Whip until well blended to add lightness to the mixture.
- Spoon 2 heaping tablespoons of the pudding mixture into each cup over the Oreo base, then sprinkle another layer of crushed Oreos on top.
- Continue layering with pudding and crushed Oreos, ending with a smaller layer of Oreo crumbs on top.
- Refrigerate the cups for at least 1 hour to allow flavors to meld and the pudding to set.
- Before serving, top each cup with mini chocolate eggs and a colorful Peep candy.
- Serve the cups on a festive tray and enjoy the layers of creamy pudding and crunchy cookies.
Leave a Reply