
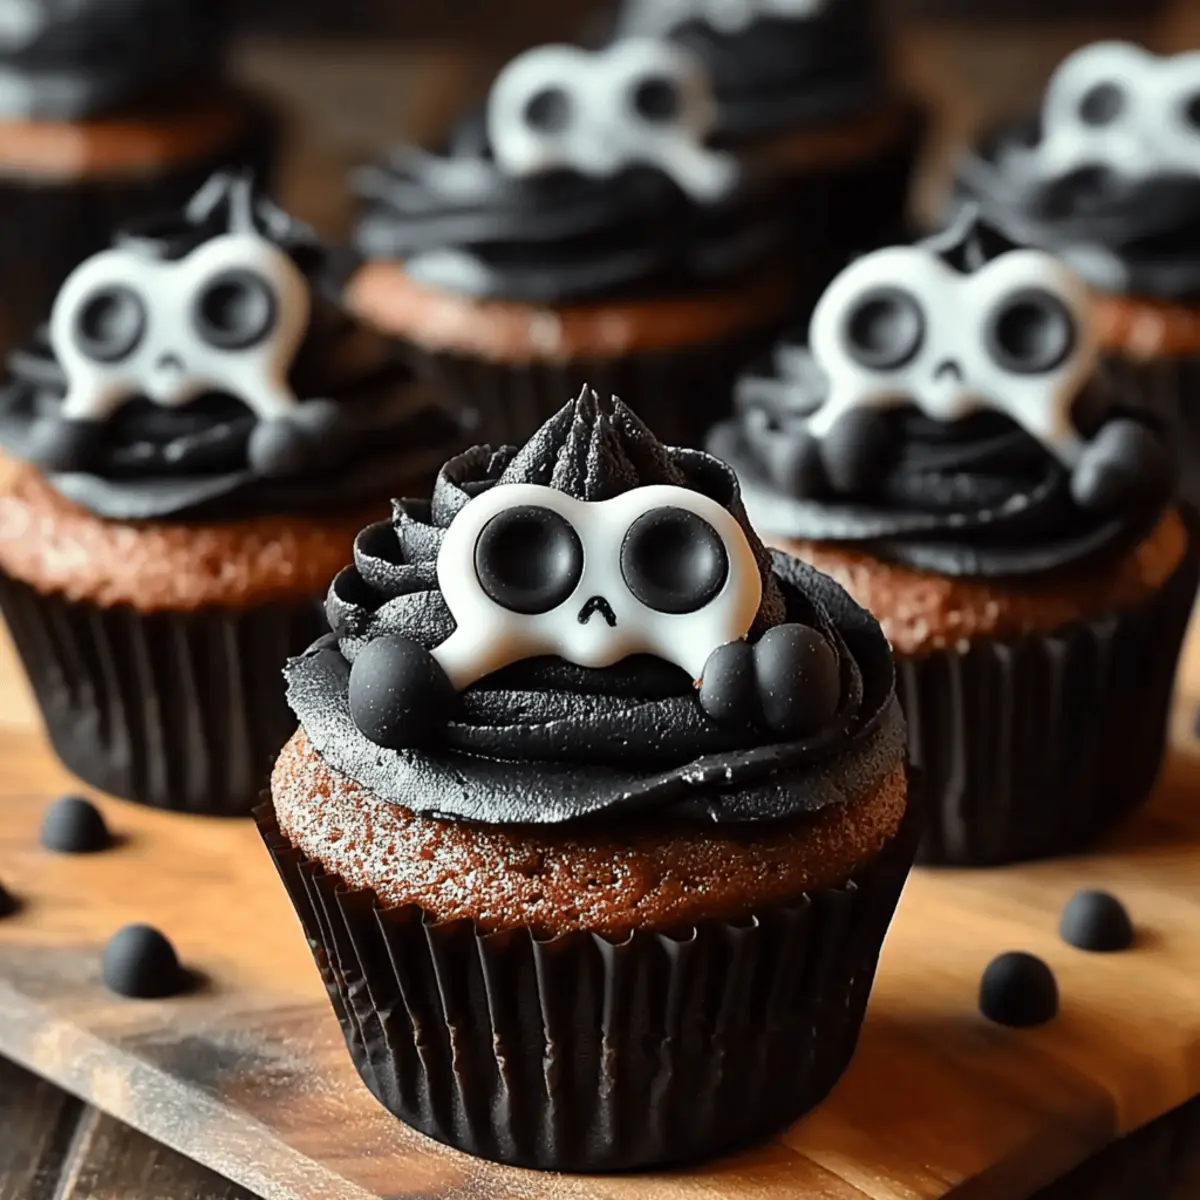
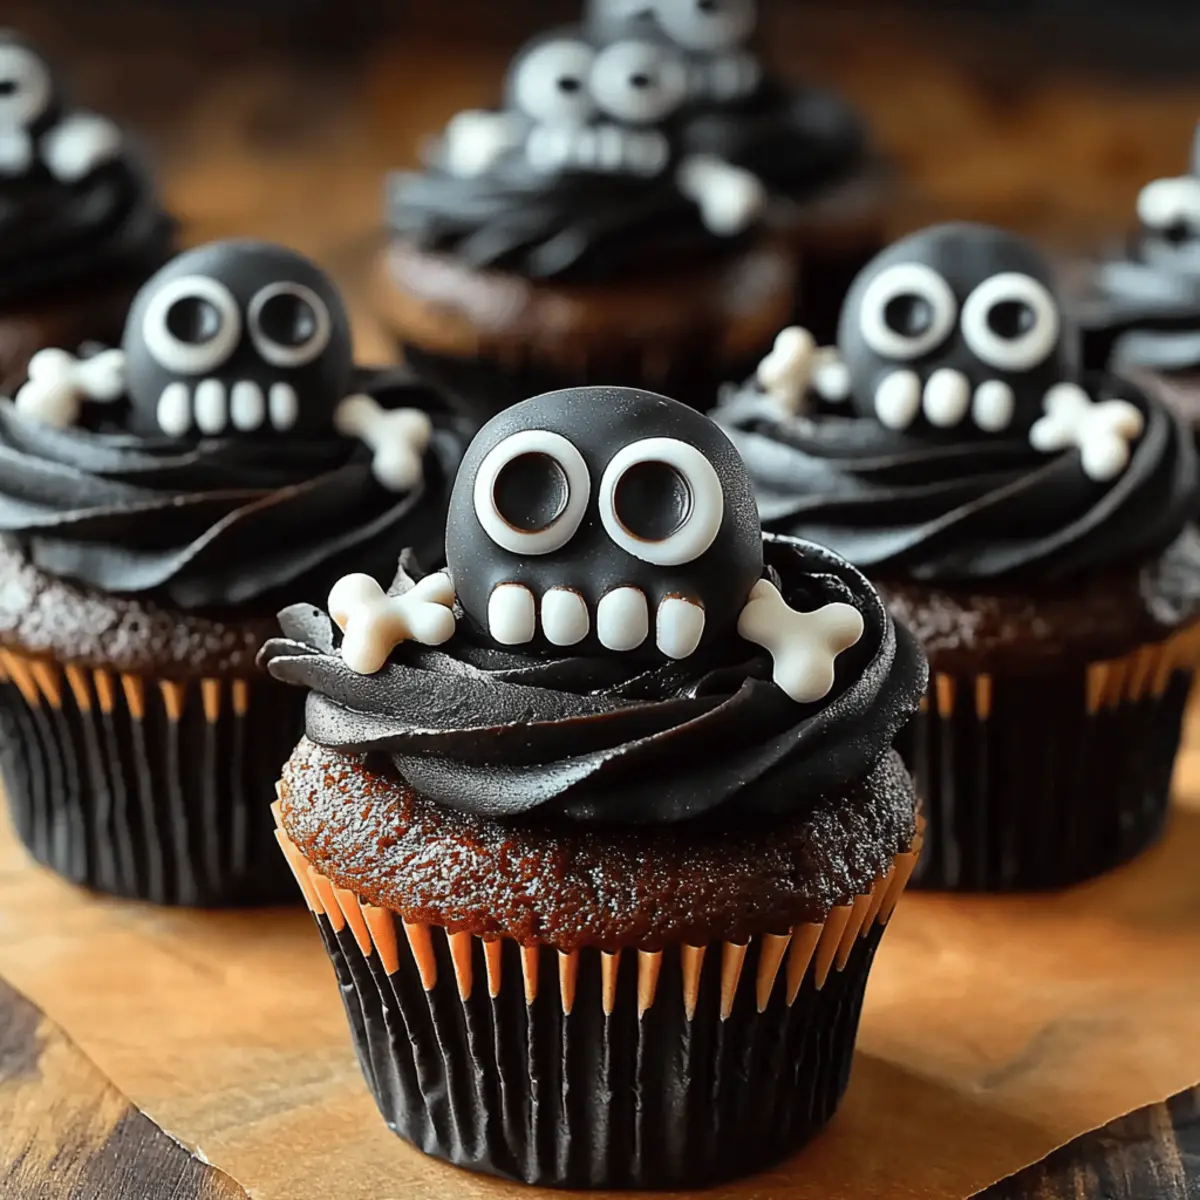
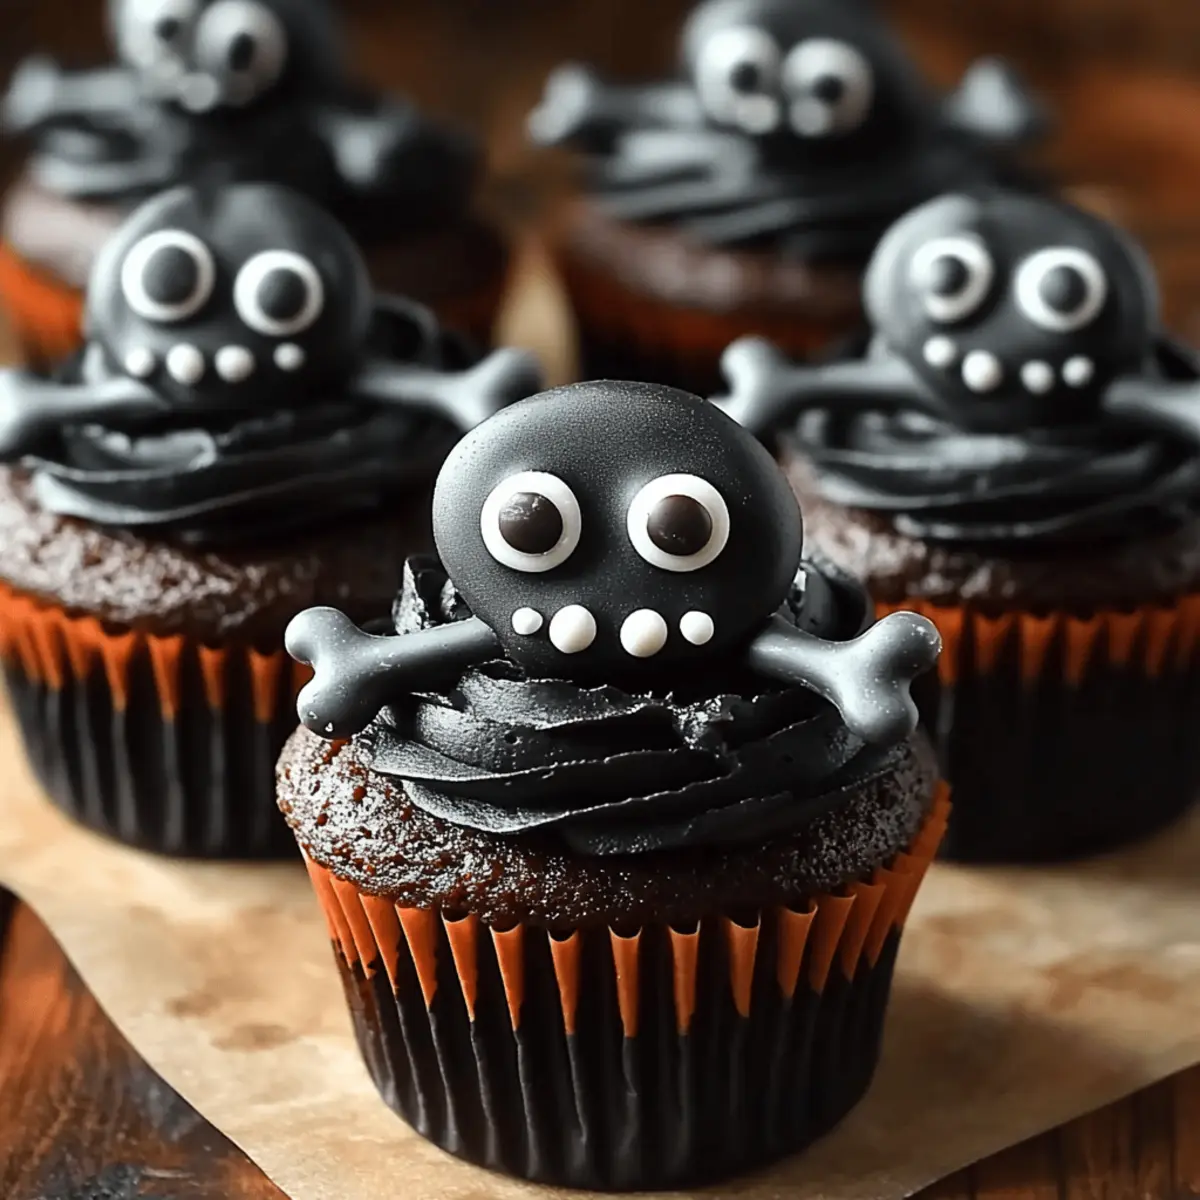
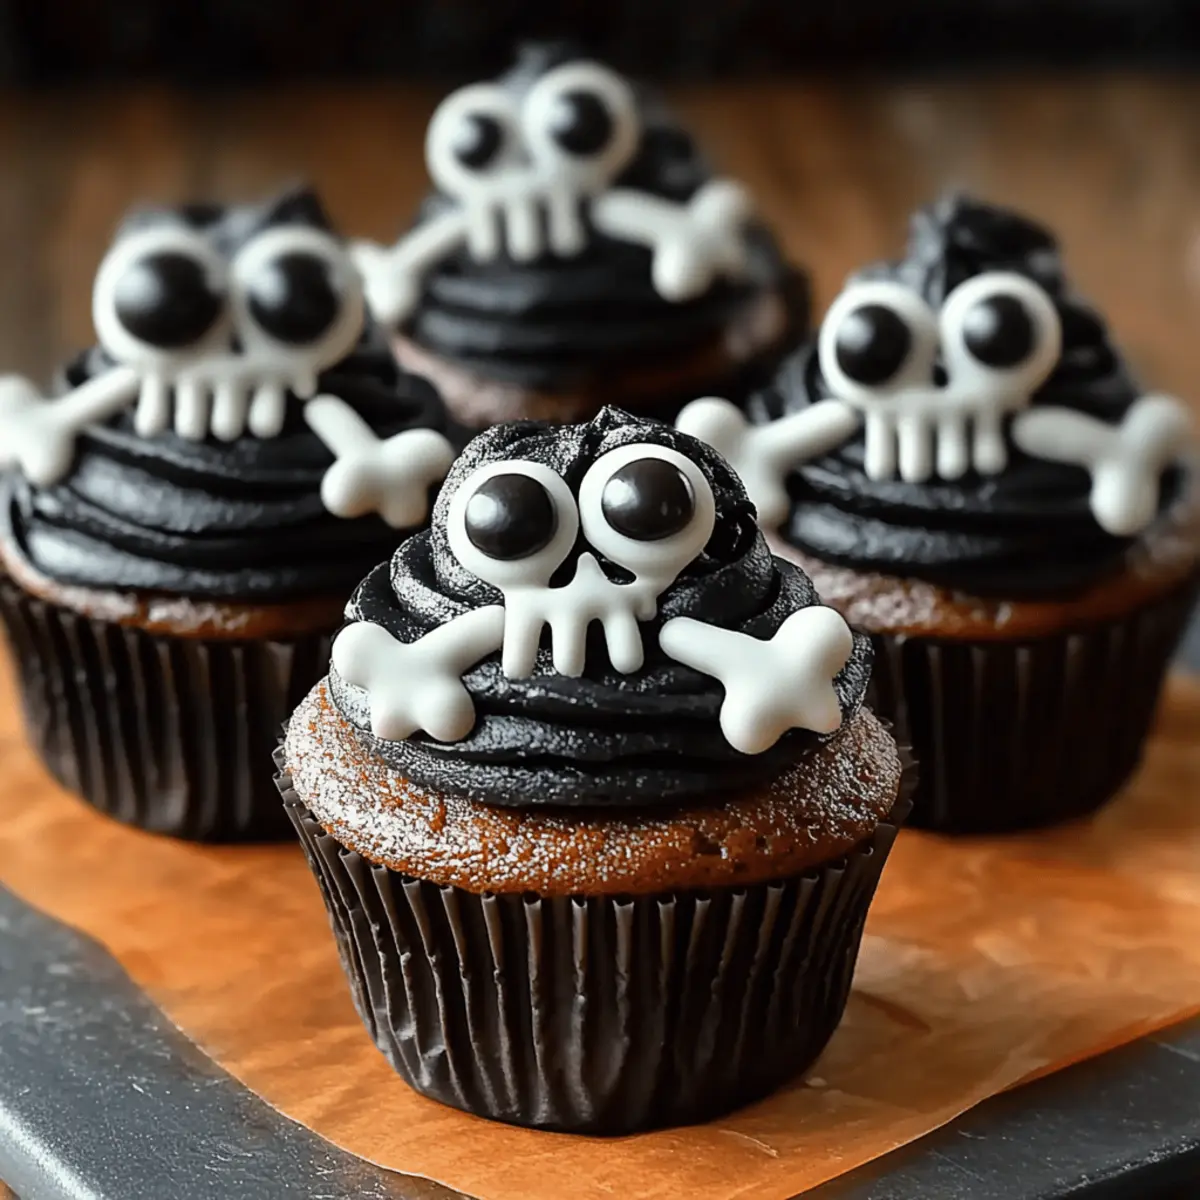
As the air turns crisp and leaves twirl to the ground, it’s time to summon your inner baker for a hauntingly delightful treat: Skeleton Cupcakes! These charmingly spooky cupcakes are rich in chocolatey goodness and topped with eerily fun black frosting, making them an unforgettable centerpiece for any Halloween celebration. Not only are they easy to whip up—perfect for beginners—but they also invite playful creativity with their whimsical decorations. Plus, with options for gluten-free and reduced-sugar adaptations, you can cater to guests without sacrificing the festive spirit. Ready to make your Halloween gathering a memorable one? Let’s dive into this bewitching recipe!
Why Are Skeleton Cupcakes So Fun?
Deliciously Spooky: These cupcakes offer the perfect combination of rich chocolate flavor and whimsical decorations, making them a treat for the eyes and taste buds alike.
Easy to Make: With straightforward instructions, even novice bakers can confidently whip up these delightful desserts in no time!
Flexible Options: Whether you’re gluten-free or looking to cut back on sugar, this recipe easily accommodates dietary needs without losing its festive fun.
Eye-Catching Presentation: The candy eyes and chocolate bones provide a playful and engaging display that’s sure to impress party guests. Don’t forget to pair them with some spooky snacks for an unforgettable feast!
Perfect for Halloween Parties: Skeleton Cupcakes are a crowd-pleaser at any Halloween gathering, making you the star of the celebration!
Skeleton Cupcake Ingredients
For the Cupcakes
- All-purpose flour – Provides structure; substitute with a gluten-free flour blend for a gluten-free version.
- Granulated sugar – Adds sweetness; can replace with a sugar substitute to reduce calories.
- Unsweetened cocoa powder – Imparts rich chocolate flavor; use Dutch-process cocoa for a deeper taste.
- Baking powder – Helps the cupcakes rise; ensure it’s fresh for best results.
- Baking soda – Works with acidic ingredients to leaven the batter.
- Salt – Enhances flavor; don’t skip as it balances sweetness.
- Unsalted butter – Adds moisture and richness; margarine can be used in a pinch.
- Large eggs – Binds ingredients and adds moisture; swap with flaxseed meal for vegan options.
- Vanilla extract – Adds depth of flavor; this ingredient is best left unchanged.
- Milk – Provides moisture; substitute with almond milk or any plant milk for dairy-free options.
For the Frosting
- Powdered sugar – Base for frosting sweetness; essential for achieving the right texture.
- Heavy cream – Creates a smooth and fluffy frosting; half-and-half works if the cream isn’t available.
- Black food coloring – Achieves the spooky frosting color; adjust the amount for desired shade.
For Decoration
- Candy eyes – For decorating, representing the skeleton’s face; no substitutes unless using icing.
- Chocolate bones or pretzel sticks – Adds fun visuals for limbs; edible decoration options.
- Red gel food coloring – Optional for a bloody effect.
Get ready to unleash your creativity with these fun Skeleton Cupcakes that will charm all your Halloween guests!
Step‑by‑Step Instructions for Skeleton Cupcakes
Step 1: Preheat the Oven
Begin your spooky baking adventure by preheating your oven to 350°F (175°C). This step is crucial to ensure that your Skeleton Cupcakes bake evenly and achieve that perfect fluffy texture. While the oven heats up, gather your ingredients and mixing bowls for a smooth prep process.
Step 2: Mix Dry Ingredients
In a spacious mixing bowl, whisk together the all-purpose flour, granulated sugar, unsweetened cocoa powder, baking powder, baking soda, and salt. This blend will create the base of your Skeleton Cupcakes, adding sweetness and a rich chocolate flavor. Mix until well combined, ensuring no lumps remain in your dry mix.
Step 3: Combine Wet Ingredients
In a separate bowl, beat together the softened unsalted butter, large eggs, vanilla extract, and milk until the mixture is creamy and smooth. This wet blend brings moisture and richness to your Skeleton Cupcakes, enhancing their irresistible flavor. Make sure the butter is at room temperature for easier mixing and a lovely cake texture.
Step 4: Mix Together
Gradually pour the wet ingredients into the bowl of dry ingredients, folding them together gently. Be careful not to overmix, as this could lead to dense cupcakes. Stir until just combined, and you see no dry flour, keeping the batter light and airy, which is essential for the best Skeleton Cupcakes.
Step 5: Prepare the Cupcake Tin
Line a cupcake tin with paper liners to prevent sticking and to make for easy removal. Fill each liner about two-thirds full with your delicious batter—this ensures enough room for the cupcakes to rise beautifully. It’s time to bring some spooky magic to your festive baking!
Step 6: Bake the Cupcakes
Place your filled cupcake tin in the preheated oven and bake for approximately 20 minutes. Keep an eye on them! They’re ready when a toothpick inserted comes out clean, and they spring back lightly when pressed. Once done, remove the tin from the oven and allow cupcakes to rest for 5 minutes.
Step 7: Cool the Cupcakes
Using an oven mitt, carefully transfer the cupcakes to a wire rack to cool completely. Allowing them to cool is vital before frosting so that your delicious black frosting doesn’t melt away; patience pays off in making your Skeleton Cupcakes a delightfully spooky sensation.
Step 8: Prepare the Frosting
In a mixing bowl, beat softened butter until fluffy, then gradually add the powdered sugar. Pour in the heavy cream, vanilla extract, and black food coloring, mixing until your frosting is smooth and light. The spooky black hue will make your Skeleton Cupcakes truly festive; adjust the food coloring to achieve your desired shade.
Step 9: Frost the Cupcakes
Once your cupcakes are completely cool, it’s time to frost! Use a piping bag or spatula to generously frost each cupcake, covering them with the delightful black frosting. This snowy coating not only adds to the aesthetics but also enhances the rich chocolate flavor in your Skeleton Cupcakes.
Step 10: Decorate for Spookiness
Now for the fun part—decorate! Place candy eyes on top of the frosted cupcakes, and adorn them with chocolate bones or pretzel sticks as limbs. For an added eerie effect, you can drizzle red gel food coloring around the eyes, giving your Skeleton Cupcakes a blood-chilling look that’s sure to impress!
Skeleton Cupcakes Variations & Substitutions
Feel free to let your imagination run wild and customize these festive Skeleton Cupcakes to suit your taste and dietary preferences!
- Gluten-Free: Substitute all-purpose flour with a gluten-free flour blend for a deliciously inclusive treat.
- Reduced Sugar: Use a sugar alternative in the frosting to cut down on calories without sacrificing sweetness.
- Dairy-Free: Swap milk for almond milk or any plant-based milk; you can also opt for dairy-free butter for the frosting.
- Decorative Twist: Add orange food coloring to the frosting for a playful Halloween vibe, giving a fun contrast to the black!
- Vegan Option: Replace eggs with flaxseed meal or applesauce to create a vegan version of these delightful cupcakes.
- Texture Variation: Fold in some mini chocolate chips into the batter for an extra chocolatey surprise in every bite.
- Spice It Up: Add a pinch of cinnamon or nutmeg to the batter for a warm, seasonal flavor that elevates your chocolate cupcakes.
- Creative Toppings: Use crushed cookies or edible glitter to sprinkle on top for added texture and visual appeal.
Don’t hesitate to explore these options and create your perfect spooky treat! You may also enjoy pairing your Skeleton Cupcakes with some fun Witch’s Brew Punch for added festivity or perhaps whip up a batch of Mummy Hot Dogs as a savory complement to your sweet spread. Happy baking!
How to Store and Freeze Skeleton Cupcakes
Room Temperature: Keep your Skeleton Cupcakes in an airtight container at room temperature for up to 3 days, ensuring they remain moist and delicious.
Fridge: If you choose to refrigerate them, the decorated cupcakes can stay fresh for about 5 days. Just remember to let them return to room temperature before serving for the best taste.
Freezer: For longer storage, freeze un-frosted Skeleton Cupcakes in a single layer, wrapped tightly in plastic wrap, for up to 3 months. Thaw at room temperature before frosting.
Reheating: If you enjoy your cupcakes warm, gently microwave individual cupcakes for about 10-15 seconds, ensuring they retain their moist texture without melting the frosting.
Expert Tips for Skeleton Cupcakes
Mix Gently: Avoid overmixing the batter; stir until just combined to ensure fluffy Skeleton Cupcakes.
Room Temperature Butter: Ensure your butter is softened to room temperature for easy mixing and optimal texture in your cupcakes.
Cool Completely: Allow cupcakes to cool fully before frosting; this prevents the frosting from melting and losing its spooky appearance.
Frosting Technique: Using a piping bag can make frosting smoother and more decorative, helping your Skeleton Cupcakes shine at any Halloween party.
Flavor Variations: Don’t hesitate to experiment! You can add spices like cinnamon for a warming twist or try different decorative toppings to personalize your spooky treats.
What to Serve with Skeleton Cupcakes?
Get ready to create a spooktacular Halloween feast that will leave your guests screaming for more!
- Witch’s Brew Punch: Serve a festive punch with fruity flavors and bubbling soda to amplify the playful ambiance of your Halloween gathering.
- Spooky Cheese Platter: A selection of creepy cheeses—think ghostly brie and monster cheddar—adds a savory counterpoint to the sweetness of the cupcakes.
- Creepy Crawly Veggie Tray: Crisp, fresh veggies like baby carrots and cucumbers arranged in the shape of a graveyard will delight both children and adults alike.
- Gory Red Velvet Cake: A rich red velvet cake layered with cream cheese for an added “bloody” element, perfectly complements the chocolate flavor of the cupcakes.
- Monster Munch Snack Mix: Create a fun snack mix with popcorn, pretzels, and chocolate candies that captures the whimsy and festivity of Halloween party treats.
- Halloween-Themed Cocktails: Crafted blends of gin and tonic with a dash of black food coloring can echo the mysterious vibes of your Skeleton Cupcakes.
- Pumpkin Spice Cookies: Soft, spiced cookies with cream cheese frosting will enhance the fall flavors and warm up the spooky atmosphere.
- Ghostly Meringue Cookies: Light as air meringue ghosts will impress your guests and offer a fun, airy finish to your dessert selection.
- Candy Corn Cupcakes: These mini cupcakes topped with vibrant buttercream bring bursts of color and are adored by children while tying into the Halloween spirit!
- Pumpkin Spice Latte: After a sweet treat adventure, serve warm lattes spiced with nutmeg and cinnamon to cozy up your Halloween night.
Make Ahead Options
These Skeleton Cupcakes are perfect for busy bakers looking to save time! You can bake the cupcakes up to 24 hours in advance; simply cool them completely and store them in an airtight container at room temperature. For optimal freshness, frost the cupcakes on the day you plan to serve them, as this will keep the frosting beautifully creamy. You can also prepare the frosting 3 days ahead; store it in the refrigerator in an airtight container. Before frosting, just give it a good stir to bring it back to the right consistency. This way, you can enjoy the deliciously spooky flavors without the last-minute rush!
Skeleton Cupcakes Recipe FAQs
What kind of flour should I use for Skeleton Cupcakes?
All-purpose flour is ideal for structure in your Skeleton Cupcakes. If you’re looking for a gluten-free option, I recommend using a gluten-free flour blend, which works just as well without compromising flavor or texture.
How should I store my Skeleton Cupcakes?
Keep your cupcakes in an airtight container at room temperature for up to 3 days. If you are dealing with especially warm weather, refrigerate them for up to 5 days, but remember to allow them to come back to room temperature before serving, so they taste their best!
Can I freeze Skeleton Cupcakes?
Absolutely! For longer storage, you can freeze un-frosted cupcakes. Wrap each cooled cupcake tightly in plastic wrap and store them in a freezer-safe container for up to 3 months. When you’re ready to enjoy, simply thaw them at room temperature and frost as desired.
What if my cupcakes turn out dense?
If your Skeleton Cupcakes end up dense, it might be due to overmixing the batter. Make sure to fold together the dry and wet ingredients gently until just combined, without any visible flour streaks. This will help ensure they are light and fluffy!
Can Skeleton Cupcakes be made vegan?
Absolutely! To make your Skeleton Cupcakes vegan, you can substitute large eggs with flaxseed meal mixed with water (1 tablespoon flaxseed meal + 2.5 tablespoons water per egg) and use almond milk or another plant-based milk in place of regular milk. This way, everyone can enjoy your spooky treat!
Delicious Skeleton Cupcakes for a Spooky Halloween Treat
Ingredients
Equipment
Method
- Preheat your oven to 350°F (175°C).
- In a mixing bowl, whisk together flour, sugar, cocoa powder, baking powder, baking soda, and salt until combined.
- In a separate bowl, beat together butter, eggs, vanilla, and milk until creamy.
- Gradually pour wet ingredients into dry ingredients, folding until just combined.
- Line a cupcake tin with paper liners and fill each about two-thirds full with batter.
- Bake for approximately 20 minutes or until a toothpick comes out clean.
- Cool the cupcakes on a wire rack for 5 minutes before removing them from the tin.
- Beat softened butter, then gradually add powdered sugar, cream, and black food coloring until smooth.
- Frost the cooled cupcakes with the black frosting.
- Decorate with candy eyes, chocolate bones, and drizzle red gel for effect.
Leave a Reply