
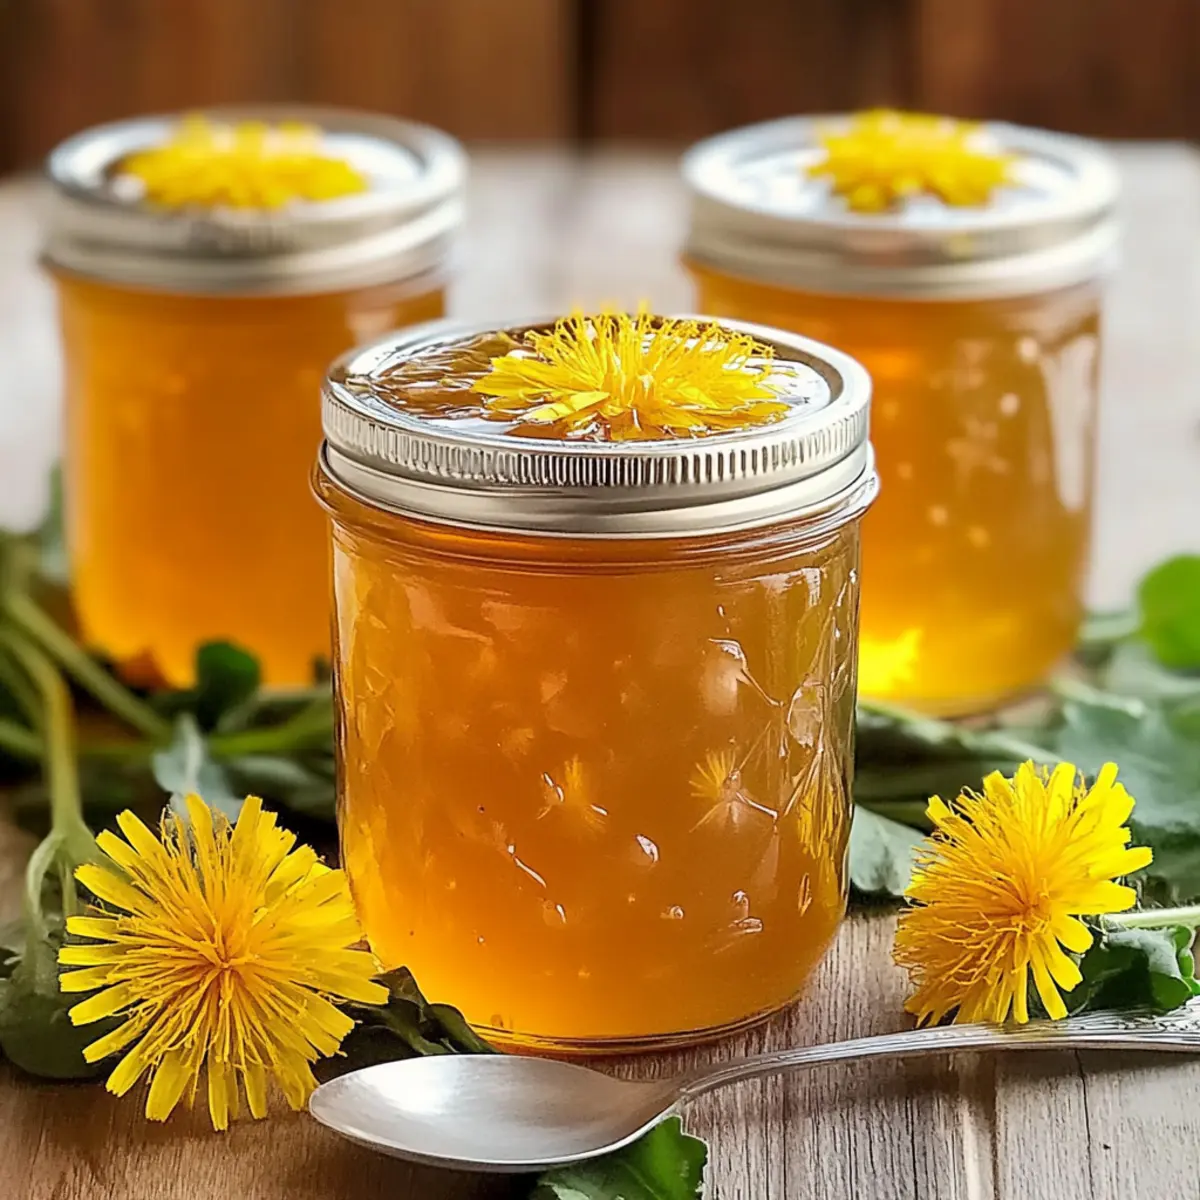
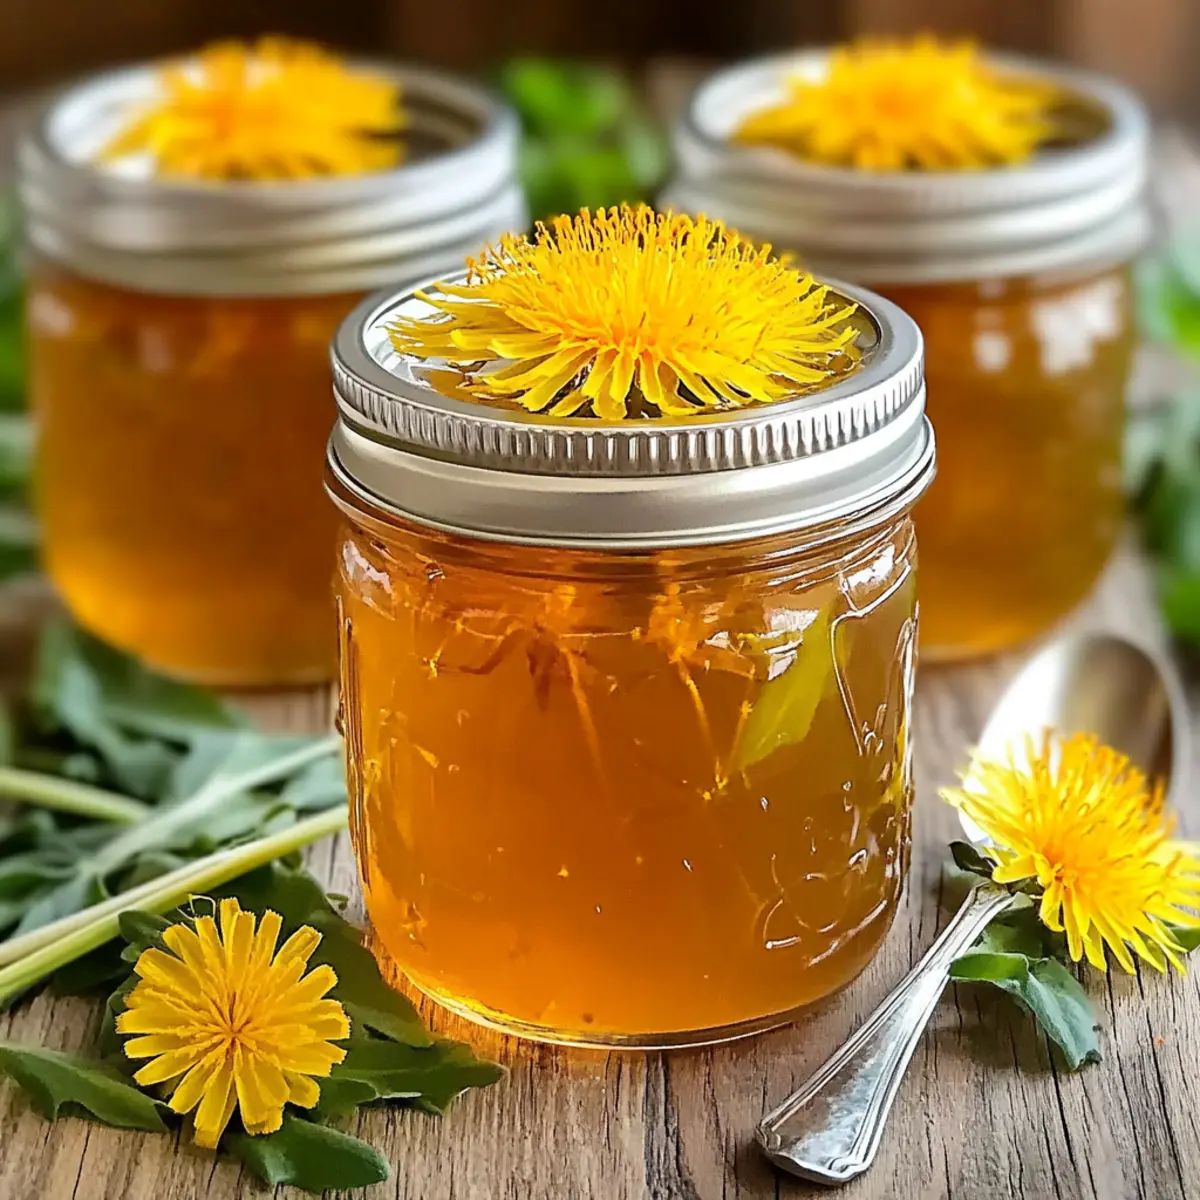
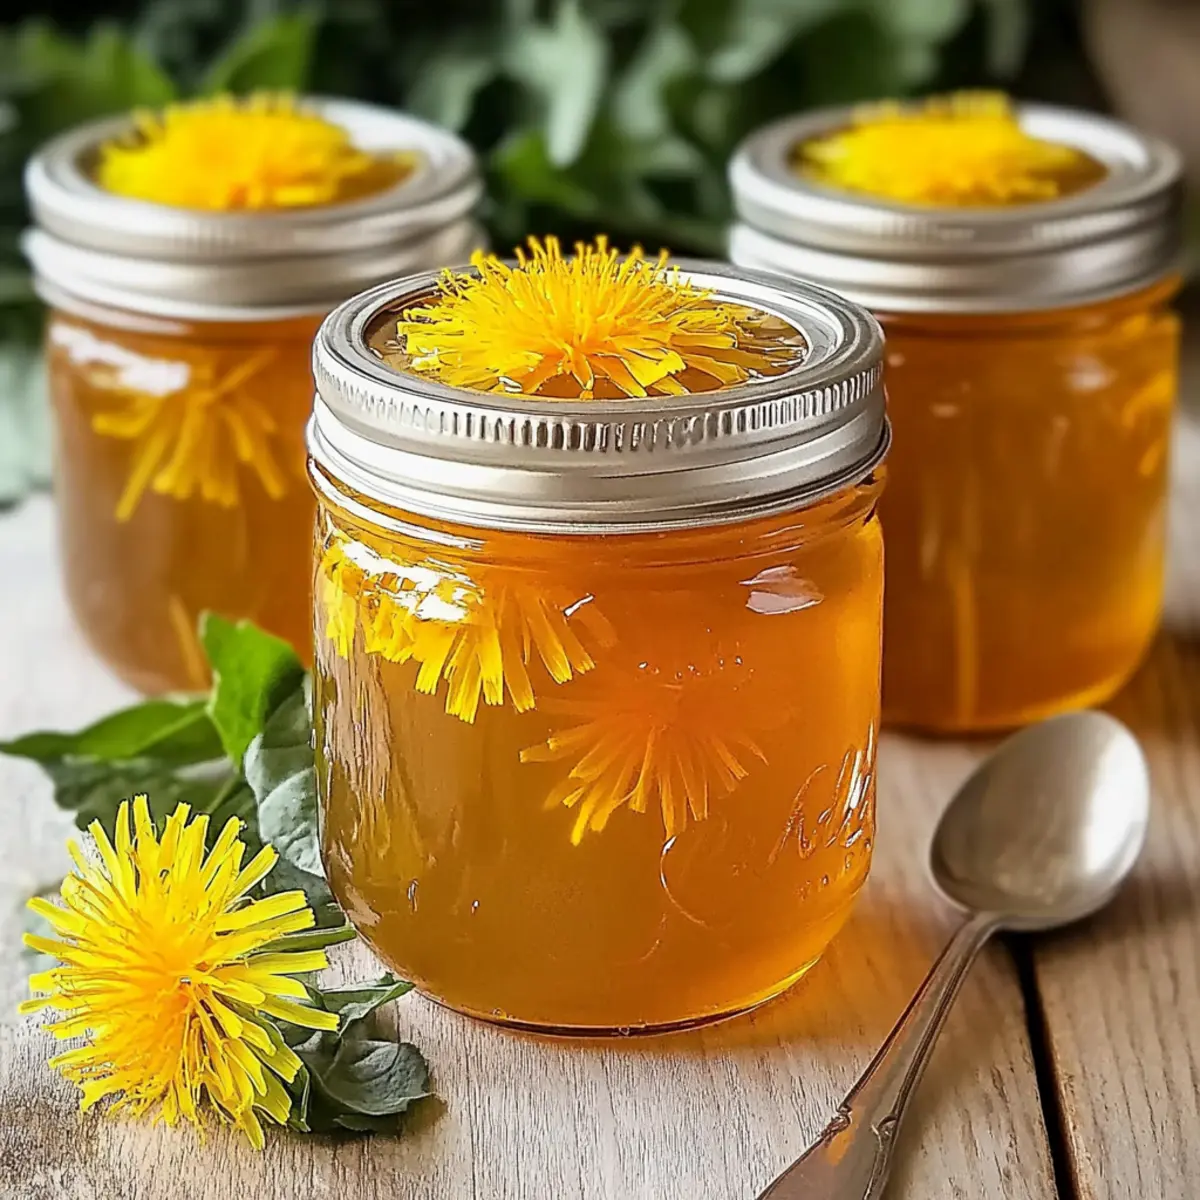
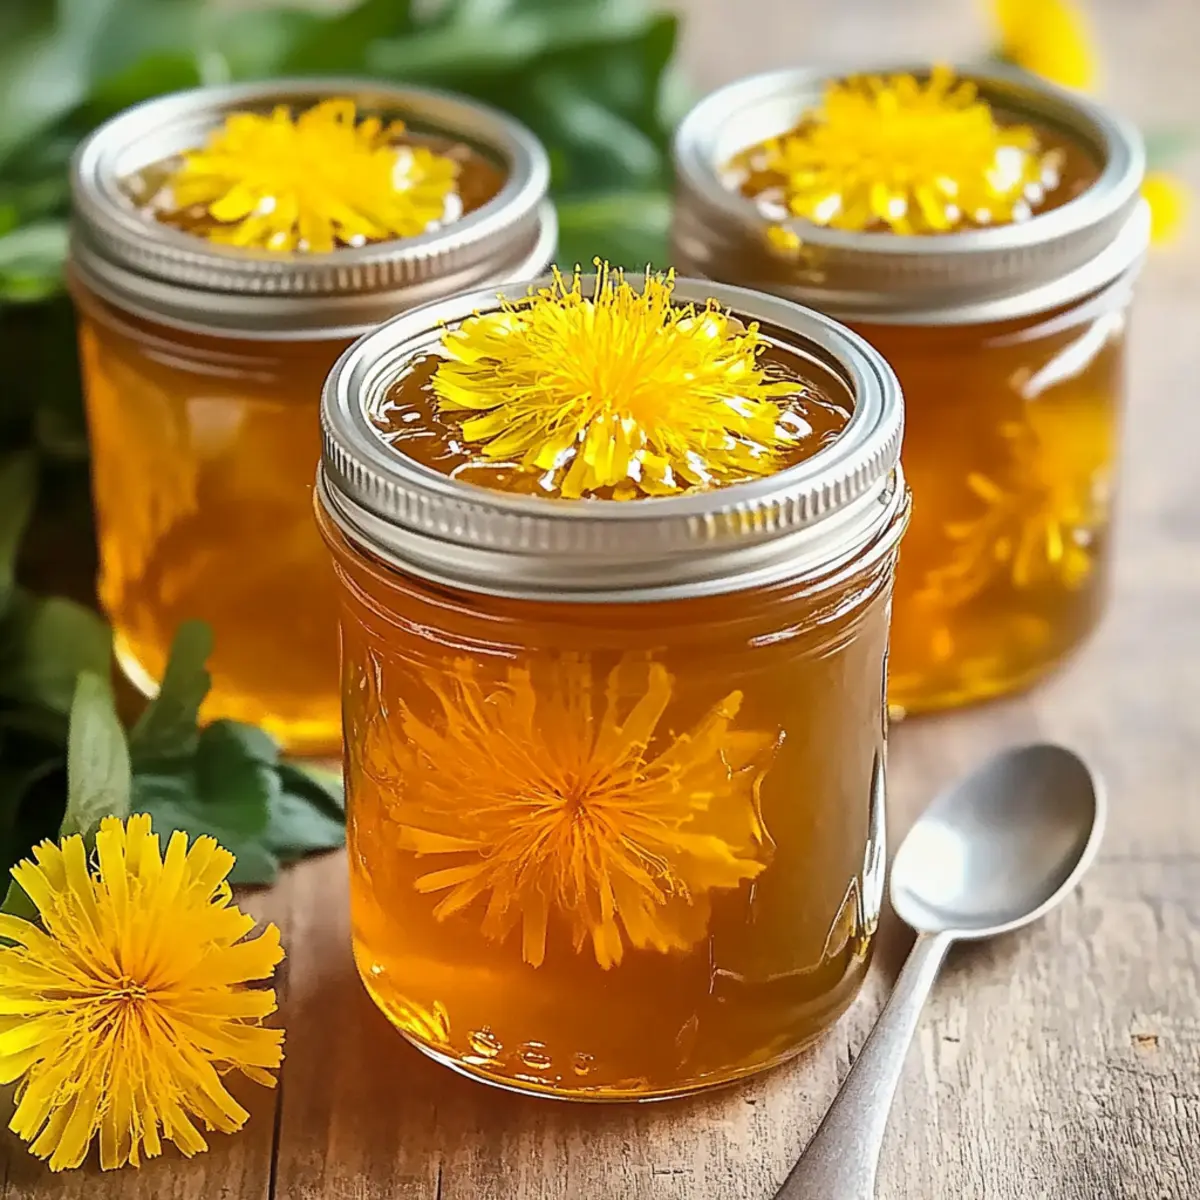
As I stood in my backyard, surrounded by a sea of golden dandelions, I couldn’t help but marvel at their beauty and potential. This Homemade Dandelion Jelly recipe transforms these often-overlooked blooms into a delicious, floral spread that’s perfect for brightening your breakfast table. It’s not just a nostalgic nod to childhood; this jelly is a wonderful way to celebrate the sweetness of spring while also embracing foraged ingredients. Plus, it’s a quick, engaging project that yields stunning results, making it a delightful addition to your homemade preserves. Imagine the joy of serving this vibrant, honey-like jelly on your morning toast or drizzling it over desserts! Are you ready to embark on this unique culinary adventure?
Why Is This Jelly So Special?
Uniqueness: This Homemade Dandelion Jelly is not just another fruit preserve; it’s a delightful celebration of foraged ingredients, turning ordinary dandelions into something extraordinary.
Vibrant Color: With its sunny yellow hue, this jelly adds a pop of color to your breakfast spread, bringing a cheerfulness that can brighten even the gloomiest mornings.
Flavorful Experience: The honey-like flavor and subtle floral notes create a delicious pairing for both sweet and savory dishes, making it versatile for countless servings.
Nostalgic Appeal: Enjoy the nostalgic essence of spring captured in each jar, reminding you of childhood days spent outside, surrounded by nature’s bounty.
Quick & Easy: You’ll appreciate the simplicity of the recipe, which involves minimal ingredients and effort, yet yields impressive results—perfect for those who want to reconnect with homemade goodness.
Why not pair your jelly with a creamy spread or drizzle it over pancakes as a unique topping? Each bite promises to leave you wanting more!
Homemade Dandelion Jelly Ingredients
• Here’s everything you need to create your delightful Homemade Dandelion Jelly!
For the Jelly
- Dandelion petals – Only fully opened yellow petals should be used to ensure a sweet flavor without bitterness.
- Water – This helps extract the delightful floral essence during simmering.
- Lemon juice – Provides essential acidity for preservation; you can substitute with other acidic ingredients, but keep acidity levels similar.
- Pectin – A boxed variety is key for achieving that perfectly gel-like consistency.
- Sugar – Granulated sugar is best for sweetening and preserving your jelly perfectly.
Feel free to gather your ingredients and dive into making this unique treat!
Step‑by‑Step Instructions for Homemade Dandelion Jelly Recipe
Step 1: Prepare the Dandelion Petals
Begin by gently rinsing your dandelion petals under cool running water, ensuring you remove any dirt or insects. Trim away the green parts, as they can impart bitterness to the jelly. Aim to collect about 2 cups of clean yellow petals, as these will provide both the vibrant color and floral flavor essential for your Homemade Dandelion Jelly.
Step 2: Extract the Floral Essence
In a large pot, combine the rinsed dandelion petals with 4 cups of water. Bring the mixture to a rolling boil over medium heat, then reduce to a simmer. Allow it to simmer gently for about 30 minutes, stirring occasionally, until the water is infused with a beautiful yellow hue and the aroma fills your kitchen, signifying the flavors are developing nicely.
Step 3: Strain the Mixture
Once the simmering is complete, prepare to strain the mixture by setting up a fine mesh sieve or cheesecloth over another clean pot or bowl. Carefully pour the dandelion mixture through the sieve to collect the vibrant yellow liquid, pressing down gently to extract as much essence as possible from the petals. Discard the leftover petals, and set the dandelion liquid aside to cool slightly.
Step 4: Combine Ingredients for Jelly
In the now-empty pot, mix the dandelion liquid with ¼ cup of lemon juice and 1 box of pectin. Stir well to incorporate the pectin thoroughly. Heat the mixture over medium-high heat, bringing it to a rapid boil. Keep stirring to avoid scorching while you await a delightful bubbling and foaming that indicates readiness for the next step.
Step 5: Sweeten and Thicken the Jelly
Once boiling, add in 4 cups of granulated sugar all at once. Stir continuously until the sugar is fully dissolved, which should take a minute or two. Continue boiling for an additional 1-2 minutes, keeping an eye on the consistency; it will thicken slightly. To check for doneness, spoon a small amount onto a cold plate, allowing it to cool for a moment before checking if it holds its shape.
Step 6: Jar the Dandelion Jelly
Prepare your canning jars by sterilizing them in a boiling water bath or the dishwasher. Once ready, pour the hot dandelion jelly into the sterilized jars, filling each to within ¼ inch of the top. Wipe the rims clean to ensure a good seal, then place the lids on tightly. This Homemade Dandelion Jelly will shine with a golden hue as you prepare them for the final step.
Step 7: Process for Preservation
In a large pot, bring water to a boil for your canning process. Submerge the filled jars into the boiling water bath, ensuring they’re fully covered with water. Process the jars for 5-10 minutes, depending on your altitude, to ensure a secure seal. Once completed, carefully remove the jars and place them on a clean towel or cooling rack to allow them to cool completely.
Step 8: Store and Enjoy
When the jars are cool to the touch, check the seals by pressing down in the center of each lid; it should not pop back. Store your sealed jars in a cool, dark place for optimal shelf life. Your delightful Homemade Dandelion Jelly is now ready to jazz up your morning toast or drizzle over your favorite desserts, awaiting to bring a touch of spring to your table!
Expert Tips for Homemade Dandelion Jelly
-
Petal Selection: Choose only bright yellow dandelion petals; avoid any green parts, as they can contribute bitterness to your jelly.
-
Water Quality: Use filtered or spring water for boiling. Tap water with harsh chemicals can affect the flavor of your Homemade Dandelion Jelly.
-
Gel Testing: Don’t skip the cold plate test! Spoon a tiny amount onto a chilled plate to ensure your jelly has thickened properly before jarring.
-
Jarring Technique: Fill jars within ¼ inch from the top to ensure proper sealing and avoid overflow during the boiling water bath process.
-
Safety First: Always process the jars in a boiling water bath to eliminate bacteria. Otherwise, unsealed jars should be refrigerated and used first.
Make Ahead Options
These Homemade Dandelion Jelly preparations are perfect for busy cooks looking to save time! You can rinse and prepare the dandelion petals up to 24 hours in advance, storing them in an airtight container in the refrigerator to maintain their vibrant color and flavor. Additionally, you can prepare the dandelion liquid by simmering the petals and straining the mixture, then refrigerate the strained liquid for up to 3 days. When you’re ready to complete your jelly, simply reheat the dandelion liquid, mix with lemon juice and pectin, then continue with the recipe as directed. This way, you’ll have a delightful and aromatic jelly with minimal effort and maximum freshness!
Homemade Dandelion Jelly Recipe Variations
Feel free to customize your delightful homemade jam! Awaken your creativity with these flavorful twists, making your jelly uniquely yours.
-
Citrus Burst: Substitute lemon juice with orange or lime juice for a different zing, adding a refreshing twist to the flavor profile.
Brighten your jelly with a vibrant citrus twist, perfect for those who love that extra zing in their spread. -
Herb Infusion: Steep fresh mint or basil leaves along with the dandelion petals for a refreshing herbaceous note.
Imagine spreading a hint of that garden-fresh aroma onto your toast—it’s like spring on a plate! -
Spicy Touch: Add a pinch of red pepper flakes during simmering to introduce a warm kick to your jelly.
The heat complements the sweetness beautifully, creating a perfect balance of flavors that kickstarts your mornings. -
Berry Blend: Mix in some crushed strawberries or raspberries at the end of cooking for a berry + dandelion jelly combo.
This concoction not only enhances the sweetness but also adds lovely flecks of color you’re sure to adore. -
Vanilla Delight: Stir in a splash of vanilla extract once you’ve removed the jelly from heat to elevate the flavor.
The warmth of vanilla mingling with floral notes brings an irresistible richness to your jelly; simply divine! -
Alternative Sweeteners: Swap sugar for honey or maple syrup while adjusting the quantity to taste.
These natural sweeteners introduce their own unique flavor, seamlessly melding with the dandelion’s essence. -
Vegan Option: Use agar-agar in lieu of pectin for a plant-based alternative that will gel beautifully.
It gives you the chance to enjoy this delightful spread while keeping it entirely plant-friendly! -
Fruit Jam Combo: Layer with a thin layer of your favorite fruit preserves at the bottom of the jar for variation.
This adds a unique twist and an inviting surprise in every scoop. Perfect for a breakfast party, don’t you think?
Each of these variations invites you to explore flavors while still embracing the unique essence of dandelions. Pair the jelly with delightful Pastel Halloween Donuts or as a topping on your favorite desserts, letting your creativity soar to new heights!
What to Serve with Homemade Dandelion Jelly
As you take a moment to savor the vibrant, floral flavors of dandelion jelly, consider how to elevate your meal experience with these delightful pairings.
-
Creamy Mashed Potatoes: The rich, buttery texture of creamy mashed potatoes creates a perfect contrast, balancing the sweet jelly beautifully.
-
Buttermilk Biscuits: These flaky biscuits provide a warm canvas for your dandelion jelly, making each bite a heavenly, buttery cloud topped with floral sweetness.
-
Pancakes: Fluffy pancakes soaked with dandelion jelly take your breakfast to new heights. Each layer brings a hint of spring into your morning routine.
-
Cheese Platter: Pair with mild cheeses like brie or goat cheese; the creaminess complements the floral notes, creating a delightful starter for gatherings.
-
Roasted Meats: Use dandelion jelly as a unique glaze for roasted meats, adding a touch of sweetness and contrasting flavors that will impress your dinner guests.
-
Scones with Clotted Cream: Serve it on freshly-baked scones with clotted cream, turning your tea time into a special occasion with a delightful floral twist.
-
Fruit Salad Drizzle: A light drizzle over a colorful fruit salad enhances the natural sweetness while adding a whimsical touch that elevates every serving.
-
Tea Pairing: Enjoy with a cup of herbal tea, where the warm flavors harmonize, creating a cozy moment to indulge in your homemade creation.
Storage Tips for Homemade Dandelion Jelly
-
Room Temperature: Unopened jars of homemade dandelion jelly can be stored at room temperature in a cool, dark place for up to 12 months. Ensure the lids are sealed well to maintain freshness.
-
Fridge: Once opened, store the jelly in the refrigerator for up to 3 weeks. Use an airtight container or tightly seal the lid after each use to prevent spoilage.
-
Freezer: For longer storage, homemade dandelion jelly can be frozen in freezer-safe containers for up to 1 year. Leave headspace in the container for expansion and label with the date for easy tracking.
-
Reheating: If the jelly thickens too much after freezing, simply warm it gently in a saucepan over low heat, stirring until it reaches a spreadable consistency. Enjoy the delightful flavors of your homemade dandelion jelly!
Homemade Dandelion Jelly Recipe FAQs
What type of dandelion petals should I use?
Absolutely! For the best flavor and color in your Homemade Dandelion Jelly, you should only use fully opened yellow dandelion petals. Avoid any green parts, as they can introduce bitterness to your jelly. Harvest these petals on a sunny day for optimal sweetness!
How should I store my dandelion jelly?
Once sealed, your dandelion jelly can be stored at room temperature for up to 12 months in a cool, dark place. After opening, keep it in the refrigerator, where it will stay fresh for up to 3 weeks. Always ensure that the lid is snugly sealed after each use to maintain quality.
Can I freeze homemade dandelion jelly?
Yes, you can freeze your dandelion jelly! Transfer it to freezer-safe containers, ensuring to leave some headspace for expansion. It can last up to a year in the freezer. To use, simply thaw it in the refrigerator and gently rewarm it in a saucepan if it becomes too thick.
What should I do if my jelly doesn’t set properly?
Very common! If your jelly hasn’t set, you can reprocess it. First, check your original amounts of pectin and sugar. Measure out the jelly from the jars (without breaking the seal if possible), and combine it in a pot. Heat it and add a little more pectin, stirring to dissolve. Test for thickness again using the cold plate method, and can it as before if it has thickened to your liking.
Are dandelions safe for pets and those with allergies?
Yes! Dandelions are generally safe for pets in moderation; however, always ensure they haven’t been treated with pesticides or chemicals. For individuals with allergies, it’s crucial to consult with a healthcare provider, as some may have sensitivities to plants from the Asteraceae family, which includes dandelions.
How can I enhance the flavor of my dandelion jelly?
To add a unique twist to your Homemade Dandelion Jelly, consider infusing flavors during the simmering process. For example, adding a handful of fresh mint or a few slices of ginger can elevate the jelly’s profile. Be sure to strain these additions out before proceeding to ensure a smooth texture. Enjoy experimenting!
Homemade Dandelion Jelly Recipe: A Sweet Spring Surprise
Ingredients
Equipment
Method
- Begin by gently rinsing your dandelion petals under cool running water, ensuring you remove any dirt or insects. Trim away the green parts, as they can impart bitterness to the jelly. Aim to collect about 2 cups of clean yellow petals.
- In a large pot, combine the rinsed dandelion petals with 4 cups of water. Bring the mixture to a rolling boil over medium heat, then reduce to a simmer. Allow it to simmer gently for about 30 minutes.
- Once the simmering is complete, prepare to strain the mixture by setting up a fine mesh sieve or cheesecloth over another clean pot or bowl. Carefully pour the dandelion mixture through the sieve to collect the vibrant yellow liquid.
- In the now-empty pot, mix the dandelion liquid with ¼ cup of lemon juice and 1 box of pectin. Stir well to incorporate the pectin thoroughly. Heat the mixture over medium-high heat, bringing it to a rapid boil.
- Once boiling, add in 4 cups of granulated sugar all at once. Stir continuously until the sugar is fully dissolved. Continue boiling for an additional 1-2 minutes, keeping an eye on the consistency.
- Prepare your canning jars by sterilizing them in a boiling water bath or the dishwasher. Pour the hot dandelion jelly into the sterilized jars, filling each to within ¼ inch of the top.
- In a large pot, bring water to a boil for your canning process. Submerge the filled jars into the boiling water bath, ensuring they're fully covered with water. Process the jars for 5-10 minutes.
- When the jars are cool to the touch, check the seals by pressing down in the center of each lid; it should not pop back. Store your sealed jars in a cool, dark place.
Leave a Reply