
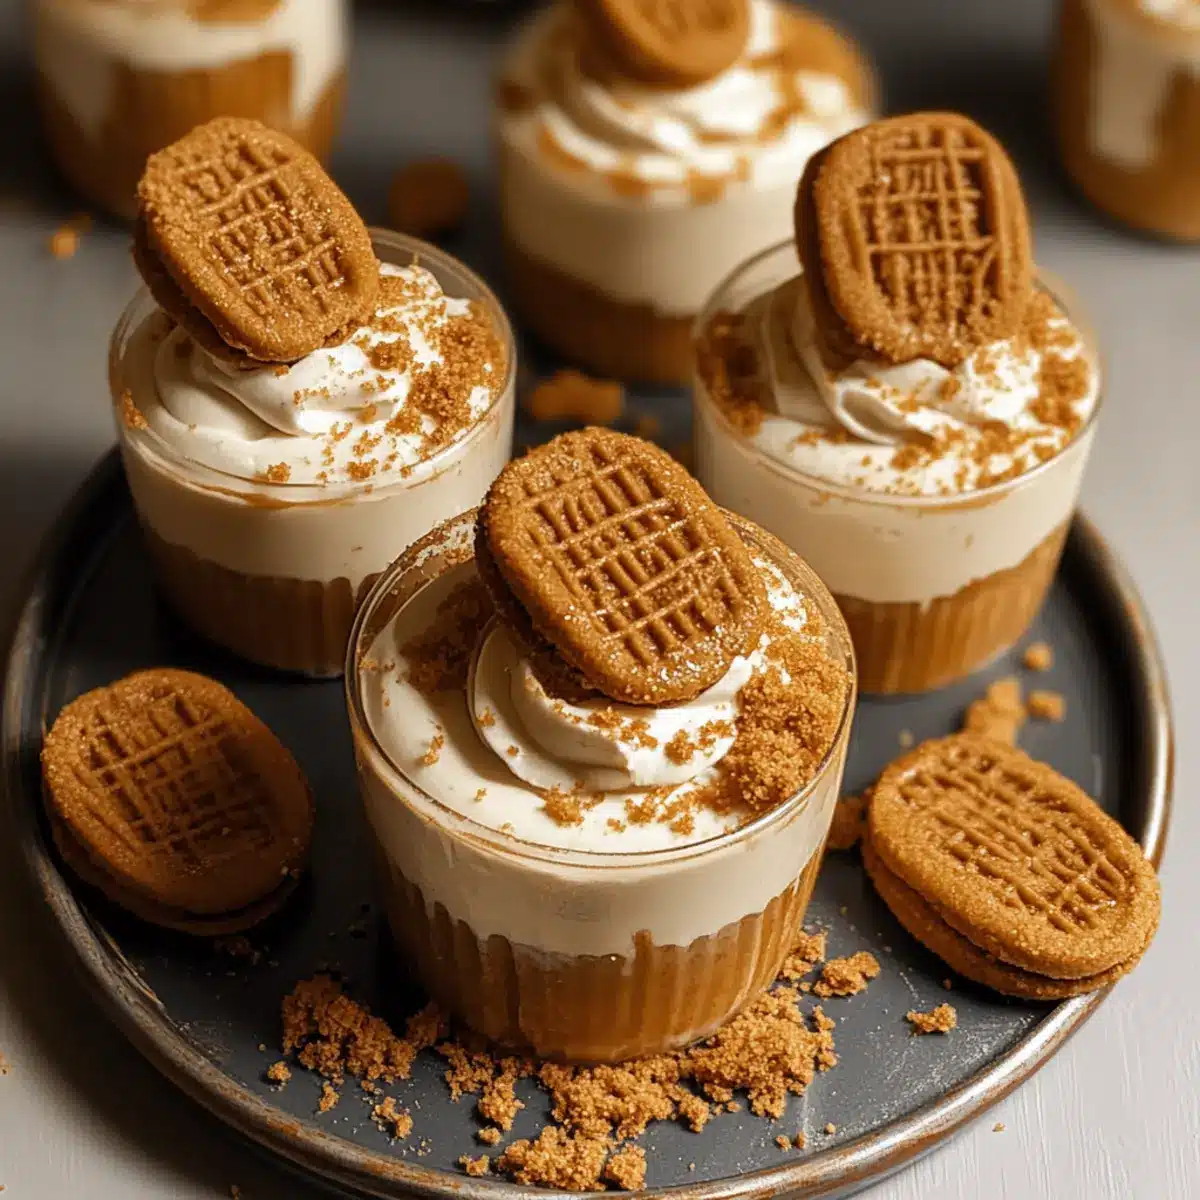
In a moment of kitchen inspiration, I watched as my friend effortlessly churned out dessert after dessert, leaving me both amazed and a tad envious. The pièce de résistance? No-Bake Biscoff Cheesecake Cups, which instantly turned our casual gathering into a mini celebration. These delightful treats combine a buttery Biscoff cookie crust with a creamy, airy cheesecake filling, all crowned with a drizzle of rich cookie butter. Not only are they a crowd-pleaser that impresses without the fuss of baking, but they also allow for creative variations you can tailor to every occasion. Whether you’re hosting a dinner party or simply craving something sweet, these no-bake beauties are sure to satisfy your dessert cravings. Ready to dive into indulgence without the oven? Let’s get started!
Why are No-Bake Cheesecake Cups a Hit?
Effortless Preparation: With no baking required, you can whip these up in no time, making them perfect for busy weeknights or last-minute gatherings.
Deliciously Indulgent: The rich layers of Biscoff cookie crust and creamy cheesecake create a taste explosion that’s hard to resist.
Crowd-Pleasing Appeal: These dessert cups are not only visually stunning but also incredibly satisfying, making them a guaranteed hit at any event.
Versatile Options: Feel free to get creative! Experiment with other cookie bases or add fruit compotes to customize your treats.
Make-Ahead Friendly: Prepare these dessert delights in advance, and keep them in the fridge for up to three days, ready to dazzle your guests anytime.
For even more delicious dessert ideas, check out my lovely Banana Pudding Cheesecake — it’s a family favorite!
No-Bake Biscoff Cheesecake Cups Ingredients
-
For the Crust
-
Lotus Biscoff biscuits – Provides a crunchy, spiced base; substitute with any caramelized or speculoos cookie if unavailable.
-
Unsalted butter – Binds the biscuit crust together; you can use salted butter for a different flavor profile.
-
For the Cheesecake Filling
-
Heavy cream – Creates a light and fluffy texture for the cheesecake filling; substitute with whipped coconut cream for a non-dairy option.
-
Cream cheese – Adds creaminess and tang; make sure it’s softened to room temperature for easy mixing.
-
Powdered sugar – Sweetens the filling without grittiness; can replace with granulated sugar, but expect more mixing.
-
Biscoff (cookie butter) spread – Imparts that signature Biscoff flavor; a similar cookie spread can be used if needed.
-
Vanilla extract – Enhances flavor; for a twist, substitute with almond extract.
-
For Garnishing
-
Biscoff cookies – Halved for decoration and topped with reserved cookie crumbs for an appealing finish.
This delightful combination of ingredients will help you create spectacular No-Bake Biscoff Cheesecake Cups that your family and friends will adore! Enjoy the process of creating this easy, versatile dessert that leaves everyone asking for seconds!
Step‑by‑Step Instructions for No-Bake Biscoff Cheesecake Cups
Step 1: Prepare the Crust
Begin by crushing about 12 Lotus Biscoff biscuits into fine crumbs using a food processor or a resealable bag and rolling pin. In a mixing bowl, combine the crumbs with melted unsalted butter until well mixed. Reserve a couple of tablespoons for garnish later. Spoon the mixture evenly into dessert cups and press it down firmly to create a solid base. Set the cups aside to firm up while you move to the next step.
Step 2: Whip the Cream
In a large mixing bowl, pour in about 1 cup of heavy cream. Using an electric mixer, whip the cream on medium-high speed until soft peaks begin to form, which should take roughly 3 to 4 minutes. The cream should be light and fluffy, creating a billowy texture that will complement the cheesecake filling. Be careful not to over-whip, as you want to achieve a soft consistency for your No-Bake Biscoff Cheesecake Cups.
Step 3: Mix the Filling
In another bowl, blend 8 ounces of softened cream cheese, 1 cup of powdered sugar, 1/2 cup of Biscoff spread, and 1 teaspoon of vanilla extract. Using a hand mixer, beat these ingredients on medium speed until smooth and creamy, about 2 to 3 minutes. The mixture should be well combined without any lumps, creating a luscious consistency that will give your cheesecake its signature taste. Make sure to scrape down the sides of the bowl for even mixing.
Step 4: Combine Mixtures
Gently fold the whipped cream into the cream cheese mixture using a spatula, being careful not to deflate the whipped cream. This step typically takes 1 to 2 minutes, and you want to achieve a uniform texture while maintaining that lightness. The fluffy whipped cream will create the airy sensation in your No-Bake Biscoff Cheesecake Cups, ensuring every bite is as delightful as it is indulgent.
Step 5: Pipe the Filling
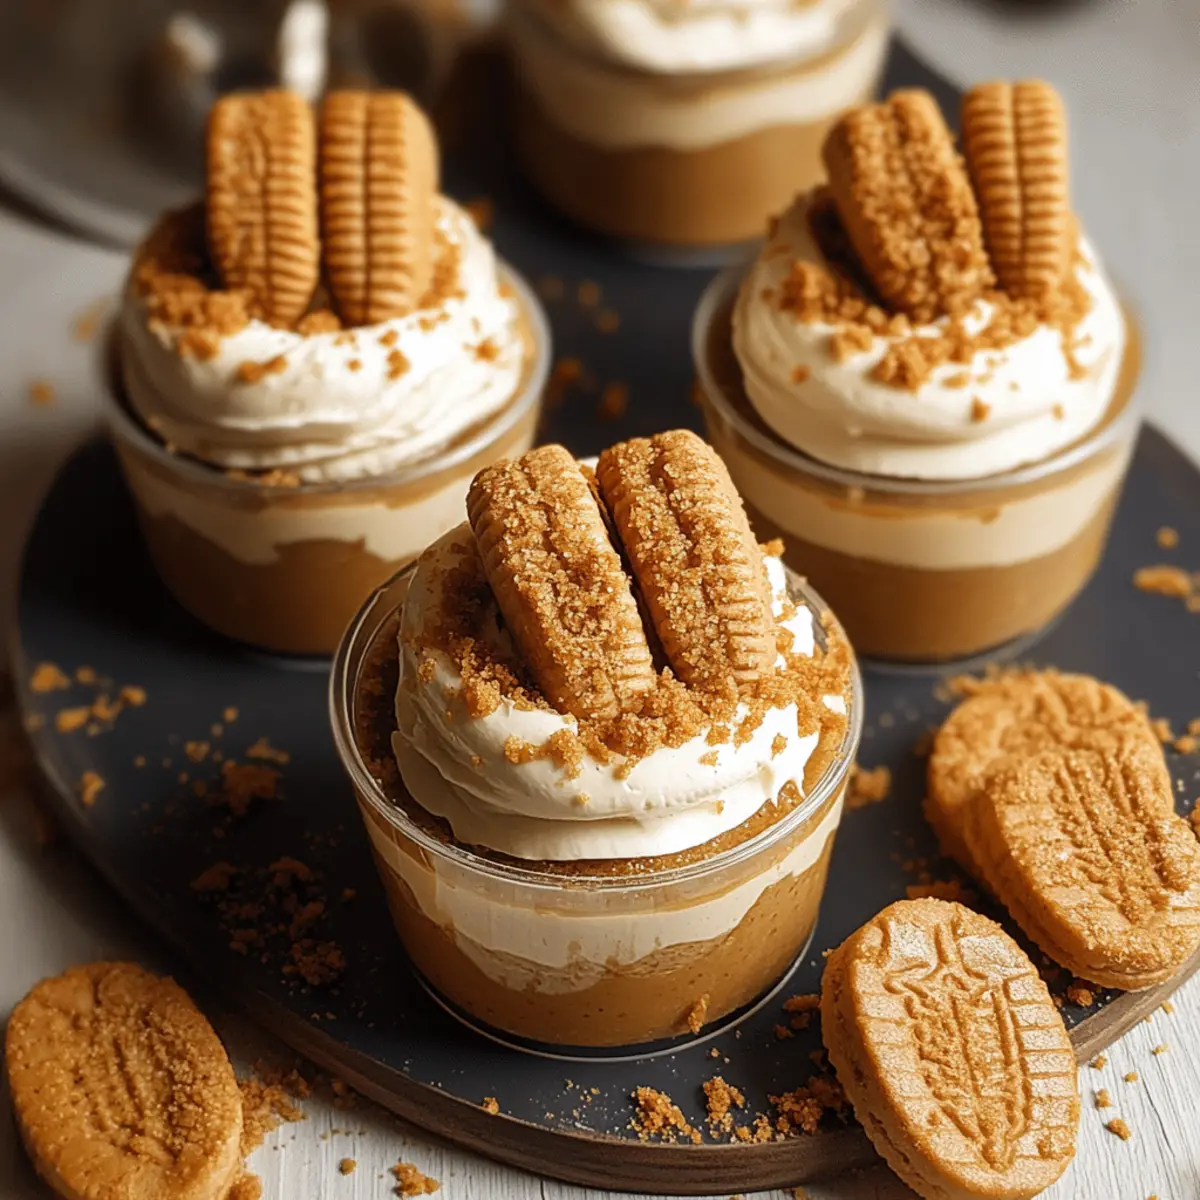
Transfer the cheesecake mixture into a piping bag, then cut off the tip to create a moderately sized opening. Begin piping the luscious filling into each dessert cup on top of the crust, filling them about three-quarters full. This method will help create beautiful layers, which adds to both the presentation and overall experience of your No-Bake Biscoff Cheesecake Cups.
Step 6: Add the Topping
For a delicious topping, microwave about 1/4 cup of Biscoff spread in a small bowl for about 15 to 20 seconds until it’s warm and pourable. Drizzle this melted Biscoff spread over the filling in each cup, allowing it to cascade elegantly for added flavor and visual appeal. This will enhance the Biscoff experience in your dessert cups and give them that delightful finish.
Step 7: Garnish & Chill
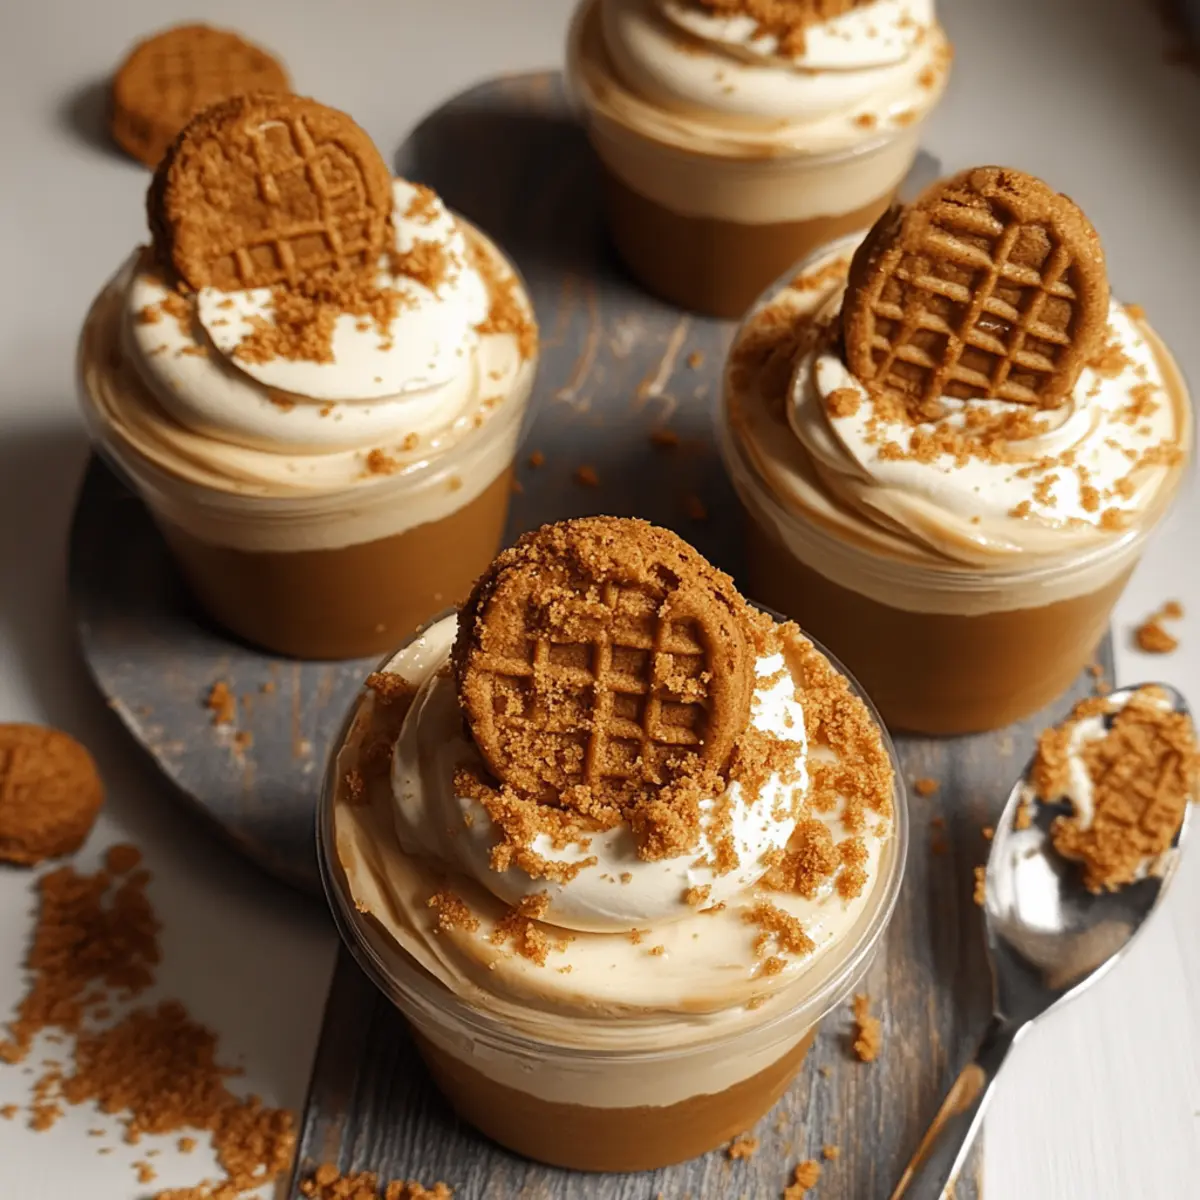
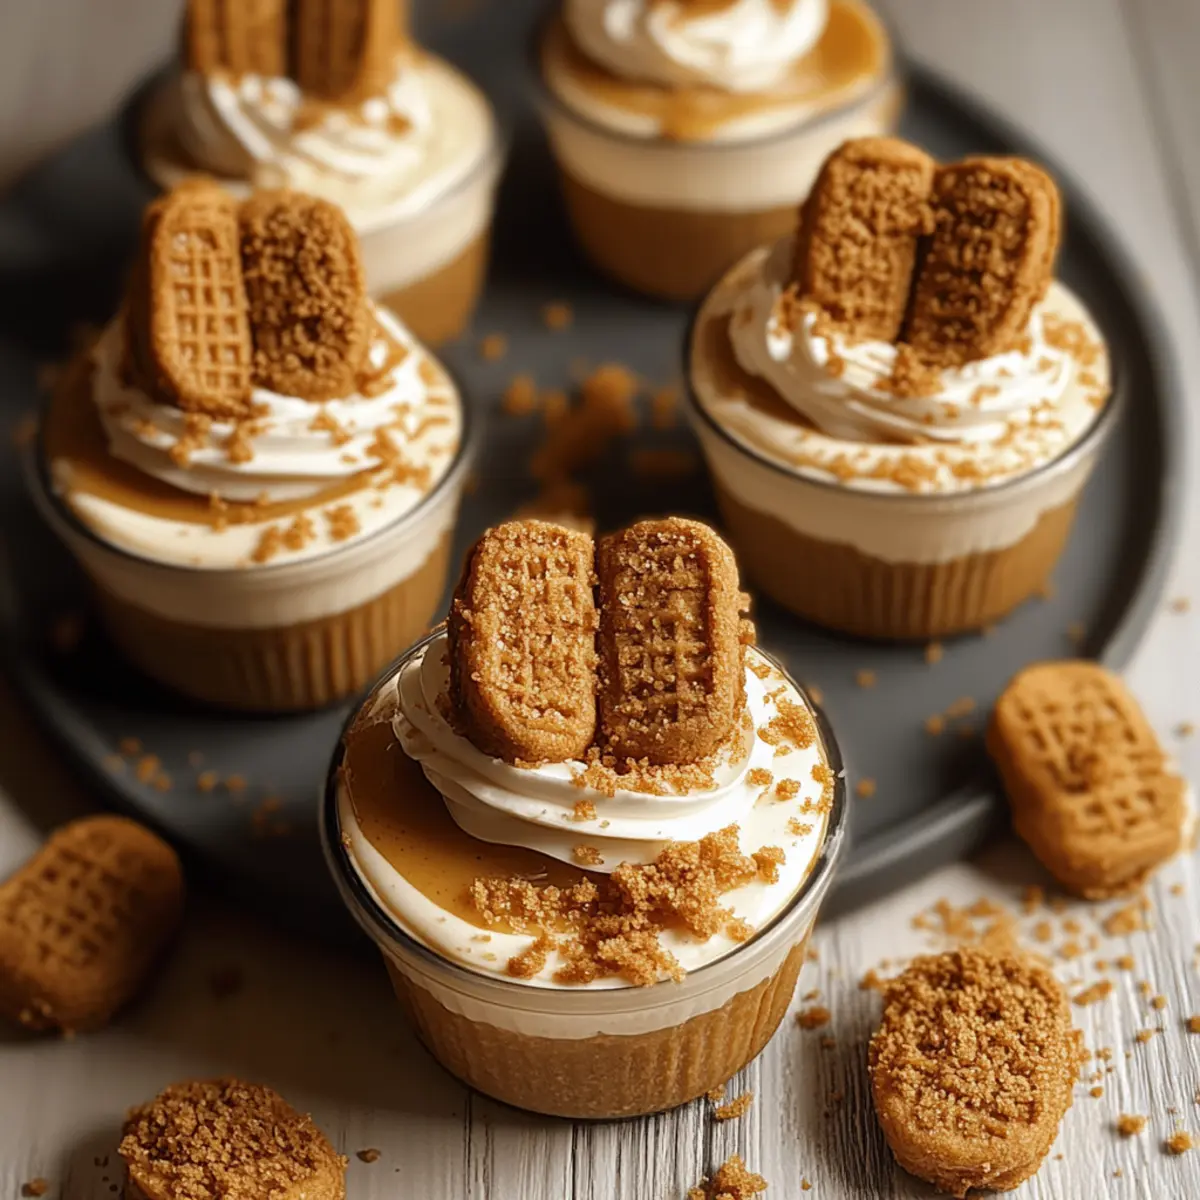
Finally, garnish each cup with halved Biscoff cookies and a sprinkle of the reserved cookie crumbs. This step not only adds a decorative touch but also gives your No-Bake Biscoff Cheesecake Cups a wonderful crunch. After garnishing, cover the cups with plastic wrap and refrigerate them for at least 4 hours, or preferably overnight, to allow the flavors to meld and the cheesecake to set beautifully.
Expert Tips for No-Bake Biscoff Cheesecake Cups
-
Room Temperature Cream Cheese: Ensure your cream cheese is at room temperature before mixing. This avoids lumps and creates a smooth, creamy filling for the No-Bake Biscoff Cheesecake Cups.
-
Tightly Pack Crust: When forming the crust in dessert cups, pack the mixture tightly using a spoon or even a glass bottom to prevent it from crumbling later.
-
Gentle Folding: When combining the whipped cream with the cream cheese mixture, fold carefully to maintain that light, airy texture essential for these cheesecake cups.
-
Chill Properly: Allow the No-Bake Biscoff Cheesecake Cups to chill for at least 4 hours, but overnight is ideal. This ensures the filling sets correctly and flavors meld beautifully.
-
Decorative Drizzle: Melt your Biscoff spread until it’s pourable for a glossy topping. The drizzle not only enhances aesthetics but also adds a burst of flavor.
No-Bake Biscoff Cheesecake Cups Variations
Feel free to unleash your creativity with these delightful No-Bake Biscoff Cheesecake Cups, tailoring them to your taste buds!
-
Dairy-Free: Swap heavy cream for whipped coconut cream and cream cheese for a dairy-free alternative without sacrificing flavor.
Coconut cream adds a subtle tropical twist, which harmonizes nicely with the buttery Biscoff crust! -
Chocolate Lovers: Introduce cocoa powder into your cheesecake filling for a rich chocolatey flavor.
Drizzle with melted chocolate on top for a decadent finishing touch that chocolate fans will adore! -
Fruit Fusion: Layer in fresh fruit compote, like raspberry or strawberry, for a tart contrast to the sweet cheesecake.
The bright flavor of fruit elevates your dessert and offers a refreshing burst in each bite! -
Nutty Crunch: Add crushed nuts, such as pecans or almonds, to the cookie crust for an extra crunchy texture.
This not only enhances the flavor but also adds a delightful crunch that complements the creamy filling perfectly. -
Spice it Up: Mix in a pinch of cinnamon or nutmeg to your cream cheese filling for a warm, aromatic flavor.
The spices will provide a comforting touch that pairs splendidly with the sweet, caramel notes of Biscoff! -
Layered Delight: Create distinct layers by alternating between cheesecake filling and crushed cookie crumbs in each cup.
This fun presentation will add texture and make every spoonful an adventure in flavor! -
Decadent Whipped Cream: Top your cheesecake cups with a dollop of flavored whipped cream, like vanilla bean or chocolate.
The addition of luxurious whipped cream takes these desserts to the next level of indulgence!
For even more luscious dessert inspiration, consider checking out Chocolate Raspberry Cheesecake or Hogwarts Houses Cheesecake. Happy customizing!
Make Ahead Options
These No-Bake Biscoff Cheesecake Cups are a dream for any busy home cook looking to save time during meal prep! You can prepare the cookie crust and filling up to 24 hours in advance; just keep them stored separately in the refrigerator. For the best results, layer the crust in the dessert cups and refrigerate overnight, allowing it to firm up beautifully. When you’re ready to serve, simply pipe the cheesecake filling on top, drizzle with melted Biscoff spread, and garnish with halved cookies and reserved crumbs. This way, you’ll not only enjoy those rich, creamy layers but also impress guests with minimal last-minute effort!
How to Store and Freeze No-Bake Biscoff Cheesecake Cups
Fridge: Store undished No-Bake Biscoff Cheesecake Cups in an airtight container for up to 3 days. This keeps them fresh while maintaining their creamy texture.
Freezer: You can also freeze these delightful cheesecake cups. Wrap each cup tightly in plastic wrap and place them in a freezer-safe container for up to 2 months. Thaw in the fridge before serving.
Reheating: No reheating needed! Simply take the cups out of the fridge or freezer and enjoy them chilled for the best flavor and texture.
Garnish Storage: If you plan to garnish right before serving, store cookie toppings separately at room temperature to maintain their crunch.
What to Serve with No-Bake Biscoff Cheesecake Cups
Delight your guests with a full spread that pairs perfectly with these sumptuous dessert cups, enhancing their experience.
-
Fresh Berries: Juicy strawberries or raspberries add a vibrant, tart contrast to the sweet, creamy cheesecake, elevating the dessert palette. Their bright color also brings a pop of freshness to the table.
-
Whipped Cream: A dollop of lightly sweetened whipped cream complements the cheesecake’s rich texture, providing an airy balance. Consider adding a hint of vanilla to enhance this luscious topping and make it even more indulgent.
-
Chocolate Drizzle: A warm, rich chocolate drizzle over the cheesecake cups can transform the flavor profile and appeal to chocolate lovers. This luxurious touch makes each bite even more decadent.
-
Coffee or Espresso: The boldness of a brewed cup of coffee or a shot of espresso balances the sweetness of the cheesecake cups flawlessly. The deep, rich notes offer a delightful pairing, enhancing the overall taste experience.
-
Mint-Infused Iced Tea: Cool, refreshing mint tea brings a revitalizing layer to your dessert lineup, cleansing the palate while complementing the sweet notes of the cheesecake. Its herbal essence will enhance the cheerful gathering ambiance.
-
Chocolate-Covered Pretzels: These sweet-salty treats provide a crunchy contrast to the creamy cheesecake, making for an irresistible snacking option. Their unique texture and flavor profile will keep your guests coming back for more.
-
Fruit Sorbet: A light and refreshing fruit sorbet adds a palate-cleansing element between bites of rich cheesecake, making it a perfect pairing for summer gatherings. Opt for berry flavors to keep the fruity theme consistent.
-
Miniature Cheesecakes: Serve alongside a variety of other mini cheesecakes for a delightful tasting spread. This variety allows guests to explore different flavors while keeping the dessert theme unified.
-
Coconut Macaroons: These chewy, sweet cookies introduce a tropical twist that harmonizes beautifully with the Biscoff flavor. Their texture and flavor combination can charmingly surprise your guests.
No-Bake Biscoff Cheesecake Cups Recipe FAQs
What kind of Biscoff biscuits should I use?
Absolutely! For the best results, I recommend using Lotus Biscoff biscuits as they provide the perfect crunchy and spiced base. If you’re unable to find these, you can substitute with any similar caramelized or speculoos cookies. Just make sure the texture is crumbly enough to form a solid crust!
How should I store my No-Bake Biscoff Cheesecake Cups?
You can store these delightful treats in the refrigerator for up to 3 days. Keep them in an airtight container to maintain their freshness and creamy texture. If you made a large batch, they’re perfect for enjoying throughout the week!
Can I freeze No-Bake Biscoff Cheesecake Cups?
Yes, you can! To freeze, wrap each cup tightly in plastic wrap, then place them in a freezer-safe container. They can be stored in the freezer for up to 2 months. When you’re ready to indulge, simply transfer them to the fridge to thaw overnight. This way, they’ll retain their delicious texture!
What if my cheesecake filling is too runny?
No worries! If your filling is too runny, it might be due to under-whipped heavy cream or insufficient refrigeration time. To remedy this, you can whisk additional heavy cream until stiff peaks form and gently fold it into the existing mixture. This will help achieve that airy, thick consistency. Ensure you chill them for at least 4 hours, or preferably overnight, to allow the flavors to meld and the filling to firm up.
Are these cheesecake cups suitable for people with allergies?
It’s very important to consider dietary needs! If you have allergies, always check each ingredient’s label. The cream cheese contains dairy, so for a dairy-free option, substitute with vegan cream cheese and use whipped coconut cream. Additionally, always be cautious of any cookie substitutes that might contain allergens. Enjoy customizing these for everyone at your table!
Can I make these cheesecake cups in advance?
Yes, indeed! You can prepare these No-Bake Biscoff Cheesecake Cups a day or two ahead of time. Just follow the storage instructions I provided and keep them in the fridge until you’re ready to serve. This makes them an excellent option for entertaining, allowing you to focus on enjoying time with your guests rather than scrambling in the kitchen!
Delicious No-Bake Biscoff Cheesecake Cups
Ingredients
Equipment
Method
- Begin by crushing about 12 Lotus Biscoff biscuits into fine crumbs using a food processor or a resealable bag and rolling pin. In a mixing bowl, combine the crumbs with melted unsalted butter until well mixed. Reserve a couple of tablespoons for garnish later. Spoon the mixture evenly into dessert cups and press it down firmly to create a solid base. Set the cups aside to firm up while you move to the next step.
- In a large mixing bowl, pour in about 1 cup of heavy cream. Using an electric mixer, whip the cream on medium-high speed until soft peaks begin to form, which should take roughly 3 to 4 minutes.
- In another bowl, blend 8 ounces of softened cream cheese, 1 cup of powdered sugar, 1/2 cup of Biscoff spread, and 1 teaspoon of vanilla extract. Using a hand mixer, beat these ingredients on medium speed until smooth and creamy, about 2 to 3 minutes.
- Gently fold the whipped cream into the cream cheese mixture using a spatula, being careful not to deflate the whipped cream. This step typically takes 1 to 2 minutes.
- Transfer the cheesecake mixture into a piping bag, then cut off the tip to create a moderately sized opening. Begin piping the luscious filling into each dessert cup on top of the crust, filling them about three-quarters full.
- For a delicious topping, microwave about 1/4 cup of Biscoff spread in a small bowl for about 15 to 20 seconds until it’s warm and pourable. Drizzle this melted Biscoff spread over the filling in each cup.
- Finally, garnish each cup with halved Biscoff cookies and a sprinkle of the reserved cookie crumbs. After garnishing, cover the cups with plastic wrap and refrigerate them for at least 4 hours, or preferably overnight, to allow the flavors to meld.
Leave a Reply