
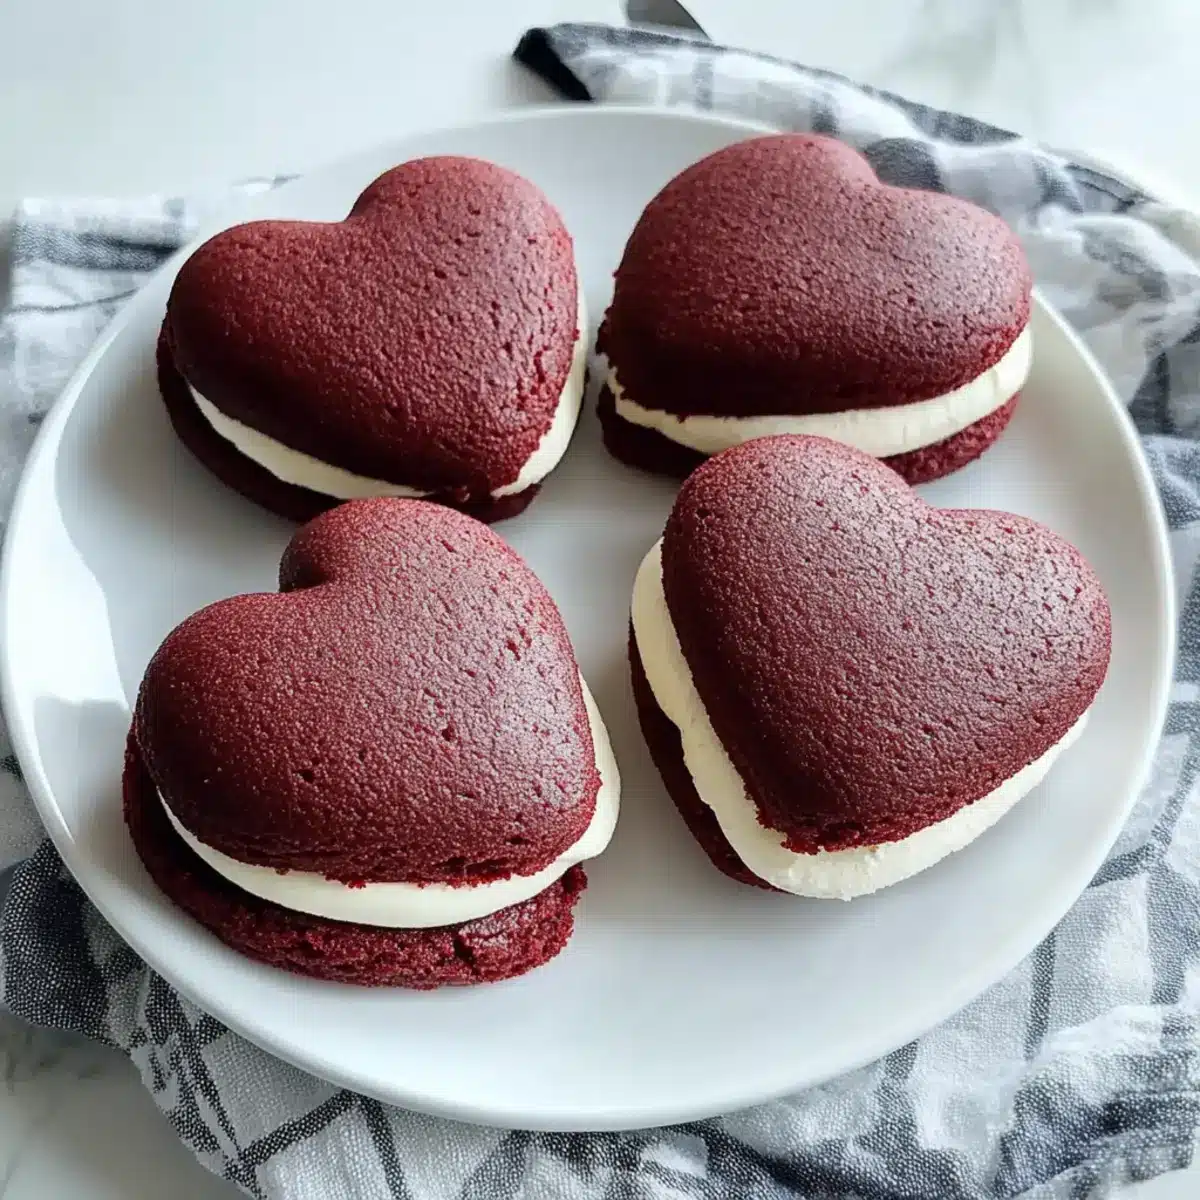
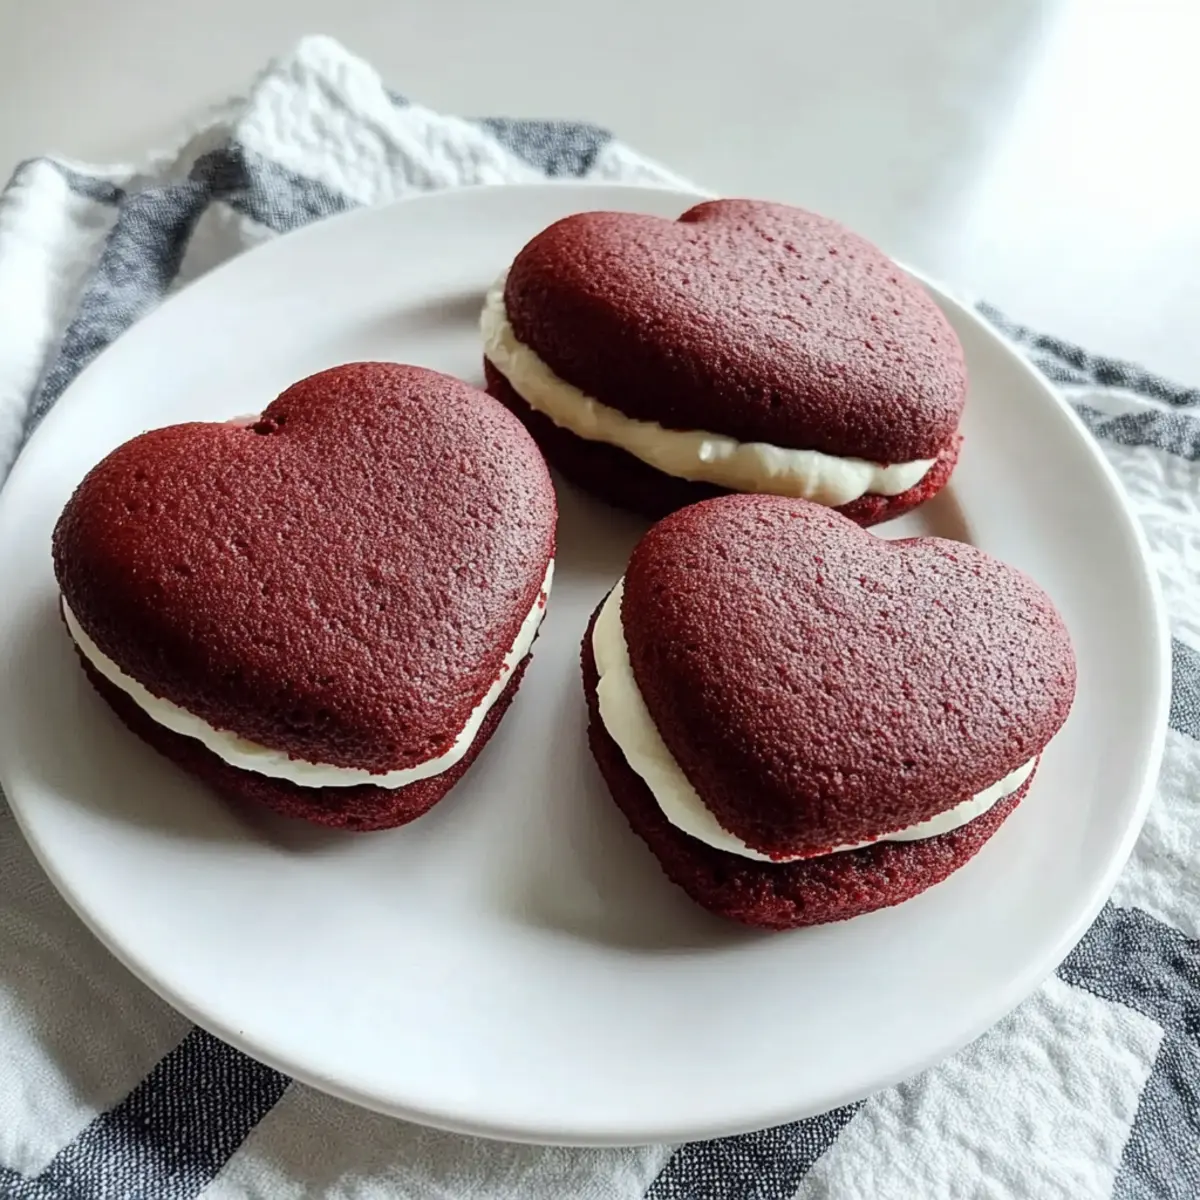
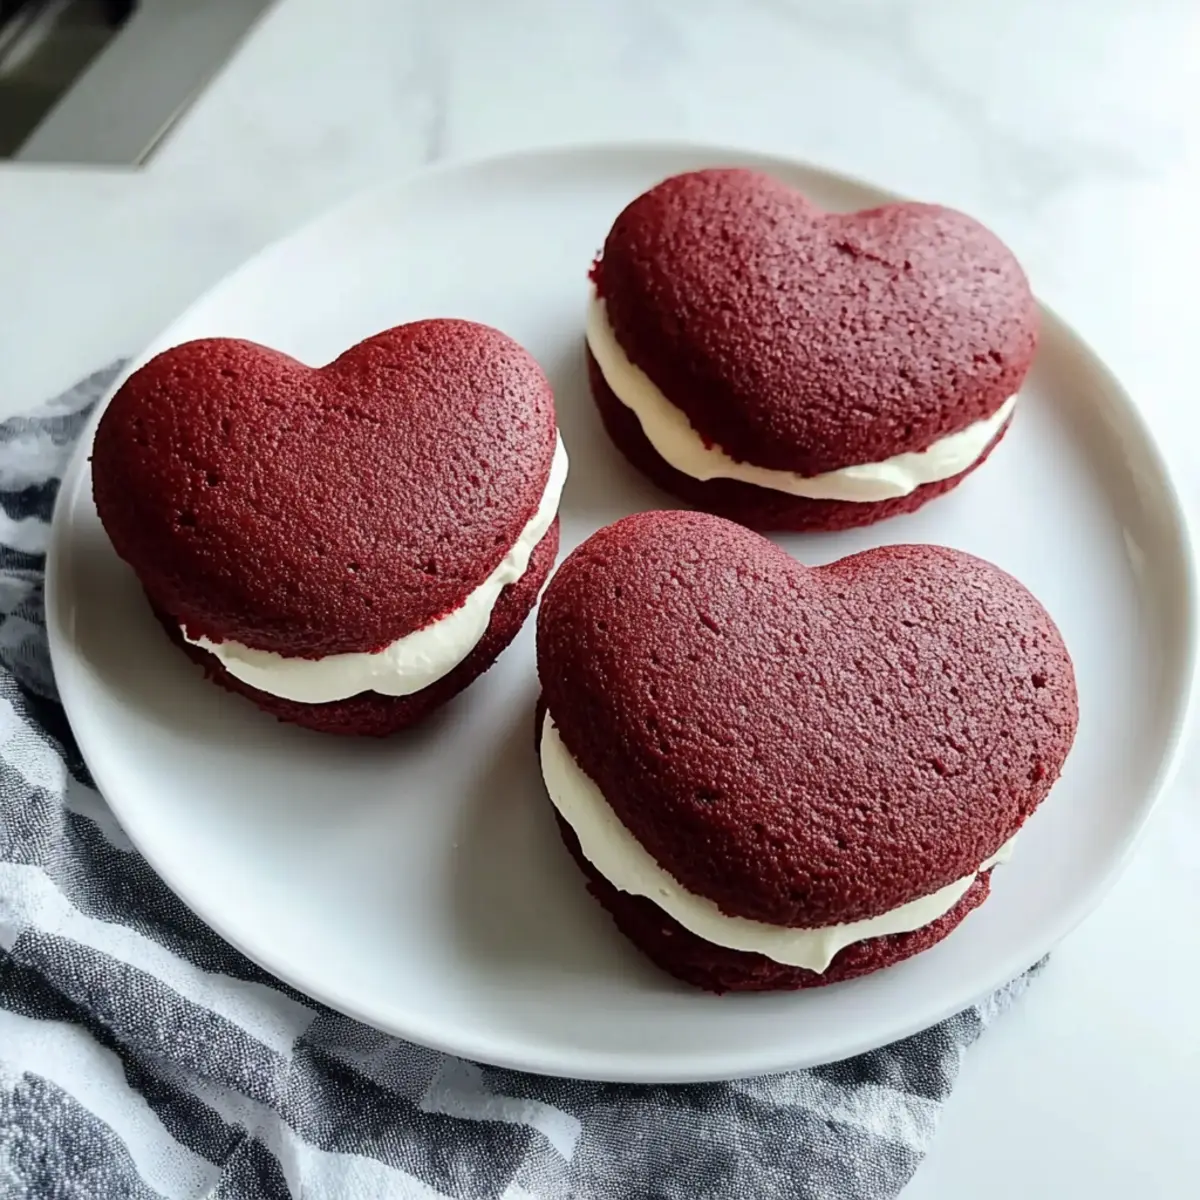
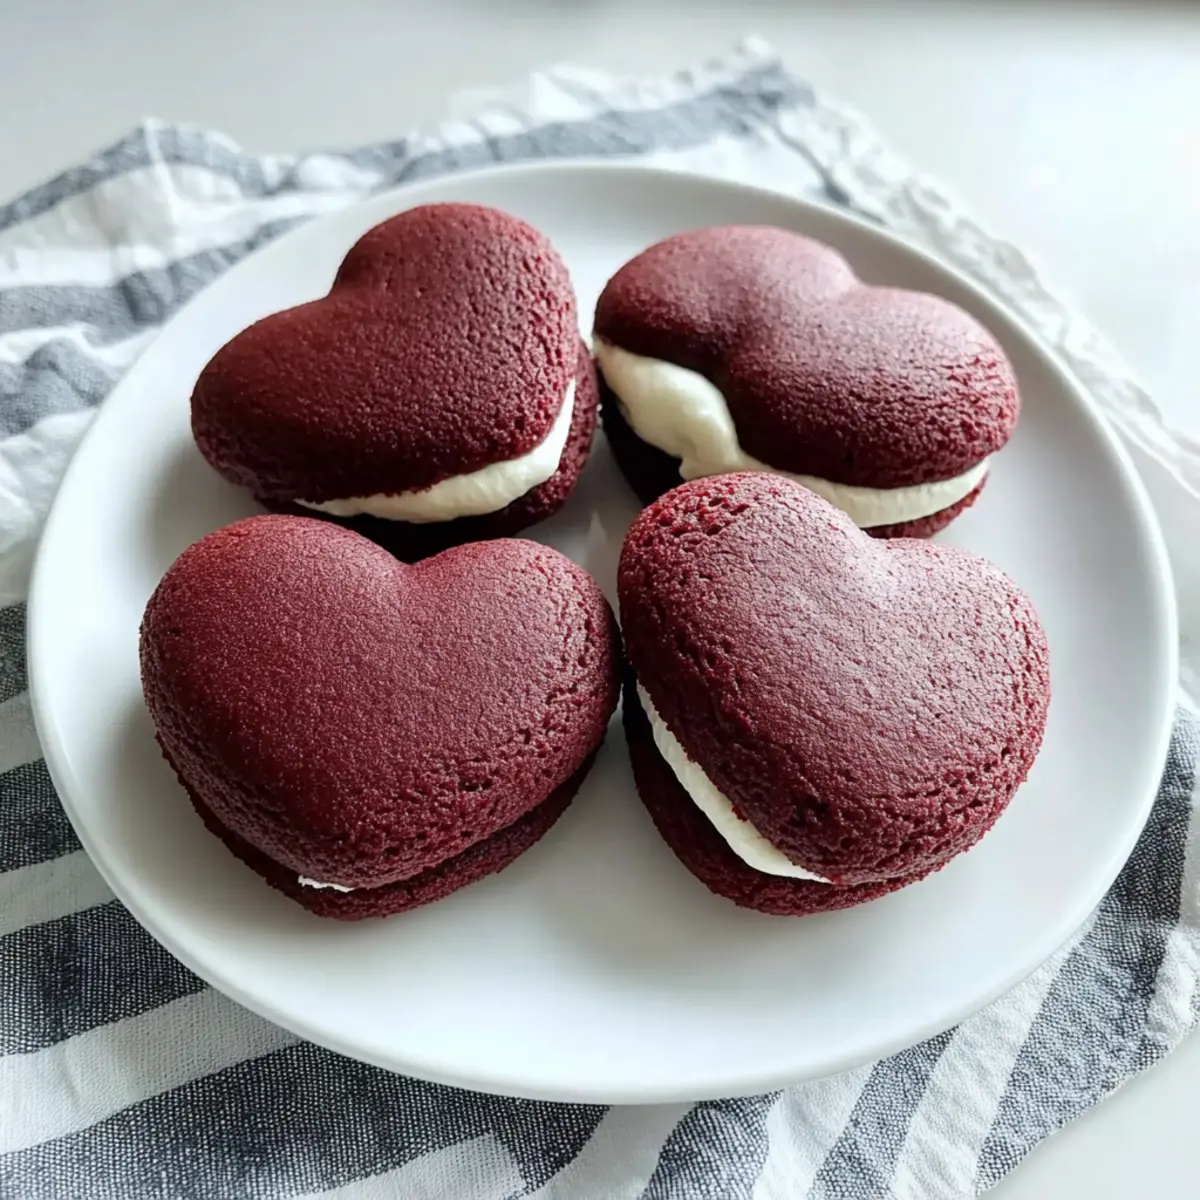
Amid the flurry of hearts and roses, I stumbled upon a delightful mission: crafting the perfect Valentine’s Day treat. Enter the Tasty Heart-Shaped Red Velvet Whoopie Pies! These sweet creations are not only a feast for the eyes with their vibrant redness, but they’re also soft and creamy, making them an irresistible surprise for your loved ones. The best part? You can whip them up in no time, allowing you to focus on what truly matters—making memories. With a luscious cream cheese filling nestled between two tender cookies, these whoopie pies are about to become your go-to dessert for parties and romantic evenings alike. Ready to spread some love in the kitchen? Let’s get baking!
Why Are These Whoopie Pies Special?
Soft and Creamy: The texture is nothing short of heavenly, with each bite revealing a tender cookie that melts in your mouth.
Festive Appeal: Their vibrant red hue makes them a stunning centerpiece for any occasion—perfect for Valentine’s Day treats or romantic dinners.
Easy Preparation: You don’t need to be a master baker to impress! This recipe is designed for everyone, whether you’re a beginner or an experienced chef.
Customizable Flavors: Want to try a twist? Consider adding chocolate chips or experimenting with different frostings for fun variations. For more creative spin-offs, check out my Marshmallow Rice Krispies or the elegant Velvet Strawberry Cheesecake.
Crowd Favorite: These whoopie pies are sure to delight friends, family, and party guests alike, becoming a cherished staple at gatherings. Get ready to share the love!
Heart-Shaped Red Velvet Whoopie Pie Ingredients
• For a deliciously festive treat, gather these ingredients!
For the Cookies
- All-Purpose Flour – Provides structure and texture; whole wheat flour adds a nutty flavor.
- Baking Powder – A leavening agent that contributes to a light, fluffy texture.
- Baking Soda – Essential for the rising process, react with the acidity to achieve the perfect color.
- Salt – Enhances the flavor; use sea salt for a more complex taste.
- Cocoa Powder – Adds a rich chocolate flavor; opt for unsweetened natural cocoa for the best results.
- Unsalted Butter – Delivers richness and moisture; consider coconut oil for a dairy-free option.
- White Sugar – Sweetens the cookies; swap in brown sugar for added moisture and depth.
- Brown Sugar – Contributes a deeper flavor; mixing it with white sugar gives a perfect balance.
- Egg – Binds the ingredients together, adding moisture; for a vegan option, try flaxseed egg or applesauce.
- Vanilla Extract – Enhances the flavor profile; use pure vanilla extract for optimal taste.
- Buttermilk – Adds moisture and a slight tang; regular milk with vinegar or lemon juice works as a substitute.
- Red Food Coloring – Gives these whoopie pies their signature vibrant hue; gel food coloring is preferable for richness.
For the Cream Cheese Filling
- Cream Cheese – Offers a tangy flavor and creamy texture; vegan cream cheese serves as a dairy-free alternative.
- Powdered Sugar – Sweetens the filling, contributing to a smooth texture; sift to ensure it’s lump-free.
With these key ingredients for your heart-shaped red velvet whoopie pies, you’re one step closer to creating a vacation-worthy dessert that’s sure to impress!
Step‑by‑Step Instructions for Heart-Shaped Red Velvet Whoopie Pies
Step 1: Prepare Heart Stencil
Begin by creating a heart stencil by tracing a heart shape onto a piece of cardstock. Cut out the heart and place it on a large baking sheet covered with parchment paper. Use this stencil as a guide to ensure each whoopie pie maintains its delightful heart shape throughout the baking process.
Step 2: Mix Dry Ingredients
In a mixing bowl, whisk together 2 cups of all-purpose flour, 1 teaspoon of baking powder, 1 teaspoon of baking soda, ½ teaspoon of salt, and ¼ cup of cocoa powder. This mixture forms the base of your Heart-Shaped Red Velvet Whoopie Pies. Make sure to incorporate all the ingredients until they are well-combined and set aside for later.
Step 3: Cream Butter and Sugars
In a separate large bowl, use a hand mixer or stand mixer to beat together ½ cup of softened unsalted butter, 1 cup of white sugar, and ½ cup of brown sugar. Blend until the mixture is fluffy and pale, which should take about 3-4 minutes. This creaming process is essential for achieving the tender texture in your whoopie pies.
Step 4: Combine Wet Ingredients
Next, add 1 large egg and 1 teaspoon of vanilla extract to the creamed butter and sugars. Mix until completely smooth and well incorporated. The mixture will become glossy, indicating it’s ready for the next step. This layer of rich flavor will contribute greatly to your heart-shaped treats.
Step 5: Incorporate Dry Mixture
Gradually add the dry ingredients to the wet mixture, mixing gently until just combined. Then, pour in ½ cup of buttermilk and 1 tablespoon of red food coloring, folding everything together until you achieve a smooth and vibrant batter. Be careful not to overmix; you want your Heart-Shaped Red Velvet Whoopie Pies to remain soft and tender.
Step 6: Pipe Batter
Carefully transfer the batter into a pastry bag fitted with a round tip. Pipe the batter onto the parchment paper, using the heart stencil as a guide, making heart shapes about 2-3 inches wide. Space them a few inches apart to allow for spreading during baking. This step transforms your delicious batter into adorable cookies.
Step 7: Bake
Preheat your oven to 350°F (180°C). Once the oven is ready, place the baking sheet in and bake the cookies for about 10 minutes, or until they are set and spring back when gently pressed. The vibrant red color should shine through beautifully! Remove from the oven once done and allow them to cool slightly before transferring to a wire rack.
Step 8: Cool Completely
Let the heart-shaped cookies cool completely on a wire rack for about 15-20 minutes. This cooling time is crucial before adding the filling to ensure it doesn’t melt and to maintain the lovely shape of your Heart-Shaped Red Velvet Whoopie Pies.
Step 9: Make Filling
In a mixing bowl, beat together 8 ounces of softened cream cheese and ¼ cup of unsalted butter until creamy and smooth. Gradually mix in 2 cups of sifted powdered sugar until fluffy. This rich cream cheese filling is the crowning glory of your whoopie pies, ready to bring joy with every bite.
Step 10: Assemble Whoopie Pies
To assemble, pipe a generous amount of cream cheese filling onto the flat side of one cooled cookie. Gently press another cookie on top, flat side down, forming a delightful sandwich. Repeat this process with all your cookies, creating a batch of beautiful Heart-Shaped Red Velvet Whoopie Pies that are sure to impress!
Heart-Shaped Red Velvet Whoopie Pies Variations
Feel free to let your creativity run wild while making these whoopie pies—there’s so much you can do!
- Gluten-Free: Use a 1:1 gluten-free flour blend as a substitute for all-purpose flour to keep them allergy-friendly.
- Nutty Twist: Fold in some chopped walnuts or pecans into the batter for delightful crunch and depth. Just imagine the texture contrast in every bite!
- Spicy Heat: Add a pinch of cayenne pepper to the cream cheese filling for an unexpected but delicious heat that balances the sweetness.
- Chocolate Delight: Swap half of the cocoa powder for melted dark chocolate to create a much richer chocolate flavor. These will truly satisfy any chocolate cravings!
- Fruit Infusion: Mix in a handful of fresh raspberries or strawberries into the cream cheese filling for a bright tartness that complements the sweetness.
- Vanilla Cream Frosting: Replace the cream cheese filling with a light vanilla buttercream for a sweeter alternative. It’s a twist that takes you back to classic flavors!
- Seasonal Themes: Use different food colorings for different holidays—pastel colors for Easter, or pumpkin spice flavors for fall celebrations.
- Coffee Kick: Add a teaspoon of espresso powder to the batter for an energizing coffee flavor that enhances the chocolate richness.
With these variations, you can personalize your whoopie pies for any occasion! For more delicious ideas, don’t forget to check out my Best Parmesan Roasted Red Pepper Chicken recipe that makes for a great meal paired with these delightful treats!
What to Serve with Tasty Heart-Shaped Red Velvet Whoopie Pies
Imagine cozying up with a sweet treat that brings warmth to your heart and joy to your taste buds.
-
Cold Glass of Milk: The creamy coolness perfectly balances the sweetness of the whoopie pies, making for a classic and comforting pairing.
-
Rich Coffee: A strong cup of coffee enhances the flavors of the cream cheese filling while adding a touch of sophistication to your dessert experience.
-
Fresh Berries: Bright bursts of flavor from strawberries or raspberries offer a refreshing contrast and add a pop of color to your plate.
-
Vanilla Ice Cream: Indulge in the delightful combination of warm whoopie pies and cold ice cream. It’s an irresistible duo that’s fit for any occasion.
-
Sparkling Lemonade: The fizzy nature of lemonade helps cut through the richness of the cream cheese filling, making each bite feel lighter and more refreshing.
-
Chocolate-Covered Strawberries: For an extra touch of romance, pair your whoopie pies with chocolate-covered strawberries to elevate your dessert presentation and flavor.
-
Hot Chocolate Bar: Create a cozy gathering by serving your whoopie pies alongside a hot chocolate bar, complete with whipped cream and toppings for indulgent fun.
-
Caramel Sauce: Drizzling warm caramel over your whoopie pies adds another layer of decadence, making them feel even more like a special treat.
-
Creamy Yogurt Parfait: Layer yogurt with granola and fruit for a healthier side that complements the sweetness while adding valuable texture.
Tips for the Best Heart-Shaped Red Velvet Whoopie Pies
Room Temperature Ingredients: Ensure your cream cheese and butter are at room temperature for a smooth filling that spreads easily between the cookies.
Avoid Overmixing: Gently incorporate dry ingredients to maintain that soft texture; overmixing can lead to tough whoopie pies.
Use Gel Food Coloring: For vibrant color, opt for gel food coloring instead of liquid; it provides a striking red hue without altering the batter’s consistency.
Cooling is Key: Allow cookies to cool completely before adding the cream cheese filling; this helps prevent melting and keeps your whoopie pies perfectly formed.
Customize the Filling: Feel free to experiment with different flavorings in your cream cheese filling, like vanilla or almond, for a unique twist on these heart-shaped red velvet whoopie pies.
Storage Tips for Heart-Shaped Red Velvet Whoopie Pies
- Fridge: Store your whoopie pies in an airtight container in the refrigerator for up to 5 days. This keeps them fresh and the cream cheese filling deliciously creamy.
- Freezer: For longer storage, wrap each whoopie pie individually in plastic wrap and place them in a freezer bag. They can be frozen for up to 2 months without losing quality.
- Thawing: When you’re ready to enjoy them, simply thaw in the fridge overnight. Let them sit at room temperature for about 30 minutes before serving for optimal creaminess.
- Reheating: If you prefer them slightly warm, you can place them in the microwave for 10-15 seconds. Just be careful not to overheat, as this can cause the filling to become too soft.
Make Ahead Options
These delightful Heart-Shaped Red Velvet Whoopie Pies are perfect for busy cooks looking to streamline their meal prep! You can prepare the cookie batter and store it in the fridge for up to 24 hours to maintain its freshness. Simply pipe the heart shapes onto parchment paper, cover them, and keep them chilled. Meanwhile, the cream cheese filling can be made in advance and refrigerated for up to 3 days, ensuring it remains just as creamy when you’re ready to assemble. When it’s time to serve, bake the cookies fresh and cool them completely before adding the filling, resulting in a tasty treat with minimal effort that’s perfect for any Valentine’s celebration!
Heart-Shaped Red Velvet Whoopie Pies Recipe FAQs
How do I choose the right red food coloring for my whoopie pies?
I recommend using gel food coloring for a vibrant hue without altering the batter’s consistency. Gel colors are more concentrated than liquid varieties, so just a small amount goes a long way in achieving the signature red look for your Heart-Shaped Red Velvet Whoopie Pies.
How should I store my whoopie pies to keep them fresh?
Keep your heart-shaped whoopie pies in an airtight container in the refrigerator for up to 5 days. This ensures they stay fresh while maintaining that deliciously creamy cream cheese filling.
Can I freeze my Heart-Shaped Red Velvet Whoopie Pies?
Absolutely! To freeze your whoopie pies, wrap each one individually in plastic wrap and place them in a freezer bag. They can be stored in the freezer for up to 2 months. When you’re ready to enjoy them, thaw in the fridge overnight. Allow them to sit at room temperature for about 30 minutes before serving for that perfect creaminess.
What should I do if my batter becomes too runny?
If your batter is too watery, it could mean you added too much liquid, possibly from the food coloring or buttermilk. To fix this, gradually mix in a little more flour until you reach a thicker consistency. Remember, a slightly thicker batter will help maintain the shape of your whoopie pies while baking.
Are there any dietary considerations for the cream cheese filling?
Definitely! If you’re accommodating dietary restrictions, use vegan cream cheese to make the filling dairy-free. For those with cream cheese allergies, a cashew cream or a whipped coconut cream can also work well as a delicious filling alternative.
How long should I let my cookies cool before adding the filling?
It’s essential to let your cookies cool completely on a wire rack for about 15-20 minutes before adding the cream cheese filling. This cooling time prevents the filling from melting and helps maintain the lovely shape of your Heart-Shaped Red Velvet Whoopie Pies.
Delightful Heart-Shaped Red Velvet Whoopie Pies for Love
Ingredients
Equipment
Method
- Prepare Heart Stencil: Create a heart stencil by tracing and cutting out a heart shape onto cardstock.
- Mix Dry Ingredients: Whisk together flour, baking powder, baking soda, salt, and cocoa powder in a mixing bowl.
- Cream Butter and Sugars: Beat unsalted butter, white sugar, and brown sugar together until fluffy.
- Combine Wet Ingredients: Add egg and vanilla extract to the mixture and mix until smooth.
- Incorporate Dry Mixture: Gradually add dry ingredients, followed by buttermilk and red food coloring.
- Pipe Batter: Transfer batter into a pastry bag and pipe onto parchment in heart shapes.
- Bake: Preheat oven to 350°F and bake cookies for about 10 minutes.
- Cool Completely: Let cookies cool on a wire rack for 15-20 minutes.
- Make Filling: Beat cream cheese and butter, then mix in powdered sugar until fluffy.
- Assemble Whoopie Pies: Pipe filling onto one cookie and sandwich with another.
Leave a Reply