
At every summer BBQ, there’s that moment when the grill sizzles to life, filling the air with the promise of deliciousness. Enter Crying Tiger Sauce, a vibrant Thai dipping delight that will elevate your outdoor gatherings. This easy recipe combines fiery chilies, tangy lime, and savory fish sauce into a flavorful blend that’s ready in just 10 minutes. What I love most about Crying Tiger Sauce is not only how simple it is to whip up, but also its personalized touch—adjust the heat and ingredients to suit your taste perfectly. Whether it’s a zesty complement to grilled meats or a fresh dressing for salads, this sauce is a crowd-pleaser that’s sure to impress. Ready to spice up your meal with a kick from Thailand? Let’s dive deeper into this delectable recipe!
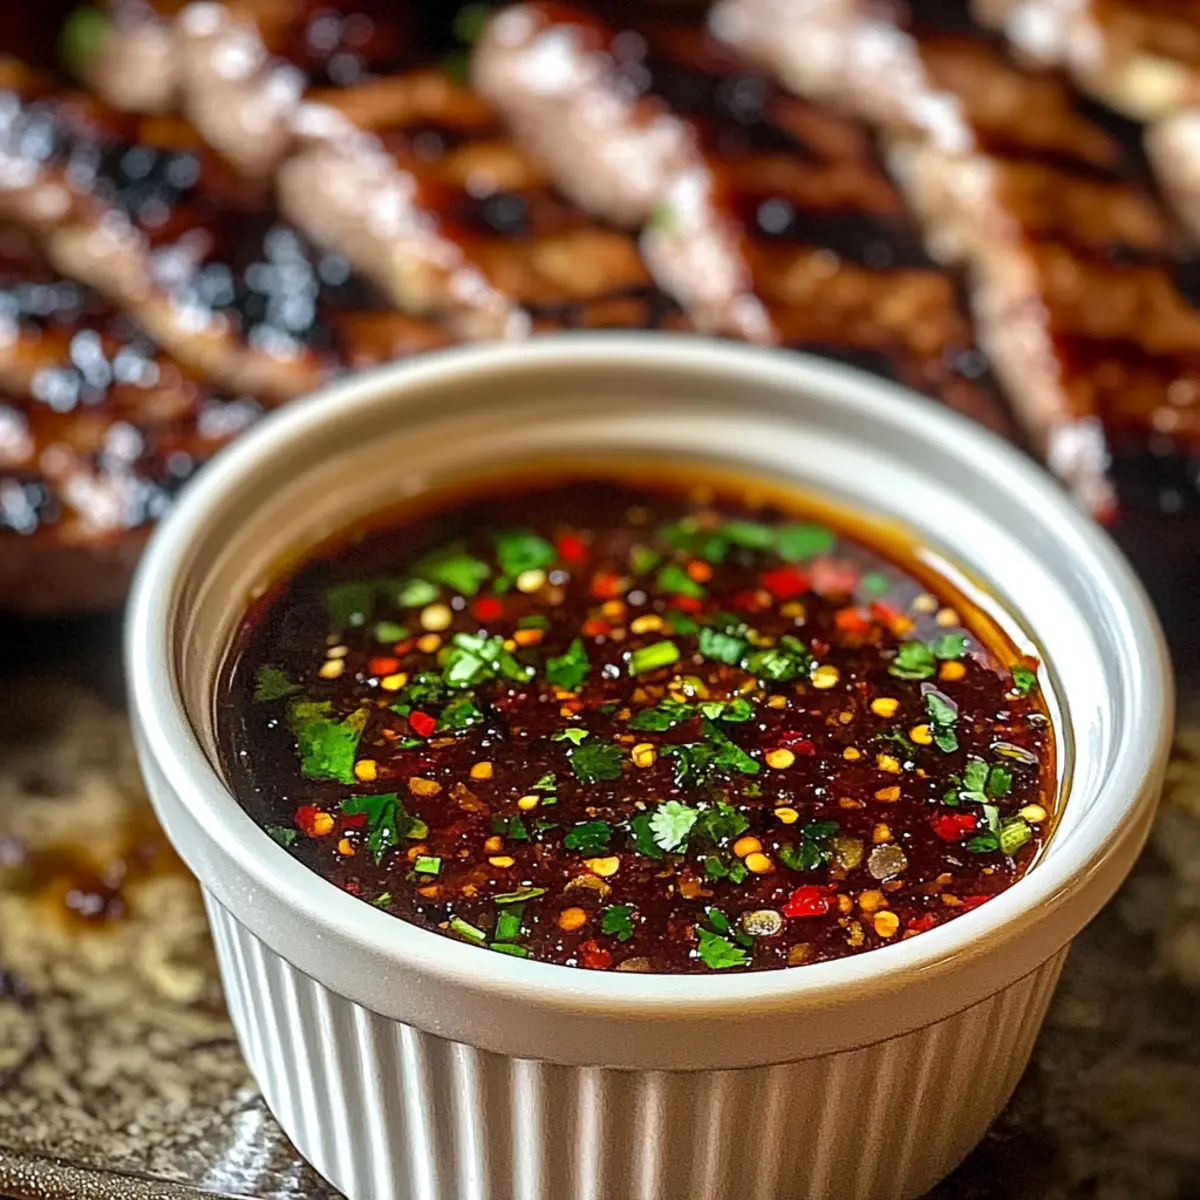
Why is Crying Tiger Sauce a Must-Try?
Quick Preparation: You can whip up this vibrant sauce in just 10 minutes, making it a perfect choice for busy weeknights or impromptu BBQs.
Customizable: Adjust the heat and ingredients to match your taste, ensuring everyone at the table can enjoy its delightful flavors.
Savory and Zesty: The blend of fiery chilies, tangy lime, and umami fish sauce creates a unique flavor explosion that will elevate any dish.
Versatile Usage: Enjoy it with grilled meats, incorporate it into salads, or use it as a great topping for rice dishes—it’s truly a culinary chameleon!
Health-conscious option: With just 50 calories per serving, you can indulge in flavor without the guilt. For more delicious condiment ideas, check out my Baked Cajun Salmon for the perfect pairing.
Crying Tiger Sauce Ingredients
-
For the Base
• Lime Juice – Provides acidity and brightness; can substitute with lemon juice for a different tartness.
• Fish Sauce – Adds umami flavor; replace with soy sauce for a vegetarian option.
• Water – Adjusts consistency to desired thickness for optimal dipping.
• Brown Sugar – Offers sweetness to balance the spiciness; honey or maple syrup can serve as alternatives. -
For Flavor
• Garlic – Adds depth of flavor; can use garlic powder if fresh garlic is unavailable.
• Lemongrass – Contributes a unique fresh flavor; use lemongrass paste as a quick substitute.
• Green Onions – Adds a mild onion flavor; chives can be used for a similar taste.
• Cilantro – Gives a fresh herbal note; substitute with basil for a different flavor profile. -
For Heat
• Thai Red Chili Peppers – Provide heat; jalapeños can be used for a milder spice if desired.
• Red Pepper Flakes – Adds extra heat; can be omitted for a milder sauce. -
Optional Texture
• Toasted Rice Powder – Brings unique texture; crushed peanuts can be used as a substitute for crunch.
By exploring these ingredients, you’ll be well on your way to crafting a delicious batch of Crying Tiger Sauce to enhance your meals!
Step‑by‑Step Instructions for Crying Tiger Sauce
Step 1: Combine Ingredients
In a medium mixing bowl, zestfully combine the fresh lime juice, savory fish sauce, and a splash of water to adjust thickness. Add in a tablespoon of brown sugar, minced garlic, and finely chopped lemongrass for a fragrant base. Also, throw in chopped green onions and fresh cilantro, mixing gently until everything is evenly incorporated, creating a vibrant blend.
Step 2: Add Heat
Now, stir in the chopped Thai red chili peppers along with a dash of red pepper flakes for an extra kick. Make sure to distribute the heat evenly throughout the mixture. The colors of the chilies will brighten your sauce, indicating that it’s coming together beautifully and will soon be ready to elevate your dish.
Step 3: Taste and Adjust
It’s time for a taste test! Sample your Crying Tiger Sauce and adjust as desired—if you crave more acidity, add a splash of lime juice; to balance out the heat, sprinkle in more brown sugar or water. Keep tweaking until it’s the perfect blend of spicy, tangy, and sweet, just how you like it.
Step 4: Store or Serve
Once satisfied with the flavor, you can serve the sauce immediately alongside your grilled meats or as a zesty dressing for salads. If you plan to store it, transfer the sauce into an airtight container to keep its freshness intact, refrigerating for up to 5 days. Give it a gentle stir before serving to bring back all that delightful flavor.
Make Ahead Options
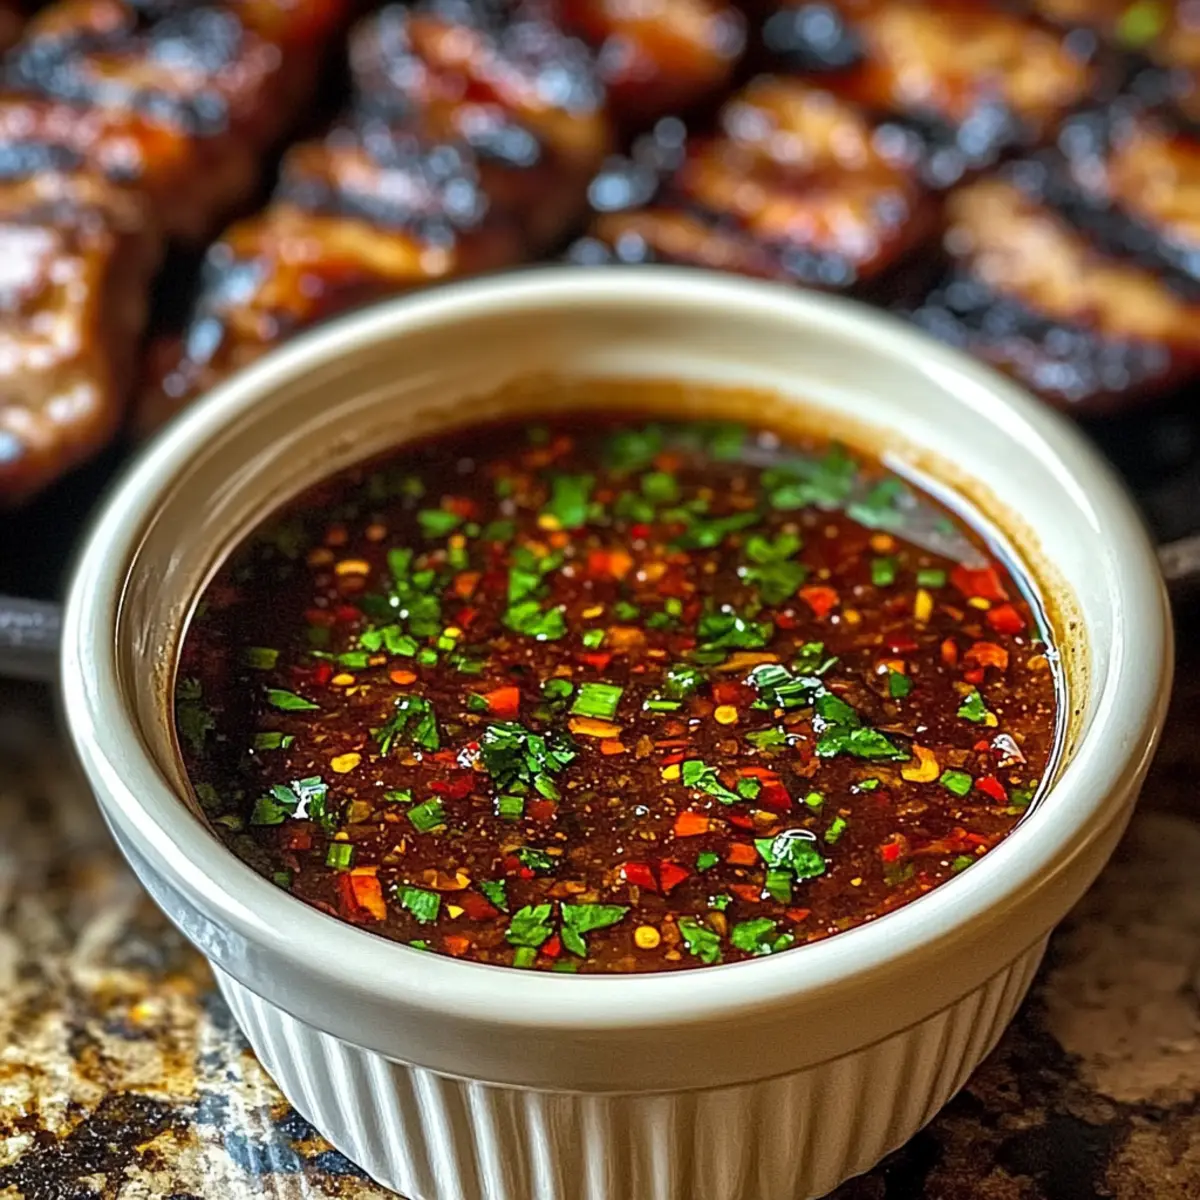
Crying Tiger Sauce is a fantastic recipe for meal prep lovers! You can prepare the entire sauce up to 5 days in advance, letting the flavors meld beautifully over time. Initially, combine all the ingredients in a bowl and transfer the mixture to an airtight container, then refrigerate. To maintain its quality, stir the sauce before serving, especially if it has been stored overnight; this will reinvigorate its bright flavors and consistency. When you’re ready to enjoy your sauce, simply give it a taste and adjust the heat or sweetness according to your preference. With these make-ahead tips, you’ll have a flavor-packed sauce ready to elevate your meals effortlessly!
What to Serve with Crying Tiger Sauce
Elevate your culinary experience with delicious accompaniments that beautifully complement the vibrant flavors of this Thai dipping sauce.
- Grilled Meats: Perfectly charred chicken, beef, or pork pair beautifully with the sauce, enhancing their smoky flavors with a spicy kick.
- Fresh Mango Salad: The sweetness of ripe mango balances the heat, creating a refreshing counterpoint that brightens any meal.
- Coconut Rice: The creaminess of coconut rice adds a lovely texture and a subtle sweetness, harmonizing with the zesty sauce.
- Vegetable Spring Rolls: Crisp and fresh, these rolls provide a delightful crunch that contrasts with the sauce’s silky texture and bold flavors.
- Thai Quinoa Bowl: Packed with fresh veggies and grains, this bowl showcases the sauce as a vibrant dressing, adding depth to every bite.
- Chilled Beer: A cold lager or wheat beer complements the spice of the sauce, making it the perfect refreshing sip during warm gatherings.
- Chocolate Mousse: For dessert, a rich, velvety chocolate mousse offers a sweet ending, balancing the heat of the sauce with indulgent creaminess.
With these pairings, your meal will resonate with exciting textures and flavors, guaranteed to be a hit at any table!
How to Store and Freeze Crying Tiger Sauce
- Fridge: Store the Crying Tiger Sauce in an airtight container in the refrigerator for up to 5 days. This allows the flavors to meld beautifully, enhancing your next meal.
- Freezer: For longer storage, freeze the sauce in ice cube trays. It can last for up to 3 months. Once frozen, transfer the cubes to a zip-top bag for easy use later.
- Reheating: When ready to use, simply thaw the frozen cubes in the fridge overnight or heat gently in a small saucepan. Stir well before serving to restore freshness.
- Airtight Recommendations: Ensure the container is tightly sealed to prevent any odors from the fridge from affecting the flavor of your Crying Tiger Sauce.
Expert Tips for Crying Tiger Sauce
-
Balance Flavors: Taste your sauce before serving; adjusting lime, sugar, and spices at this stage ensures a perfect flavor harmony.
-
Control Heat: For a milder sauce, start with fewer chilies and add more gradually. This way, you avoid overpowering those who prefer less heat.
-
Fresh Ingredients: Use fresh lime juice and cilantro whenever possible for the best flavor. Dried substitutes can work in a pinch but won’t provide the same zing.
-
Storage: Store the Crying Tiger Sauce in an airtight container in the fridge for up to 5 days. Remember to stir before using, as ingredients may settle.
-
Experiment: Don’t hesitate to try other herbs or spices; for instance, swapping cilantro for basil gives a twist to the classic flavor profile of this Crying Tiger Sauce.
Crying Tiger Sauce Variations
Feel free to let your creativity flow and customize your Crying Tiger Sauce to suit your tastes and dietary preferences!
- Dairy-Free: Swap out fish sauce for soy sauce to make this sauce suitable for a dairy-free diet while maintaining that savory umami flavor.
- Herbal Twist: Replace cilantro with fresh basil for a different herbal taste that adds a unique, aromatic layer to your sauce.
- Spicy Level: Adjust the heat by using fewer Thai red chilies for a milder version, ensuring everyone can enjoy the sauce without overwhelming heat.
- Sweet Alternatives: Substitute brown sugar with honey or pure maple syrup for a different sweetness that complements the tanginess beautifully.
- Nutty Crunch: For a delightful texture twist, add crushed peanuts instead of toasted rice powder, giving your sauce a satisfying crunch alongside the smoothness.
- Citrus Zing: A splash of orange juice can replace some lime juice, offering a sweeter and fruitier take on this zesty sauce.
- Smoky Flavor: Try adding a dash of smoked paprika to the mix for an earthy, smoky touch that pairs delightful with grilled meats.
- Miso Boost: Incorporate a spoonful of white miso paste in place of fish sauce for a deeper umami kick with a creamy consistency.
Explore these variations while enjoying your next meal with this fantastic sauce! For a more delicious side, consider serving it with zesty options like Baked Cajun Salmon that pairs wonderfully with the flavors of Crying Tiger Sauce.
Crying Tiger Sauce Recipe FAQs
How do I pick ripe ingredients for Crying Tiger Sauce?
Absolutely! When selecting lime, look for ones that feel heavy for their size and have a slight give when gently squeezed—this indicates juiciness. For Thai red chili peppers, choose vibrant ones with no dark spots or wrinkles. Fresh herbs like cilantro should be bright green with no yellowing leaves. If you’re using fish sauce, opt for a high-quality brand for the best umami flavor.
How should I store Crying Tiger Sauce, and how long will it last?
Very! Store your Crying Tiger Sauce in an airtight container in the refrigerator for up to 5 days. This short storage time is ideal, as it allows the flavors to meld and improve over time. Remember to gently stir the sauce before serving to re-incorporate any settled ingredients.
Can I freeze Crying Tiger Sauce, and if so, how?
Definitely! Freezing is a great option for longer storage. Simply pour the sauce into ice cube trays and freeze until solid, which typically takes 2-3 hours. Once frozen, transfer the cubes to a zip-top bag. You can keep them for up to 3 months. To use, thaw in the refrigerator overnight or reheat gently in a saucepan!
What should I do if my Crying Tiger Sauce is too spicy?
If your sauce turns out a bit spicier than you like, don’t worry! Start by mixing in a little extra brown sugar or honey to balance the heat. You can also add a splash of lime juice or a little water to dilute the spiciness. Tasting as you adjust will help you reach that perfect harmony of flavors. Don’t hesitate to keep tweaking until it’s exactly how you love it!
Are there any dietary considerations for Crying Tiger Sauce?
Absolutely! If you have dietary restrictions, you can easily modify the recipe. To make it vegetarian, replace fish sauce with soy sauce or tamari. For those avoiding gluten, make sure to choose gluten-free soy sauce. Additionally, if you’re making it for pets, such as dogs, be cautious of garlic and other additions that may not be suitable for their diet.
Can I use this sauce for anything other than dipping?
Very much! Crying Tiger Sauce is incredibly versatile. Use it as a marinade for grilled meats or tofu, a dressing for vibrant salads, or drizzle it over rice dishes for an exciting flavor boost. The options are endless, and I love discovering new ways to enjoy this adaptable sauce!
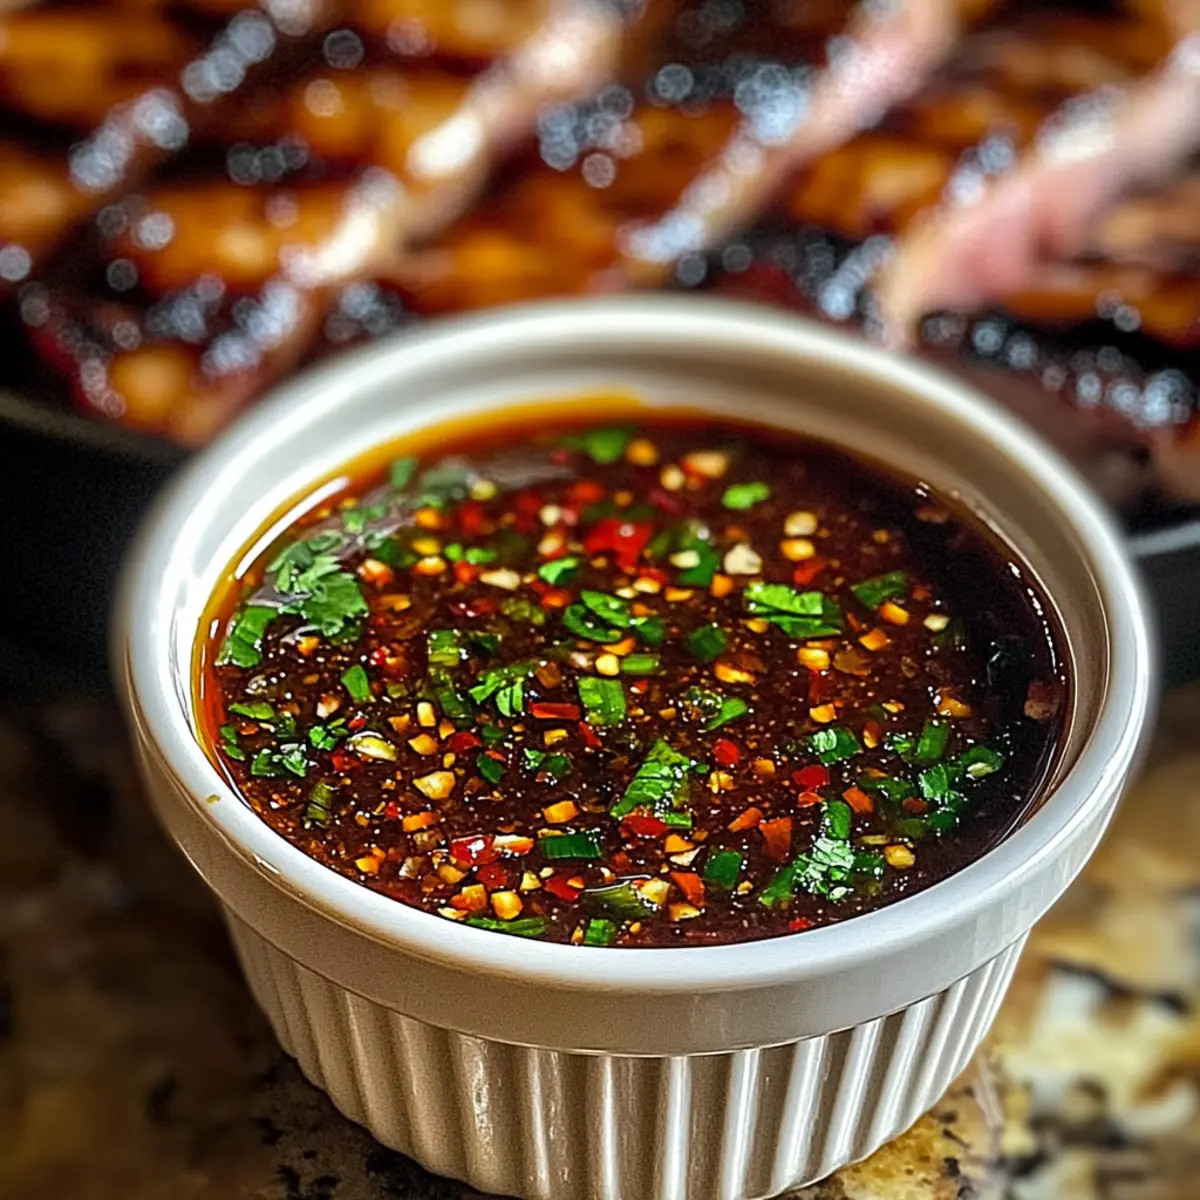
Crying Tiger Sauce: Your Ultimate Thai Flavor Booster
Ingredients
Equipment
Method
- In a medium mixing bowl, combine lime juice, fish sauce, and water. Add brown sugar, minced garlic, and lemongrass. Mix in green onions and cilantro until evenly combined.
- Stir in chopped Thai red chili peppers and red pepper flakes. Ensure even distribution of heat.
- Taste and adjust flavors with lime juice, brown sugar, or water as needed.
- Serve immediately or store in an airtight container in the fridge for up to 5 days.
Leave a Reply