
The aroma of sweet, tangy cherries wafting through the kitchen transports me back to those summer days spent picking fruit under the sun. This recipe for Perfect Sour Cherry Pie with a Flaky Lattice Crust is not just a dessert; it’s a nostalgic embrace that celebrates the vibrant flavors of this beloved fruit. In just a few steps, you’ll create a stunning pie that’s both a comforting treat for cozy nights and an impressive centerpiece for gatherings. Best of all, this recipe embraces flexibility, offering delightful gluten-free and vegan variations. So, whether you have fresh cherries from the market or frozen ones ready to be transformed, you’re just moments away from slicing into a masterpiece. Ready to embark on this delightful baking adventure together? Let’s dive in!
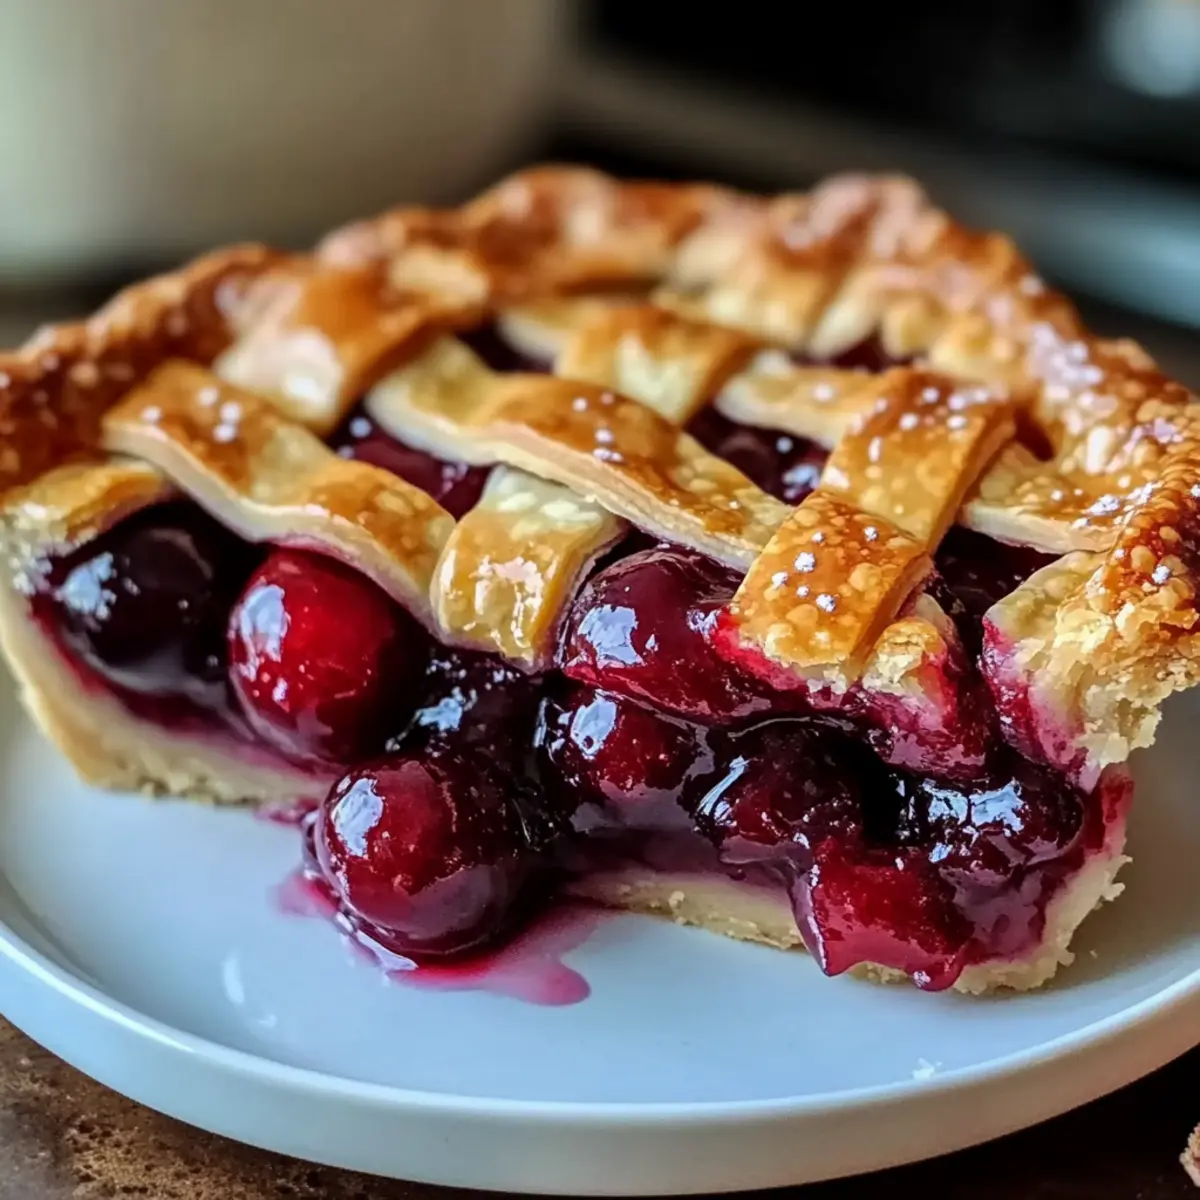
Why is this sour cherry pie special?
Unforgettable Flavor: The blend of tangy sour cherries and nutty almond extract creates a uniquely delightful taste that will leave your taste buds dancing with joy. Versatile Options: Whether you prefer fresh or frozen cherries, or need gluten-free and vegan alternatives, this recipe accommodates all. Ease of Preparation: The straightforward process makes it perfect for novice bakers who want to impress family and friends. Crowd-Pleasing Treat: Serve this pie warm with a scoop of vanilla ice cream or a dollop of whipped cream, and you’ll see it disappear in no time. Discover more wonderful desserts like this Chocolate Tuxedo Cake or Marshmallow Rice Krispies for your next gathering!
Perfect Sour Cherry Pie Ingredients
• A treasure trove of flavors awaits!
For the Filling
- Sour Cherries – The star of the show, they provide that delightful tartness; fresh is best, but frozen will do—just make sure to drain them well!
- Sugar – This balances the cherry tartness beautifully; consider coconut sugar for a healthier alternative.
- Almond Extract – It adds a lovely depth to the filling; vanilla extract can be used but with a different flavor profile.
- Cornstarch – Essential for thickening the filling to avoid a soggy crust.
For the Crust
- Butter – A key ingredient for a flaky crust; keeping it cold is crucial, or swap it for vegan butter for a dairy-free option.
- All-Purpose Flour – Provides structure to the crust; for gluten-free needs, opt for a gluten-free blend or a mix of almond flour and tapioca starch.
- Salt – Just a pinch enhances flavor and highlights the sweetness; don’t skip it!
- Egg (for wash) – This gives the crust a golden finish; for vegan, try a mixture of almond milk and maple syrup instead.
This delightful recipe offers the wonderful experience of making a Perfect Sour Cherry Pie right in your own kitchen. Happy baking!
Step‑by‑Step Instructions for Perfect Sour Cherry Pie
Step 1: Make the Dough
Start by combining 2½ cups of all-purpose flour with 1 teaspoon of salt in a large bowl. Cut in 1 cup of cold butter until the mixture resembles coarse crumbs. Gradually add ice water, mixing until the dough comes together. Wrap it in plastic wrap and chill for at least 1 hour to ensure a flaky texture when baked.
Step 2: Prepare Filling
While the dough chills, prepare the cherry filling. In a medium bowl, combine 4 cups of pitted sour cherries (fresh or well-drained frozen) with 1 cup of sugar, 2 tablespoons of cornstarch, and 1 teaspoon of almond extract. Stir until fully coated and set aside to let the flavors meld, about 15 minutes, while you roll out the dough.
Step 3: Roll and Cut Dough
Once chilled, remove the dough from the fridge. Divide it into two equal halves and roll out the first half on a lightly floured surface to fit your 9-inch pie pan. Aim for a thickness of about ¼ inch. Carefully transfer it to the pie pan, ensuring it covers the bottom and sides. Roll out the second half, then cut it into ¾-inch strips for the lattice crust.
Step 4: Assemble Pie
Preheat your oven to 425°F (220°C). Pour the cherry filling into the prepared pie crust, making sure to spread it evenly. Weave the strips of dough over the filling in a lattice pattern, sealing the edges by pinching them together. Trim any excess dough, and brush the lattice with an egg wash or a mixture of almond milk and maple syrup for a vegan option.
Step 5: Bake
Place the assembled pie in the preheated oven and bake for 45-55 minutes. Look for the crust to turn golden brown and the filling to bubble through the lattice. If the edges brown too quickly, tent them with foil to protect from burning.
Step 6: Cool
After baking, remove the pie from the oven and let it cool on a wire rack for at least 2 hours. This cooling time allows the filling to set properly, ensuring clean slices when you serve your perfect sour cherry pie. Enjoy the delightful aroma filling your kitchen!
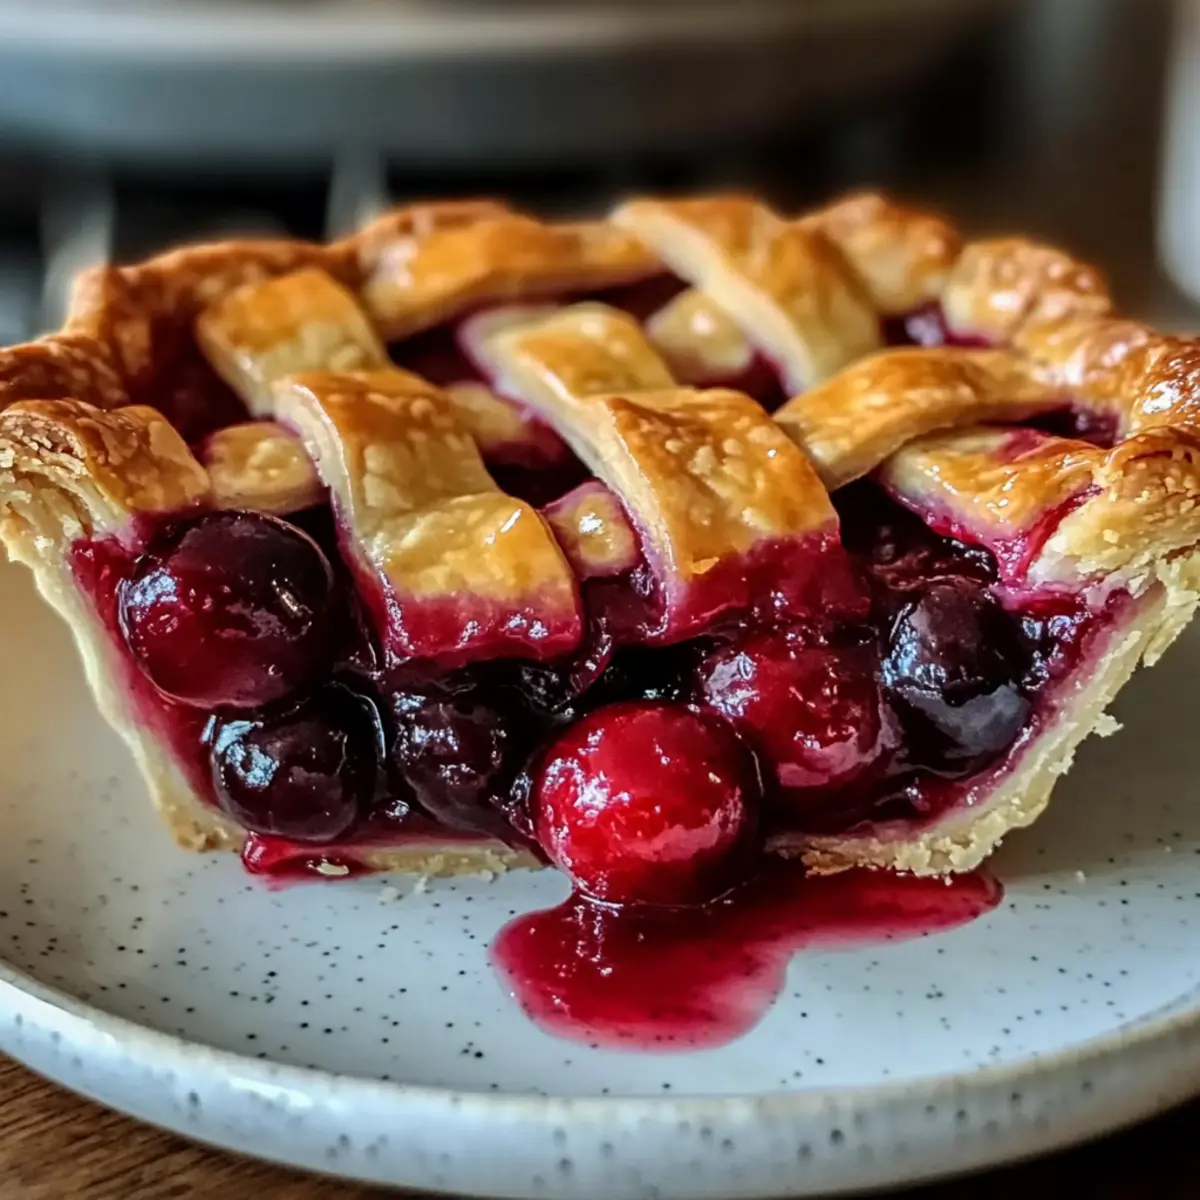
Perfect Sour Cherry Pie Variations
Invite your creativity to play in the kitchen and discover how easily you can personalize this delightful treat!
-
Gluten-Free: Use a gluten-free flour blend or a mix of almond flour and tapioca starch for a deliciously flaky crust without gluten.
-
Vegan: Replace butter with coconut oil and try a mixture of almond milk and maple syrup for the egg wash, making this pie suitable for a plant-based diet.
-
Flavor Boost: Swap almond extract for vanilla extract for a subtly different taste, offering a lovely twist to the classic filling.
-
Crunchy Surprise: Mix in a handful of candied pecans with the cherry filling for a delightful texture that will surprise your guests.
-
Spiced Up: Add a sprinkle of cinnamon or nutmeg to the cherry filling for a warm, inviting flavor that makes every bite feel like a hug.
-
Berry Mix: Fold in a cup of fresh blueberries or raspberries along with the cherries for an exciting blend of fruity flavors that elevates the pie to a new level.
-
More Tartness: Try mixing in some fresh lemon juice or lemon zest with the filling—this brightens and enhances the tartness of the cherries beautifully!
-
Creamy Topping: For an indulgent twist, serve each slice with a dollop of whipped cream or vanilla ice cream, amplifying that cozy feeling with every bite.
Explore the endless possibilities while you create your own take on this Perfect Sour Cherry Pie! For more delightful desserts, check out the rich layers in a Chocolate Tuxedo Cake or the fun vibes of Marshmallow Rice Krispies. Enjoy!
Expert Tips for Perfect Sour Cherry Pie
-
Chill Time Matters: Don’t skip the chilling step for your dough! It truly enhances flakiness and helps the crust maintain its shape while baking.
-
Well-Drained Cherries: If using frozen sour cherries, ensure they are thoroughly drained before adding to your filling. This helps prevent a soggy crust.
-
Test for Color: Keep an eye on your pie during baking. If the lattice crust edges start to brown too quickly, carefully tent them with foil to avoid burning.
-
Gentle Handling: Handle the pie crust gently while forming the lattice—overworking it can lead to a tough texture instead of the desired flakiness.
-
Cooling Time is Key: Allow the pie to cool for at least 2 hours before slicing. This resting period helps the filling set perfectly, making for beautiful, clean slices.
How to Store and Freeze Perfect Sour Cherry Pie
Fridge: Store your pie loosely covered in the refrigerator for up to 4 days. This keeps it fresh while allowing the flavors to meld beautifully.
Freezer: For long-term storage, unbaked sour cherry pies can be frozen for up to 2 months. Seal well with plastic wrap and aluminum foil to prevent freezer burn.
Reheating: When ready to serve, bake from frozen at 425°F (220°C) for an additional 10-15 minutes after the original baking time for a warm, delightful slice of perfect sour cherry pie.
Room Temperature: If you’ve baked the pie already, it’s best served warm or at room temperature. Do not leave it out for more than 2 hours to ensure food safety.
What to Serve with Perfect Sour Cherry Pie
The rich, tangy sweetness of this pie invites a delightful spread of accompaniments that enhances every bite and creates a memorable meal.
-
Vanilla Ice Cream: A classic pairing, the creaminess perfectly balances the tart flavors of the pie, creating a comforting and indulgent treat.
-
Whipped Cream: Light and airy, a dollop of whipped cream offers a sweet contrast, enhancing the pie’s vibrant cherry notes with each spoonful.
-
Coffee: The warm, rich flavors of a freshly brewed cup of coffee beautifully complement the pie’s sweetness, making it a perfect after-dinner indulgence.
-
Fresh Mint Leaves: A sprinkle of fresh mint not only adds bright color but also introduces a refreshing note that lifts the overall flavor profile.
-
Chocolate Sauce: Drizzling chocolate sauce over the pie adds a luxurious touch, creating a chocolate-cherry synergy that dessert lovers will adore.
-
Almond Biscotti: Crunchy biscotti pairs wonderfully with the pie, introducing another texture that enhances the experience with subtle almond flavors aligning with the pie.
-
Chilled Rosé Wine: The light, fruity notes of a chilled rosé bring out the pie’s cherry flavors while cutting the sweetness, making for a sophisticated dessert pairing.
-
Lemon Sorbet: A scoop of lemon sorbet provides a zesty contrast, cleansing the palate with every bite and refreshing the senses between slices.
-
Cheese Platter: A selection of soft cheeses and dabs of honey can create a delightful casual course before dessert, where the creaminess of the cheese complements the pie’s textures.
-
Sliced Fresh Fruit: Seasonal fruit slices can add a refreshing element alongside the pie, enhancing the dessert without overpowering its deliciousness.
Make Ahead Options
These Perfect Sour Cherry Pies are ideal for busy bakers looking to save time! You can prepare the pie crust up to 3 days in advance, storing it tightly wrapped in the refrigerator to maintain its flakiness. The cherry filling can also be made ahead and refrigerated for up to 24 hours, simply ensuring it’s covered to keep its vibrant flavor and prevent drying out. When you’re ready to bake, assemble the pie by rolling out the chilled dough, filling it with the prepared cherry mixture, and weaving the lattice crust on top. Bake as instructed, and enjoy a delicious dessert that seems freshly made, effortlessly delighting family and friends!
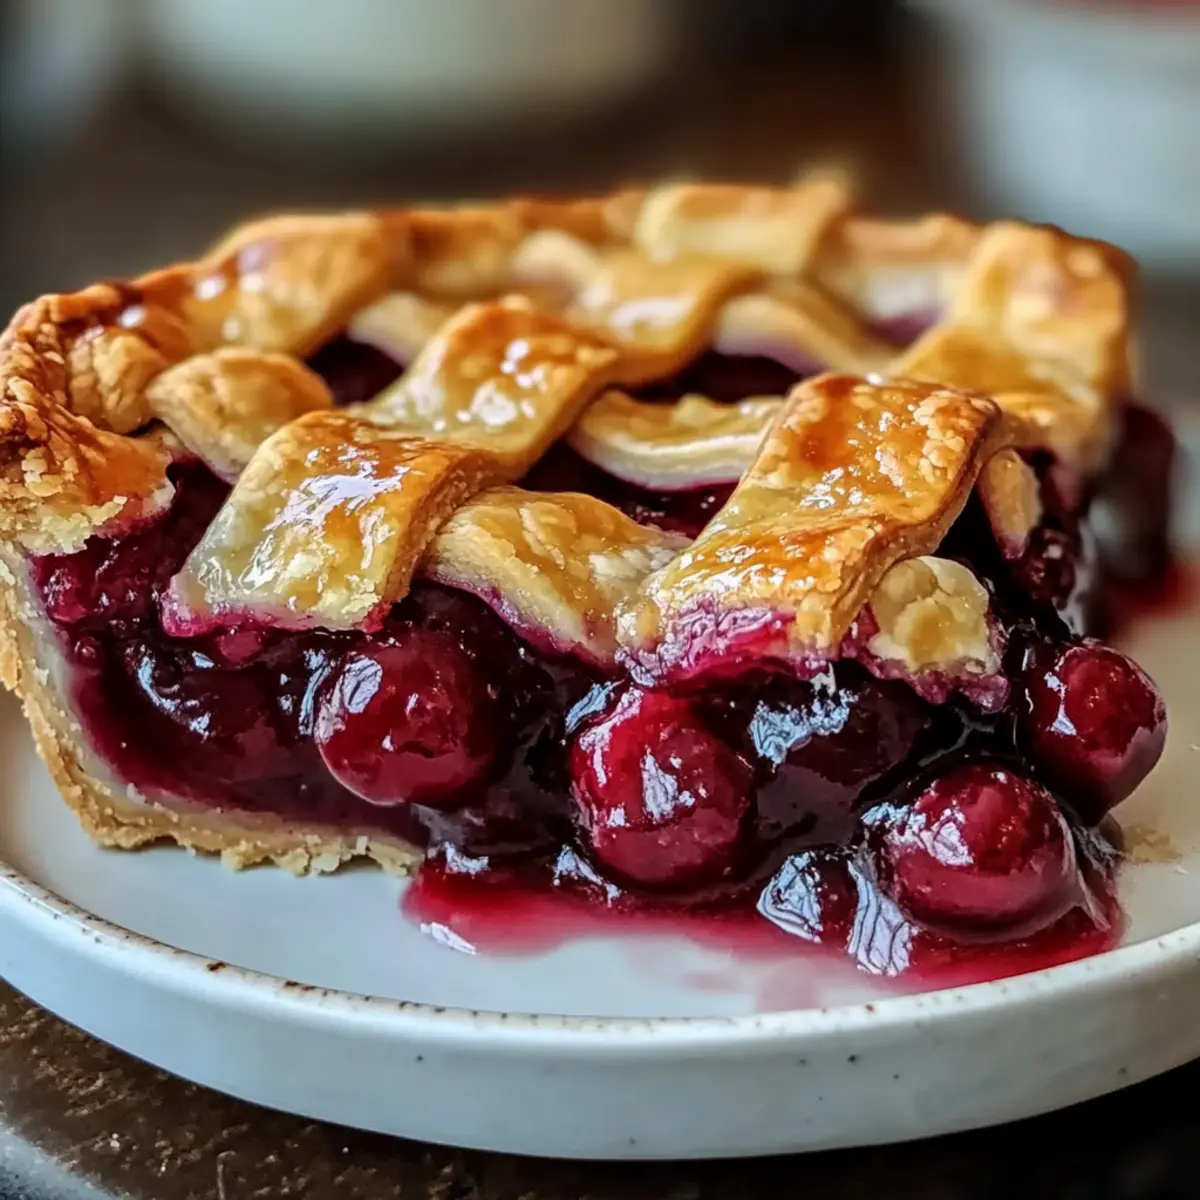
Perfect Sour Cherry Pie Recipe FAQs
What type of cherries should I use?
Absolutely! Fresh sour cherries bring the best flavor to your pie, but if you’re using frozen cherries, make sure to drain them thoroughly after thawing to avoid a soggy filling.
How do I store my sour cherry pie?
You can store your Perfect Sour Cherry Pie loosely covered in the refrigerator for up to 4 days. This method not only keeps the pie fresh but also enhances the melding of flavors, making each slice even more delightful.
Can I freeze the pie?
Very! Unbaked sour cherry pies can be frozen for up to 2 months. Wrap the pie tightly in plastic wrap and foil to prevent freezer burn. When you’re ready to bake it, simply place it in a preheated oven at 425°F (220°C) and add an extra 10-15 minutes to the original baking time.
What if the crust is getting too brown?
If you notice the edges of your lattice crust are browning too quickly, don’t worry! Just tent the edges with foil during baking to protect them from burning while the rest of the pie finishes cooking. This simple trick can save your pie’s appearance without affecting the baking process.
Any dietary considerations for this pie?
Absolutely! This recipe accommodates various dietary needs. For a gluten-free version, simply substitute all-purpose flour with a gluten-free blend or a combination of almond flour and tapioca starch. You can also opt for vegan butter and replace the egg wash with a mixture of almond milk and maple syrup to maintain the pie’s beautiful golden color.
How do I achieve the perfect flakiness in my crust?
The key to a flaky crust lies in handling your dough with care. After mixing your ingredients, let the dough chill for at least an hour—this crucial step helps the fat solidify, ensuring a light, flaky texture. When you roll it out, keep the surface lightly floured and don’t overwork the dough to maintain that desired crust quality!
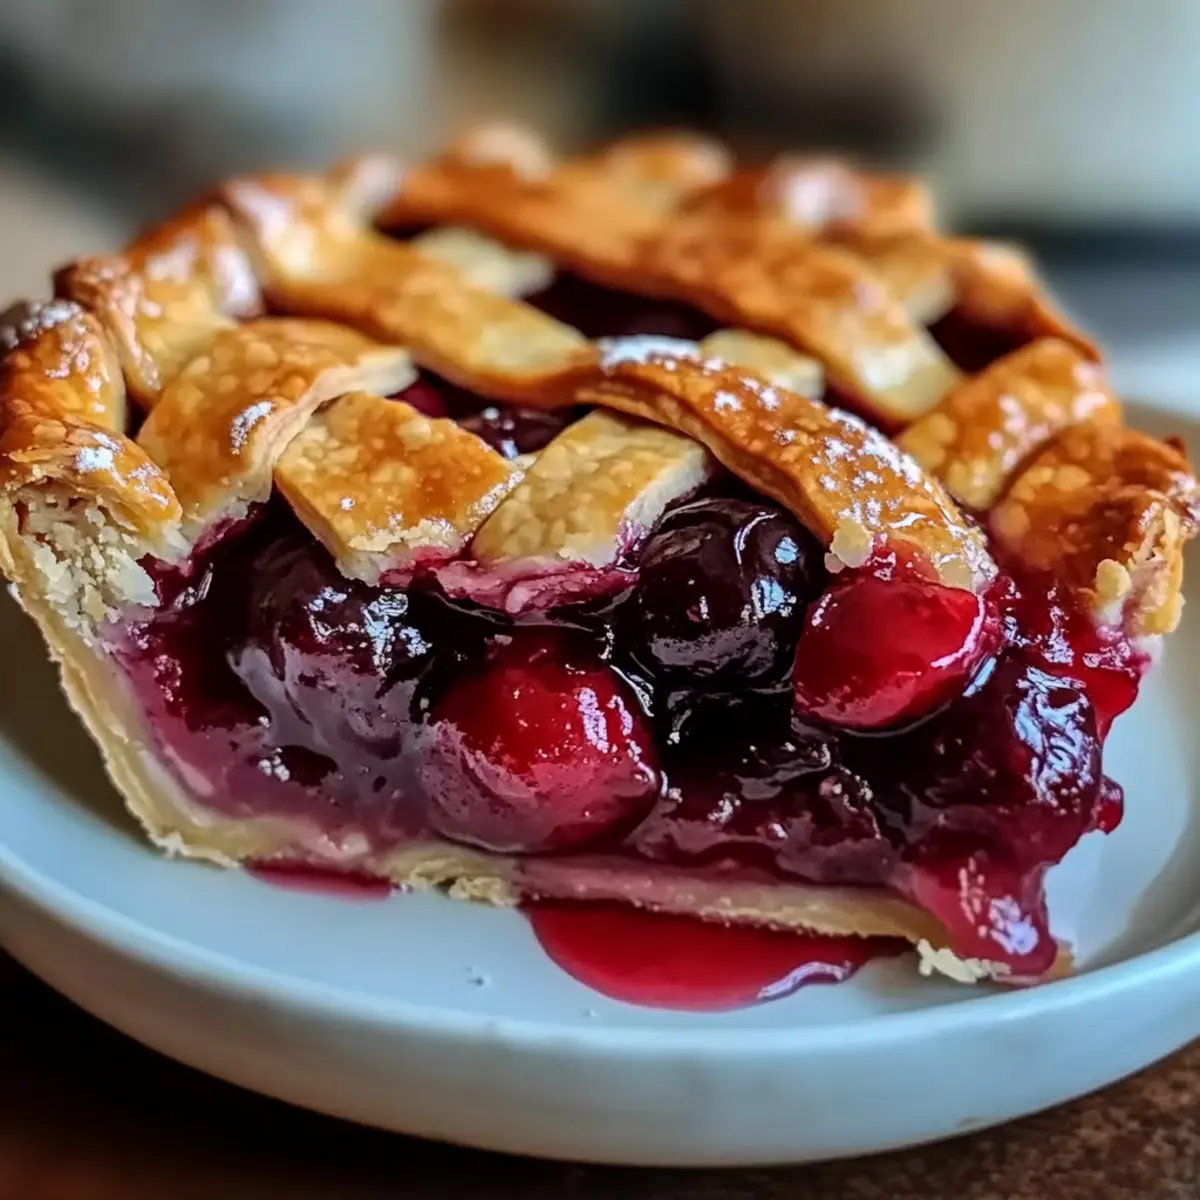
Perfect Sour Cherry Pie with Flaky Crust for Cozy Nights
Ingredients
Equipment
Method
- Combine flour and salt in a large bowl. Cut in cold butter until it resembles coarse crumbs. Gradually add ice water until the dough comes together. Wrap in plastic and chill for at least 1 hour.
- Once chilled, divide the dough into two halves and roll out to fit your pie pan. Transfer to the pan and roll out the second half to cut into strips for the lattice.
- Mix the cherries, sugar, cornstarch, and almond extract in a bowl until coated. Set aside for about 15 minutes.
- Preheat oven to 425°F (220°C). Pour cherry filling into the crust, weave strips on top, and seal edges. Brush with egg wash or vegan option.
- Bake for 45-55 minutes until the crust is golden brown and the filling bubbles. Protect edges with foil if browning too quickly.
- Let the pie cool on a wire rack for at least 2 hours before slicing.
Leave a Reply