
A delightful aroma wafted through my kitchen as I whisked the creamy filling for this No-Bake Vanilla Tiramisu Roll—a simple yet sophisticated Italian dessert that transforms an ordinary day into something truly special. With just 20 minutes of active prep time, this indulgent treat marries luscious mascarpone and coffee-soaked ladyfingers into a visually stunning showstopper. It’s an impressive crowd-pleaser that requires no baking, making it perfect for warm afternoons or festive celebrations. Plus, with options for gluten-free, dairy-free, and low-sugar variations, you can easily tailor it to suit your guests’ needs. Are you ready to roll up your sleeves and create a dessert that will leave everyone asking for seconds?
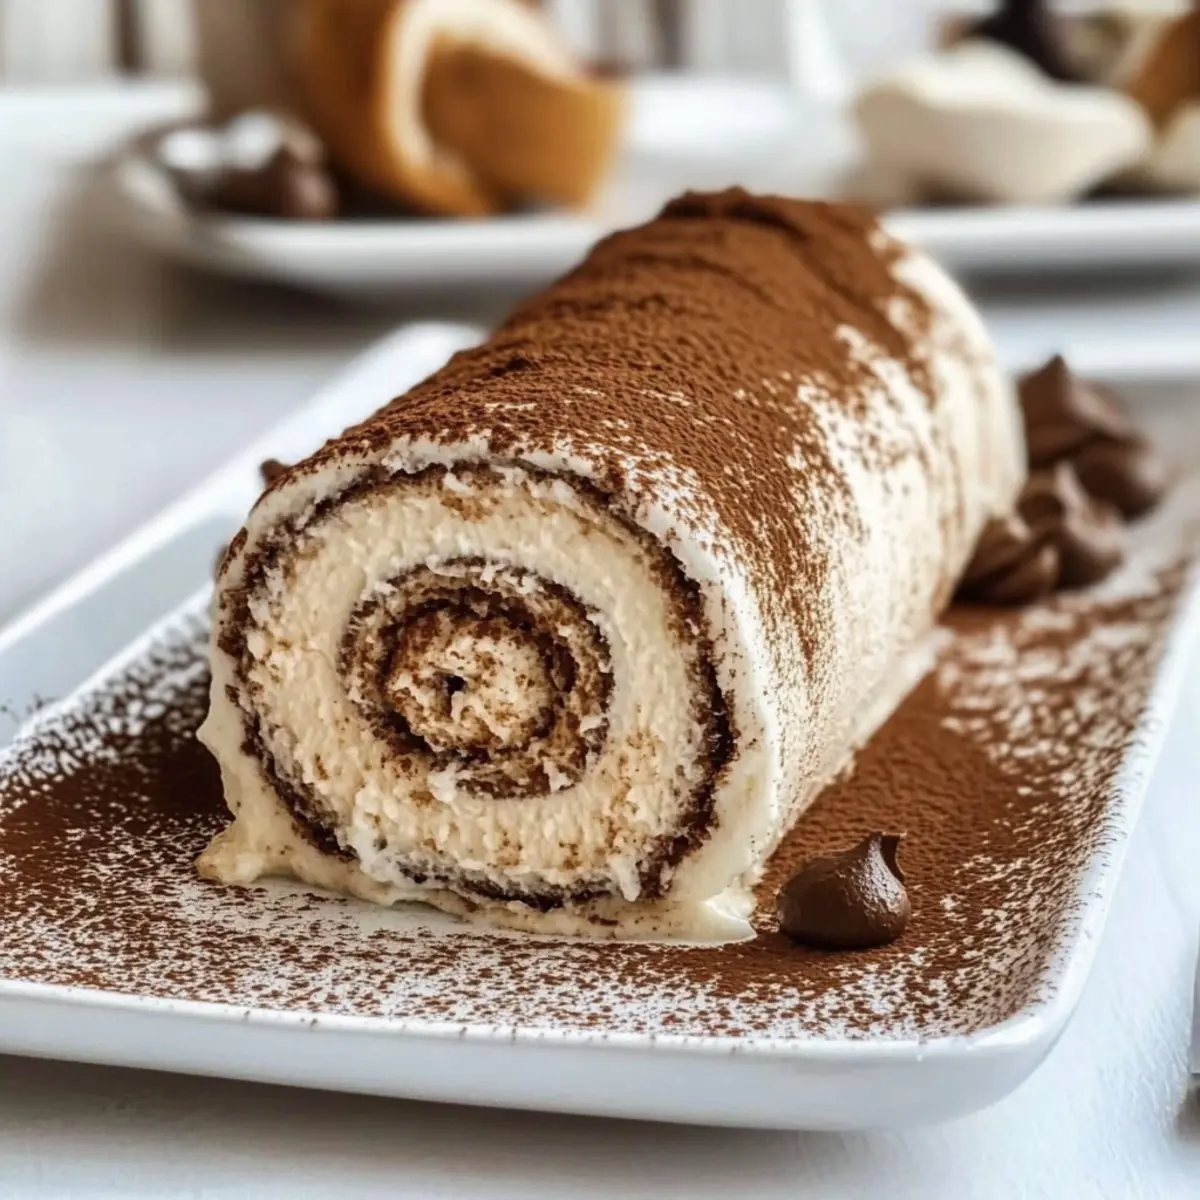
Why Is This Tiramisu Roll Special?
Simplicity at Its Finest: With just 20 minutes of active preparation, you can create an elegant dessert that impresses without the fuss of baking.
Versatile Options: Whether you need a gluten-free, dairy-free, or low-sugar dessert, this recipe adapts to fit your dietary preferences effortlessly.
Luxurious Flavor: The creamy mascarpone blends flawlessly with rich coffee and delicate ladyfingers, delivering a taste that rivals any restaurant dessert.
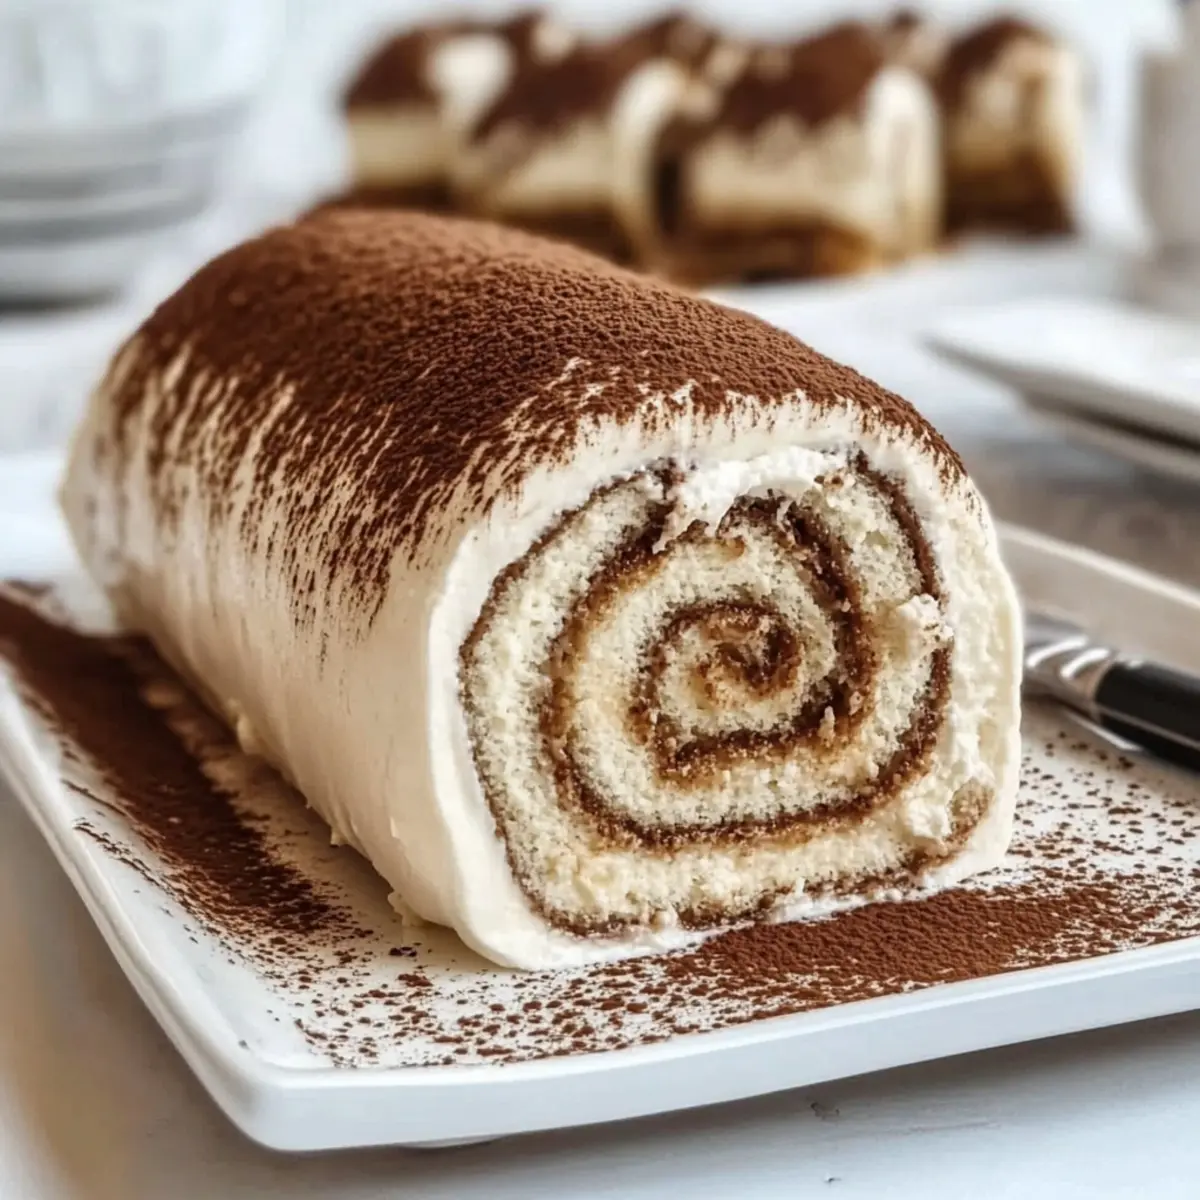
Visual Appeal: Each slice showcases beautiful swirls that not only delight the palate but also make for stunning presentation at gatherings.
Crowd-Pleaser: This no-bake vanilla tiramisu roll is guaranteed to be a hit, turning any occasion into a celebration—perfect for impressing friends or family!
For more tempting desserts, check out our creamy dessert recipes or easy no-bake treats!
No-Bake Vanilla Tiramisu Roll Ingredients
For the Filling
- Mascarpone Cheese – Creamy Italian cheese creating a rich filling base; can be replaced with dairy-free cream cheese for a lactose-free option.
- Heavy Cream – Provides a light, airy texture essential for a smooth consistency; whip until stiff peaks form.
- Powdered Sugar – Sweetens the filling without graininess; use stevia or monk fruit sweetener for lower sugar content.
- Vanilla Extract – Provides classic dessert flavor; essential for the quintessential tiramisu taste.
- Almond Extract (optional) – Adds a subtle nutty flavor; can be omitted without affecting texture.
For the Coffee Mixture
- Brewed Coffee – Adds classic tiramisu flavor and moisture; use strong coffee for a deeper flavor.
- Coffee Liqueur (optional) – Enhances coffee depth with a subtle alcoholic warmth; omit if desired for a non-alcoholic version.
For the Base
- Ladyfingers – Delicate sponge cookies absorbing the coffee mixture, forming the base; opt for store-bought crisp ladyfingers for best results.
For the Topping
- Cocoa Powder – Traditional topping that adds visual appeal and slight bitterness.
- White Chocolate Shavings (optional) – Decorative element for added sweetness and elegance.
This no-bake vanilla tiramisu roll is an exquisite dessert your friends and family will love!
Step‑by‑Step Instructions for No-Bake Vanilla Tiramisu Roll
Step 1: Prepare the Filling
In a medium bowl, combine 1 cup of mascarpone cheese, ½ cup of powdered sugar, 1 teaspoon of vanilla extract, and ½ teaspoon of almond extract. Using an electric mixer, blend until the mixture is silky smooth and well incorporated, about 2-3 minutes. In a separate bowl, whip 1 cup of heavy cream until stiff peaks form. Gently fold the whipped cream into the mascarpone mixture until fully combined, ensuring a light and airy texture for your no-bake vanilla tiramisu roll.
Step 2: Dip the Ladyfingers
Pour 1 cup of strong brewed coffee and 2 tablespoons of optional coffee liqueur into a shallow dish. Quickly dip each ladyfinger into the coffee mixture, ensuring they absorb flavor but don’t become soggy; this should take no longer than 2 seconds per finger. Arrange a layer of dipped ladyfingers, slightly overlapping, on a sheet of plastic wrap laid out on your work surface. The warm aroma of coffee will add to the excitement of assembling your tiramisu roll!
Step 3: Assemble the Roll
Spread the mascarpone filling evenly over the layer of ladyfingers, leaving about a half-inch border along the edges. Once the filling is in place, carefully layer another row of dipped ladyfingers on top, pressing gently to secure the filling. This creates a beautiful and rich foundation for the no-bake vanilla tiramisu roll. Make sure to cover every area for an even taste in every slice.
Step 4: Roll the Tiramisu
Using the plastic wrap, start rolling the ladyfinger layers tightly from one of the shorter edges, forming a cylindrical shape. Be mindful to maintain even pressure and avoid any gaps; visual integrity will contribute to the presentation of the tiramisu roll. Once rolled, wrap the entire cylinder securely in plastic wrap to prevent air exposure, and refrigerate for at least 4 hours or overnight to let the flavors meld beautifully.
Step 5: Finish & Serve
After chilling, carefully unwrap the tiramisu roll and transfer it to a serving platter. Dust the top generously with cocoa powder for a classic finish. For a festive touch, sprinkle optional white chocolate shavings on top. Use a sharp knife to slice into rounds, revealing the delicious layers inside. This beautiful no-bake vanilla tiramisu roll is now ready to serve—delight your guests with each creamy, coffee-infused slice!
What to Serve with Delightful No-Bake Vanilla Tiramisu Roll
Indulging in a creamy slice of this elegant dessert opens the door to beautifully curated meal pairings that elevate your experience.
-
Espresso: The rich, bold flavor of espresso beautifully complements the creamy layers, enhancing the coffee undertones in each bite.
-
Berries Medley: Fresh strawberries and raspberries add a bright, tart contrast to the sweetness, refreshing your palate between dessert bites.
-
Whipped Cream: A dollop of lightly sweetened whipped cream on top provides an airy texture that balances the dense tiramisu roll.
-
Chocolate-Covered Almonds: These crunchy, nutty surprises entice with their bittersweet chocolate coating, creating a delightful flavor contrast.
-
Mint Tea: This fragrant tea offers a soothing finish to the meal, refreshing the senses after the richness of the dessert.
-
Caramel Sauce Drizzle: A light drizzle of homemade caramel sauce introduces a luscious sweetness that complements the chocolate and coffee flavors beautifully.
-
Tart Lemon Sorbet: The zesty coolness of lemon sorbet serves as a bright counterpoint, cleansing the palate between rich tiramisu bites.
-
Vanilla Ice Cream: Creamy vanilla ice cream enhances the flavor profile while introducing a delightful cold element against the soft tiramisu.
-
Sparkling Wine: A glass of chilled Moscato d’Asti adds bubbly sweetness that pairs perfectly with the layers of sweetness and creaminess in the dessert.
Each of these accompaniments will transport your dining experience to new heights, inviting your guests to savor every moment!
No-Bake Vanilla Tiramisu Roll Variations
Feel free to personalize this delightful dessert with these tempting twists that cater to every palate.
-
Gluten-Free Delight: Substitute gluten-free ladyfingers or use an almond flour cake to enjoy the same layered goodness without gluten.
-
Dairy-Free Alternative: Swap in coconut cream cheese and a plant-based whipped cream for a deliciously creamy, dairy-free version that’s just as indulgent.
-
Low-Sugar Modification: Replace powdered sugar with stevia or monk fruit sweetener, and skip the coffee liqueur for a healthier treat without sacrificing flavor.
-
Chocolate Lover’s Remix: Mix melted dark chocolate into the mascarpone filling and sprinkle extra cocoa powder on top for an irresistible chocolate twist that chocoholics will adore.
-
Fruit Infusion: Add a layer of fresh berries, like raspberries or strawberries, between the ladyfingers and creamy filling for a vibrant fruitiness that brightens every bite.
-
Nutty Bliss: Incorporate finely chopped nuts, such as hazelnuts or walnuts, into the filling for an earthy crunch that complements the creaminess perfectly.
-
Extra Creamy Twist: For an even richer filling, blend in a dollop of whipped mascarpone into the cream before folding, ensuring delightful creaminess in every slice.
-
Spiced Variation: Add a hint of cinnamon or a splash of almond extract to the filling for a warm flavor that enhances the overall dessert experience.
These variations will not only adapt the recipe to your dietary needs but also inspire creativity in the kitchen. And if you’re interested in more delicious options, dive into our creamy dessert recipes or explore easy no-bake treats for even more inspiration!
How to Store and Freeze No-Bake Vanilla Tiramisu Roll
Fridge: Keep the tiramisu roll tightly wrapped in plastic wrap in the refrigerator for up to 3 days. This helps maintain its creamy texture and delicious flavor.
Freezer: For longer storage, freeze the no-bake vanilla tiramisu roll for up to 2 months. Be sure to wrap it tightly in plastic wrap, followed by foil for extra protection against freezer burn.
Thawing: To enjoy your tiramisu roll after freezing, place it in the refrigerator overnight to thaw gently. This method preserves its delicate texture and flavor.
Serving Tips: After thawing, dust with fresh cocoa powder before slicing and serving. This adds a delightful touch to your presentation!
Make Ahead Options
Preparing the No-Bake Vanilla Tiramisu Roll ahead of time is a fantastic way to save precious minutes on busy days! You can assemble the roll and refrigerate it for up to 24 hours before serving, giving the creamy filling time to meld beautifully with the coffee-soaked ladyfingers. If you prefer even more flexibility, the roll can be tightly wrapped in plastic wrap and stored in the freezer for up to 2 months; just remember to thaw it in the refrigerator overnight before serving. To maintain quality, avoid soaking the ladyfingers too long, ensuring they stay firm and hold their shape. When you’re ready to serve, simply dust with cocoa powder and slice—effortlessly delighting your guests with this elegant dessert!
Expert Tips for No-Bake Vanilla Tiramisu Roll
-
Perfect Dipping: Dip ladyfingers quickly and don’t soak them too long. A speedy dunk in coffee ensures they remain firm and avoid sogginess.
-
Whip with Care: When folding whipped cream into the mascarpone mixture, use a gentle hand to retain airiness, creating that light texture characteristic of a great no-bake vanilla tiramisu roll.
-
Chill Time Matters: Allow the tiramisu roll to chill for at least 4 hours or overnight to let the flavors meld properly and achieve the best texture.
-
Tidy Presentation: Ensure you wrap the roll tightly in plastic wrap; this helps maintain its shape and prevents air from ruining its creamy layers.
-
Creative Variations: Don’t hesitate to experiment! Try adding melted chocolate to the filling or substitute ladyfingers with gluten-free options for a delightful twist on the classic no-bake vanilla tiramisu roll.
No-Bake Vanilla Tiramisu Roll Recipe FAQs
What type of mascarpone cheese should I use?
Absolutely! I recommend using high-quality mascarpone cheese for a rich and creamy filling. Look for mascarpone that feels smooth and looks pale in color. If you’re avoiding dairy, you can easily swap it with a dairy-free cream cheese alternative.
How should I store the no-bake vanilla tiramisu roll?
Very! To keep your tiramisu roll fresh, wrap it tightly in plastic wrap and store it in the refrigerator for up to 3 days. This will help maintain its creamy texture and wonderful flavors. If you’d like it to last longer, you can freeze it for up to 2 months.
Can I freeze the no-bake vanilla tiramisu roll?
Absolutely! To freeze, tightly wrap the roll in plastic wrap and then in foil to prevent freezer burn. When you’re ready to indulge, simply transfer it to the refrigerator to thaw overnight. This gentle defrosting technique will keep the texture exquisitely creamy.
What if my ladyfingers become too soggy when dipping?
Don’t worry, it happens to the best of us! The trick is to dip the ladyfingers for no longer than 1-2 seconds each into the coffee mixture. You want them to absorb flavor while still maintaining structure. If they do become soggy, they may still taste delicious, just be careful when slicing to avoid a messy presentation!
Is this no-bake dessert suitable for kids or people with allergies?
Very! This delightful no-bake vanilla tiramisu roll can be tailored to different dietary needs. For kids, you can skip the coffee liqueur for a purely non-alcoholic treat. If anyone has specific allergies, consider using gluten-free ladyfingers and dairy-free alternatives to ensure everyone can enjoy this lovely dessert!
How can I enhance the flavors in the tiramisu roll?
Absolutely! For an extra depth of flavor, feel free to mix in some melted dark chocolate into the mascarpone filling or layer in some fruit, like raspberries, between layers. It adds a pop of color and flavor that’s simply delightful!
Irresistible No-Bake Vanilla Tiramisu Roll for Easy Indulgence
Ingredients
Equipment
Method
- In a medium bowl, combine mascarpone cheese, powdered sugar, vanilla extract, and almond extract. Blend until silky smooth, about 2-3 minutes. In another bowl, whip heavy cream until stiff peaks form and gently fold into the mascarpone mixture.
- Pour brewed coffee and coffee liqueur into a shallow dish. Quickly dip each ladyfinger in coffee, ensuring they absorb flavor but don’t become soggy; arrange a layer of dipped ladyfingers on plastic wrap.
- Spread the mascarpone filling over the ladyfingers, leaving a half-inch border. Layer another row of dipped ladyfingers on top, pressing gently to secure the filling.
- Using the plastic wrap, roll the layers tightly from one of the shorter edges into a cylindrical shape. Wrap the roll securely in plastic wrap and refrigerate for at least 4 hours or overnight.
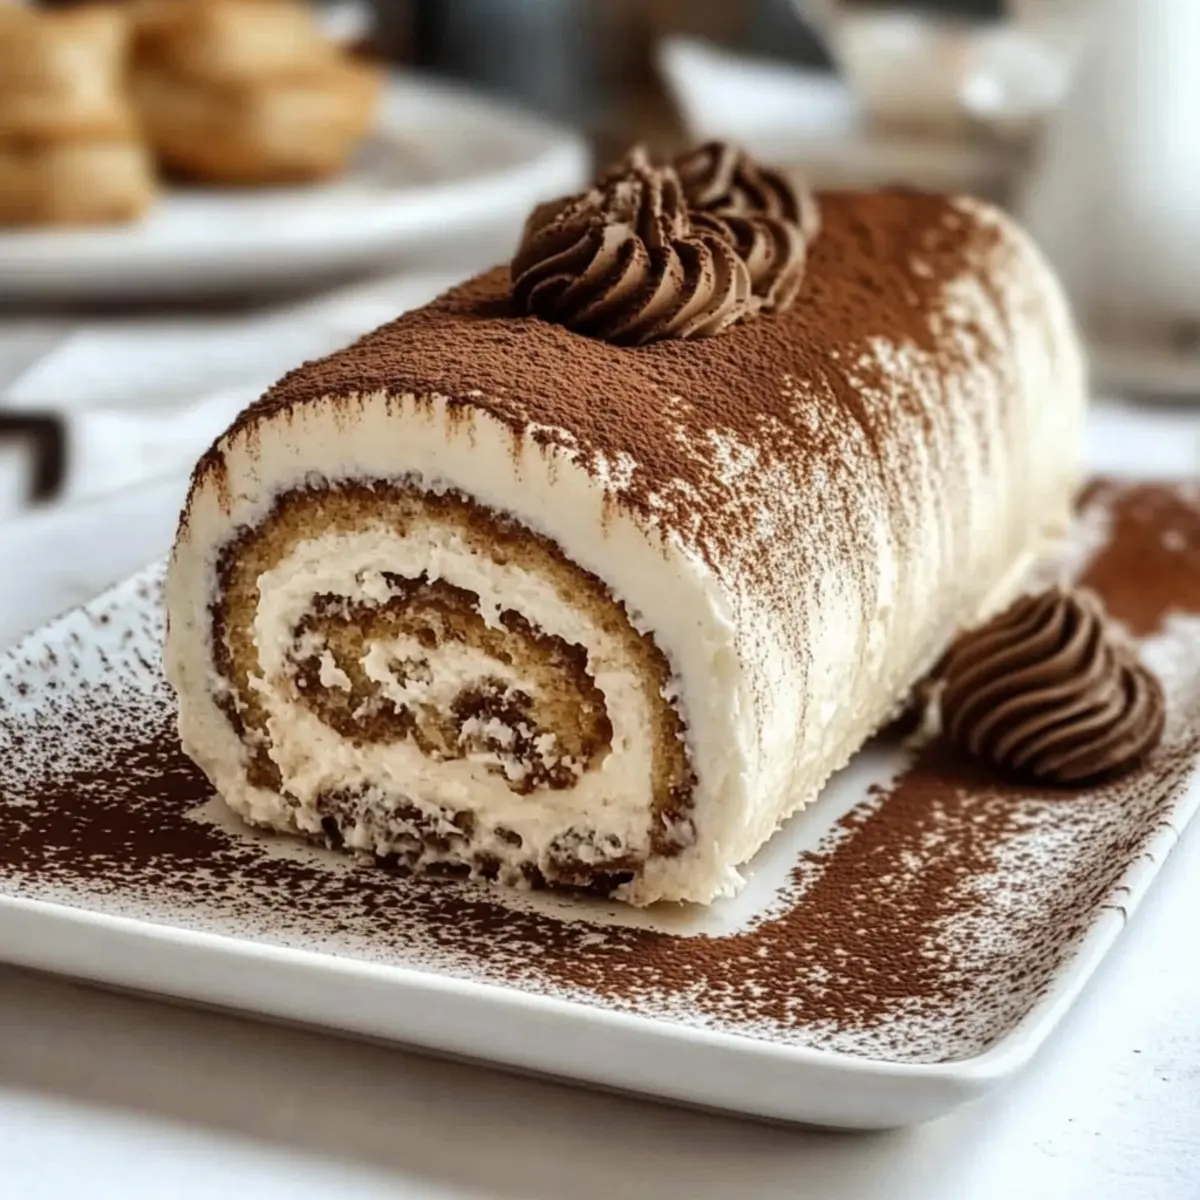
- Unwrap the tiramisu roll and place it on a serving platter. Dust the top generously with cocoa powder and optionally sprinkle with white chocolate shavings. Slice into rounds to serve.
Leave a Reply