
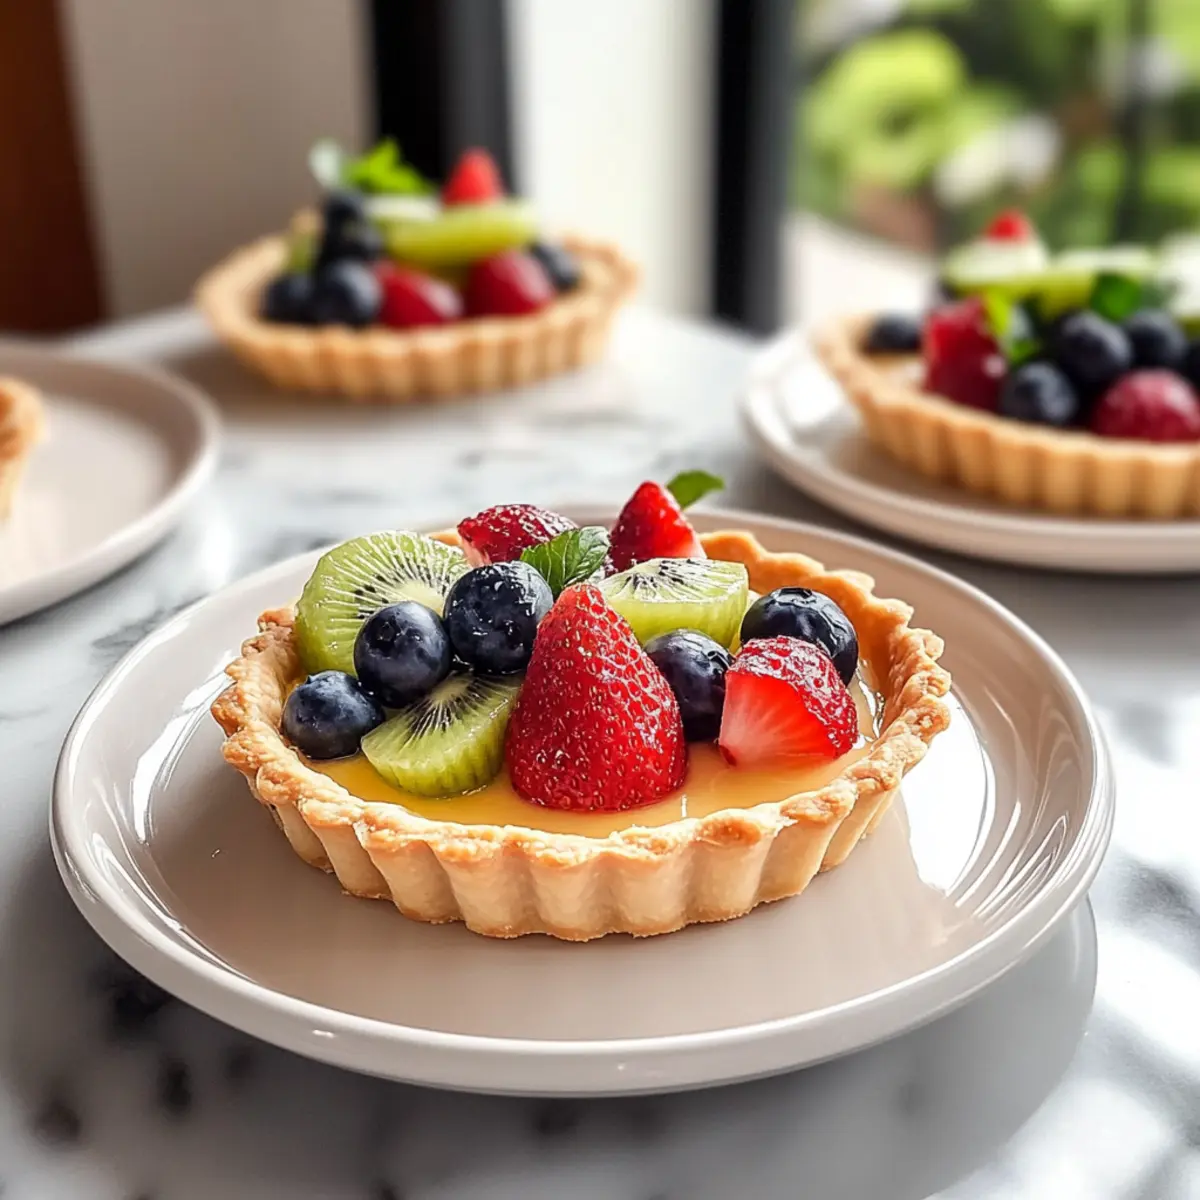
The aroma of freshly baked pastries wafts through my kitchen, a prelude to the delicious creation about to unfold. Today, I’m diving into the elegant world of Classic Fruit Tarts, where every slice reveals a delightful symphony of flavors. These tarts combine a buttery, flaky crust with a rich custard base, topped with an array of seasonal fruits that celebrate nature’s bounty. Not only are they visually stunning, but they also offer the convenience of being prepared in advance, making them a perfect addition to any gathering. Plus, with their vegetarian-friendly profile and customizable toppings, you can adapt them to suit every palate. Ready to impress your friends and family with this show-stopping dessert? Let me guide you through the process of crafting these irresistible treats!
Why are Classic Fruit Tarts a must-try?
Deliciously Versatile: Customize your tarts with seasonal fruits, ensuring freshness and variety with every bite.
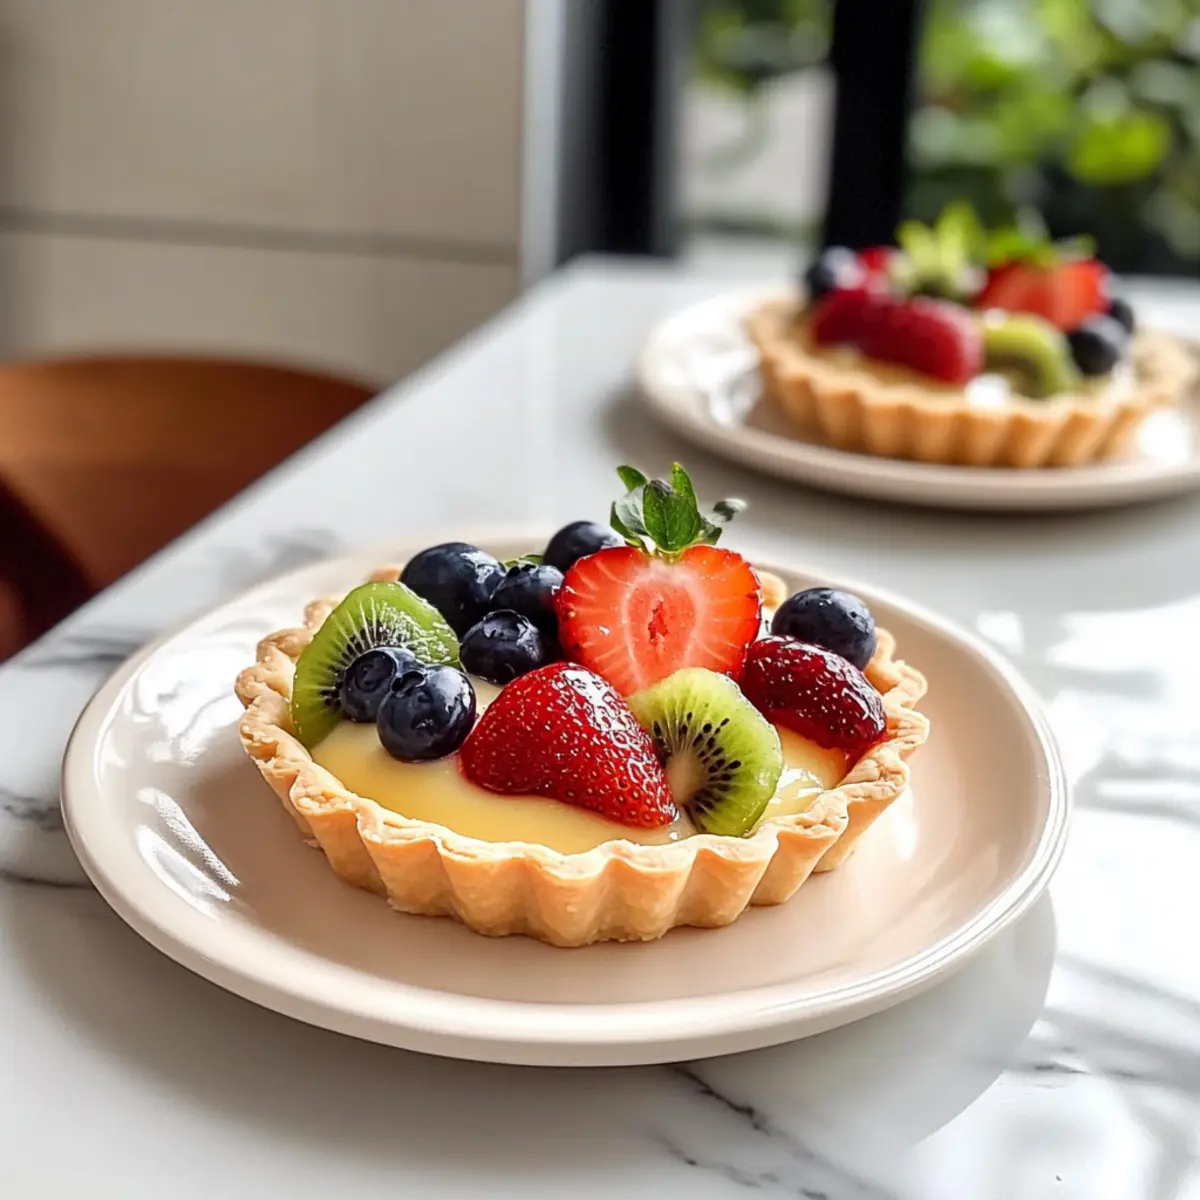
Showstopper Presentation: The vibrant colors and textures create a visually stunning dessert that impresses at any gathering.
Make-Ahead Friendly: Prep the crust and custard in advance for a stress-free entertaining experience.
Vegetarian and Customizable: This recipe caters to everyone, with options for gluten-free and dairy-free variations.
Crowd-Pleasing Delight: Universally loved, these tarts are perfect for all occasions, from casual get-togethers to elegant dinners. Explore more ways to impress your guests with additional recipes like these Elegant Mushroom Tarts!
Classic Fruit Tarts Ingredients
Discover the essential components for making delectable Classic Fruit Tarts!
For the Crust
- All-purpose flour – Provides structure to the crust; substitute with a gluten-free blend if desired.
- Powdered sugar – Adds sweetness and aids in texture; no substitutes are necessary unless looking for lower sugar content.
- Cold unsalted butter – Key for a flaky texture; keep it cold, or use vegan butter for a dairy-free option.
- Egg yolk – Enriches and binds the crust; can be swapped with a flax egg for vegan tarts.
- Pinch of salt – Enhances the overall flavor; essential and has no substitute needed.
For the Custard
- Whole milk – Vital for the creamy custard layer; use almond milk for a non-dairy version.
- Large egg yolks – Thicken the custard; must be included for proper consistency.
- Granulated sugar – Sweetens the custard delightfully; maple syrup can create a unique flavor twist.
- Vanilla bean paste – Infuses the custard with rich flavor; vanilla extract works as a suitable alternative.
- Cornstarch – Necessary for thickening the custard; ensure you don’t skip this ingredient.
For the Topping
- Mixed berries (strawberries, blueberries, raspberries) – Adds vibrant freshness; substitute with other seasonal fruits like peaches if desired.
- Kiwi, sliced – Provides a tropical flair and beautiful color; can swap with nectarines when in season.
- Honey – Serves as a glaze and natural sweetener for the fruit; maple syrup can be used for a vegan-friendly option.
- Zest of lemon – Brightens the honey glaze; you can also use zests from oranges for a different twist.
With these ingredients, you’re well on your way to delighting friends and family with exquisite Classic Fruit Tarts!
Step‑by‑Step Instructions for Classic Fruit Tarts
Step 1: Prepare the Dough
In a mixing bowl, whisk together the all-purpose flour, powdered sugar, and a pinch of salt. Cut in the cold unsalted butter with your fingers until the mixture resembles coarse crumbs. Stir in the egg yolk until combined, then shape the dough into a disk. Wrap the disk in plastic and chill in the refrigerator for 30 minutes to firm up.
Step 2: Blind-Bake Crusts
Preheat your oven to 350°F (175°C). Roll the chilled dough out on a lightly floured surface, then fit it into mini tart pans. Prick the bases with a fork to prevent puffing and refrigerate for an additional 10 minutes. Bake for 12-15 minutes with pie weights, then remove the weights and return to the oven for 5 more minutes until golden brown.
Step 3: Make Custard
In a saucepan, heat the whole milk over medium heat until it simmers gently. In a mixing bowl, whisk together the egg yolks, granulated sugar, and cornstarch until smooth. Slowly pour the hot milk into the egg mixture to temper, then return it to the saucepan. Cook, stirring constantly, until the custard thickens, about 5-7 minutes. Stir in the vanilla bean paste and let it cool slightly.
Step 4: Assemble Tarts
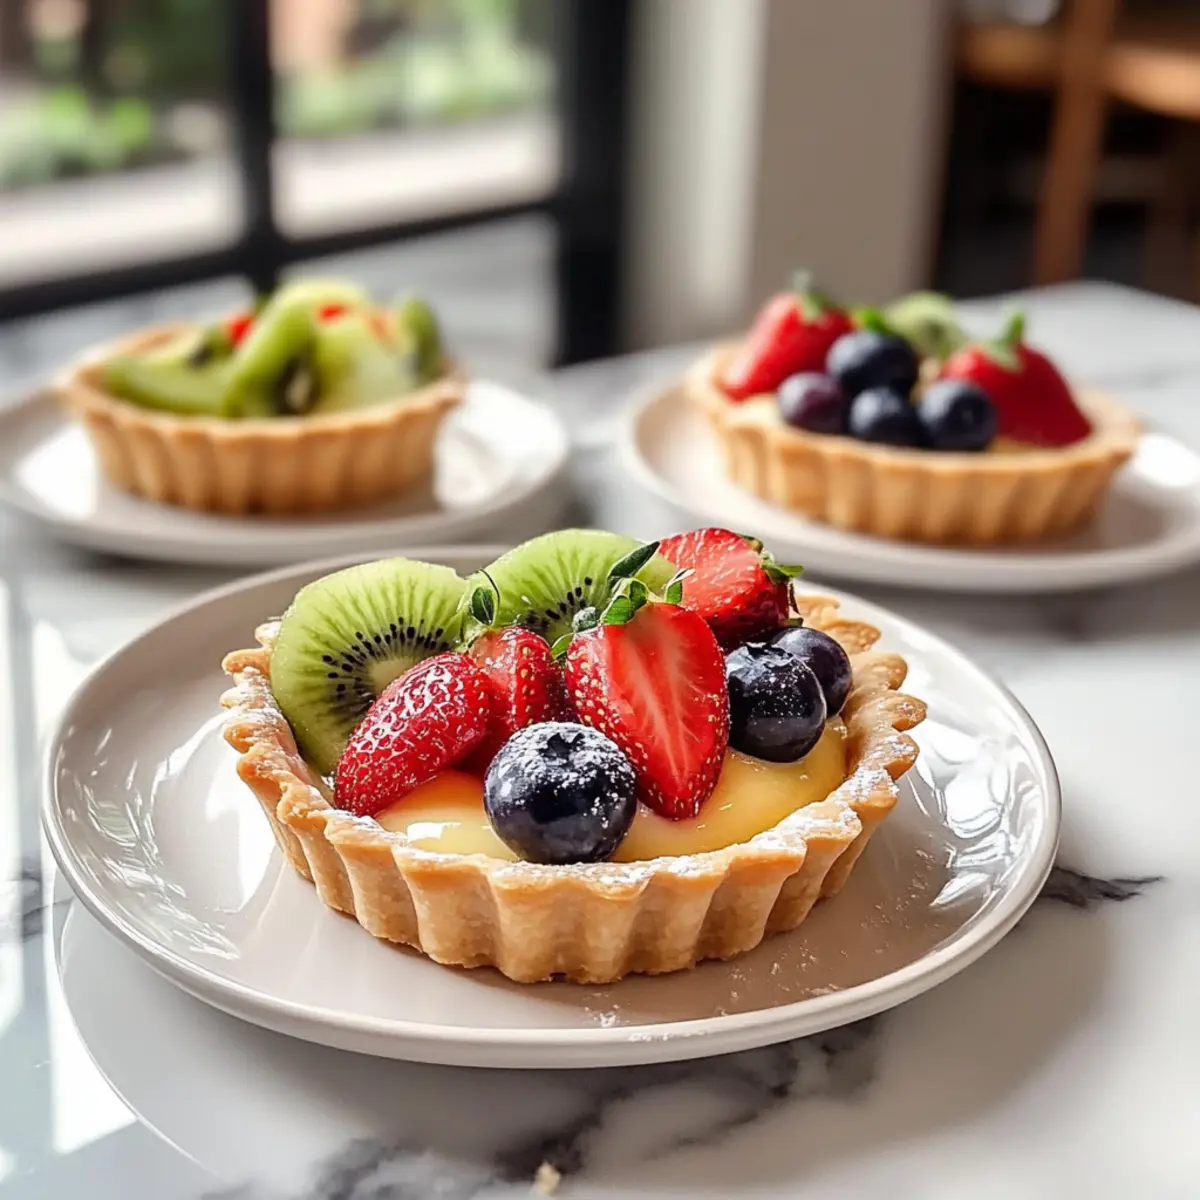
Carefully spoon the cooled custard into the baked tart crusts, spreading it evenly. Next, arrange your choice of vibrant seasonal fruits on top, creating a beautiful display. In a small bowl, mix honey with lemon zest to create a glaze, then drizzle it over the fruit. Allow the tarts to sit for 10 minutes to let the flavors meld.
Step 5: Serve
Serve your Classic Fruit Tarts at room temperature to maintain the crisp texture of the crust and the juiciness of the fruits. Each bite offers a delightful harmony of flavors and textures that celebrate the freshness of seasonal produce. Enjoy sharing this beautiful dessert with friends and family!
Classic Fruit Tarts Variations & Substitutions
Feel free to explore these delightful alternatives to make the Classic Fruit Tarts truly your own!
- Gluten-Free: Use a gluten-free flour blend mixed with xanthan gum for the crust. This ensures everyone can enjoy the treat without compromising flavor!
- Dairy-Free: Swap out cold unsalted butter for vegan butter and use almond or coconut milk for the custard. Perfect for your plant-based friends!
- Flavored Custard: Infuse the custard with a hint of spices like cardamom or cinnamon for a warm twist. A cozy flavor that opens up new taste dimensions!
- Seasonal Fruits: Choose fruits that are in season, like peaches or nectarines in summer, to keep your tarts fresh and exciting. Celebrate the bounty of each season!
- Tropical Delight: Replace berries with diced mango and top with toasted coconut. A taste of paradise in every bite will transport you to sunny shores!
- Honey Glaze Swap: If looking for a vegan option, replace honey with agave syrup in the glaze. Sweet and lovely, it complements the fruity toppings.
- Berry Variety: Experiment with figs or passion fruit alongside your mixed berries for a unique and delightful textural contrast. Each bite becomes an adventure!
- Chocolate Drizzle: For chocolate lovers, a light drizzle of melted dark chocolate over the fruit adds a luxurious touch. It’s a delightful surprise that complements the sweetness beautifully!
For more delicious creations, check out our Elegant Mushroom Tarts and see how to impress your guests with a range of flavors!
Tips for the Best Classic Fruit Tarts
- Chill the Ingredients: Keep your butter and egg yolks cold to ensure a flaky crust; this prevents the butter from melting before baking, enhancing texture.
- Avoid Over-Mixing: Be gentle when combining the dough; over-mixing can lead to a tough crust. Mix just until everything is combined for ideal tenderness.
- Blind-Bake Properly: Use pie weights during blind-baking to hold the crust down; this prevents puffing and ensures a flaky, golden bottom to your Classic Fruit Tarts.
- Cool Custard Before Topping: Let the custard cool properly before adding the fruit; this keeps the crust crisp and prevents sogginess from hot custard.
- Select Seasonal Fruits: Embrace the joy of seasonal fruits for topping; they not only taste better but elevate the visual appeal of your tarts.
- Glaze with Care: When glazing the fruits with honey, use a light hand. A gentle brush ensures they remain fresh and vibrant without becoming soggy.
Make Ahead Options
These Classic Fruit Tarts are perfect for meal prep, allowing you to impress your guests with minimal last-minute work! You can prepare the tart crusts and custard filling up to 3 days in advance. Simply blind-bake the crusts and store them in an airtight container at room temperature. The custard can be made and refrigerated for up to 24 hours, so it remains creamy without getting watery. When ready to serve, fill the cooled crusts with custard, arrange your seasonal fruits, then drizzle with honey mixed with lemon zest. This way, your tarts will be just as delightful without compromising quality, turning busy weeknights into memorable gatherings!
How to Store and Freeze Classic Fruit Tarts
Fridge: Store baked tarts in an airtight container in the fridge for up to 3 days. Keep the fruit toppings separate and assemble just before serving for the best texture.
Freezer: The unfilled, baked crusts can be frozen for up to 1 month. Wrap tightly in plastic wrap and then foil to prevent freezer burn.
Reheating: If the crusts have been frozen, allow them to thaw in the refrigerator overnight. Reheat in a low oven (around 300°F/150°C) for about 10 minutes to revive their crispness before filling with custard and topping with fresh fruits.
Make-Ahead Tips: For a stress-free gathering, prepare the custard and crust ahead of time. Fill the tarts and add fruit just before serving to ensure freshness in your Classic Fruit Tarts.
What to Serve with Classic Fruit Tarts
The delightful flavors of seasonal fruits atop a creamy custard beckon for complementary dishes that elevate your dessert experience.
-
Light Salad: A refreshing arugula salad with goats cheese and a lemon vinaigrette pairs perfectly, offering a crisp contrast to the tarts.
-
Creamy Vanilla Ice Cream: A scoop of rich vanilla ice cream adds a luscious, creamy element that enhances the tart’s fresh flavors.
-
Sparkling Water with Citrus: This bubbly drink refreshes the palate without overshadowing the tarts, making for a balanced meal.
-
Cheese Plate: A selection of brie and aged cheddar creates a delicious contrast, with textures that play beautifully against the tarts.
-
Minty Yogurt Sauce: A cool yogurt sauce with fresh mint leaves serves as a refreshing dip, adding a creamy tang that brightens every bite.
-
Dessert Wine: A chilled Riesling brings the right amount of sweetness, perfectly complementing the bright flavors of your Classic Fruit Tarts.
-
Chocolate Fondue: For a fun twist, serve a small pot of warm chocolate fondue as a dipping option for the fresh fruits on the tarts.
Classic Fruit Tarts Recipe FAQs
How do I choose the best fruits for my tart?
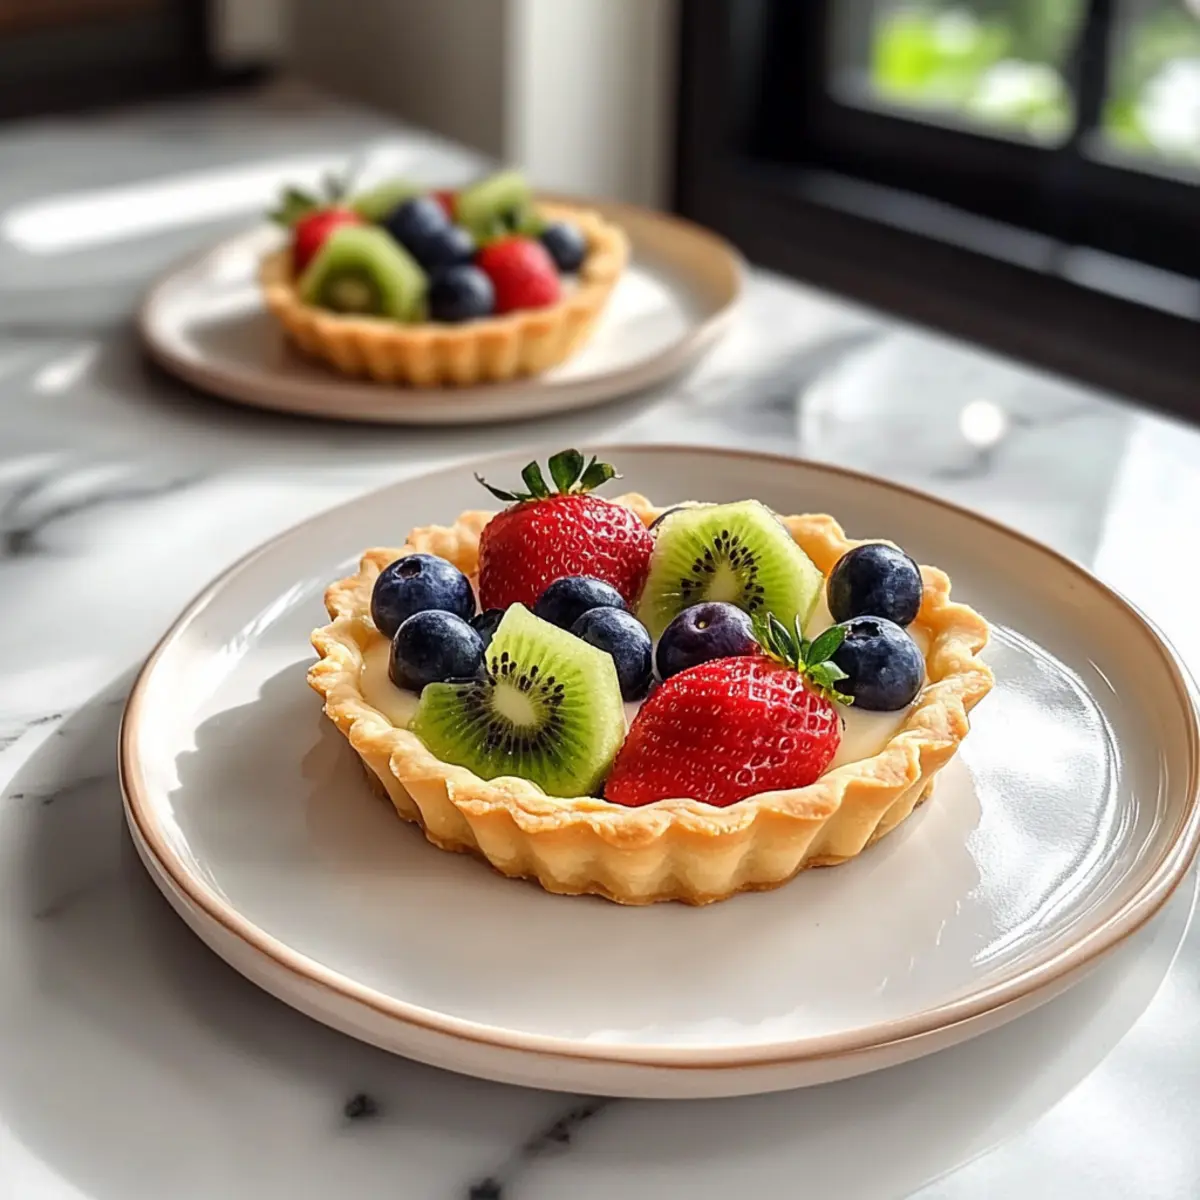
Absolutely! For the perfect Classic Fruit Tarts, opt for fruits that are in season, as they’ll be fresher and more flavorful. Look for berries that are plump and firm, without any dark spots or bruising. Kiwi should be slightly soft to the touch, while peaches and nectarines should yield just a bit when pressed. Mixing different fruits not only enhances flavor but also creates a vibrant visual presentation!
How should I store my Classic Fruit Tarts?
Very! Store the baked tarts in an airtight container in the refrigerator for up to 3 days. To maintain the crispness of the crust, keep the fruit toppings separate and assemble just before serving. If you have leftover filled tarts, enjoy them within this timeframe for the best texture and flavor.
Can I freeze the Classic Fruit Tarts?
Absolutely! You can freeze the unfilled, baked crusts for up to 1 month. Wrap them tightly in plastic wrap, followed by aluminum foil, to prevent freezer burn. When ready to use, let them thaw in the refrigerator overnight, then reheat in a low oven at around 300°F (150°C) for about 10 minutes to revive their crispiness before filling with custard and topping with fresh fruit.
What should I do if my custard doesn’t thicken?
No worries! If your custard doesn’t thicken as expected, it might not have cooked long enough. To troubleshoot, simply return it to the heat and stir continuously until it thickens—this usually takes another 2 to 3 minutes. Ensure you’re monitoring the heat; too high can cause the eggs to scramble instead of thicken. If you’re short on time, a quick solution is to whisk in a little extra cornstarch dissolved in a bit of cold milk and then cook for just a few more minutes until thickened.
Are Classic Fruit Tarts suitable for gluten-Free diets?
Yes! You can easily make gluten-free Classic Fruit Tarts by substituting all-purpose flour with a gluten-free flour blend mixed with xanthan gum, which helps replicate the texture. Ensure your custard ingredients—like the milk and sugar—are also gluten-free, and check your fruit for any cross-contamination if that’s a concern for dietary restrictions!
Classic Fruit Tarts with Fresh Seasonal Splendor
Ingredients
Equipment
Method
- In a mixing bowl, whisk together the all-purpose flour, powdered sugar, and a pinch of salt. Cut in the cold unsalted butter with your fingers until the mixture resembles coarse crumbs. Stir in the egg yolk until combined, then shape the dough into a disk. Wrap the disk in plastic and chill in the refrigerator for 30 minutes to firm up.
- Preheat your oven to 350°F (175°C). Roll the chilled dough out on a lightly floured surface, then fit it into mini tart pans. Prick the bases with a fork to prevent puffing and refrigerate for an additional 10 minutes. Bake for 12-15 minutes with pie weights, then remove the weights and return to the oven for 5 more minutes until golden brown.
- In a saucepan, heat the whole milk over medium heat until it simmers gently. In a mixing bowl, whisk together the egg yolks, granulated sugar, and cornstarch until smooth. Slowly pour the hot milk into the egg mixture to temper, then return it to the saucepan. Cook, stirring constantly, until the custard thickens, about 5-7 minutes. Stir in the vanilla bean paste and let it cool slightly.
- Carefully spoon the cooled custard into the baked tart crusts, spreading it evenly. Next, arrange your choice of vibrant seasonal fruits on top, creating a beautiful display. In a small bowl, mix honey with lemon zest to create a glaze, then drizzle it over the fruit. Allow the tarts to sit for 10 minutes to let the flavors meld.
- Serve your Classic Fruit Tarts at room temperature to maintain the crisp texture of the crust and the juiciness of the fruits. Enjoy sharing this beautiful dessert with friends and family!
Leave a Reply