
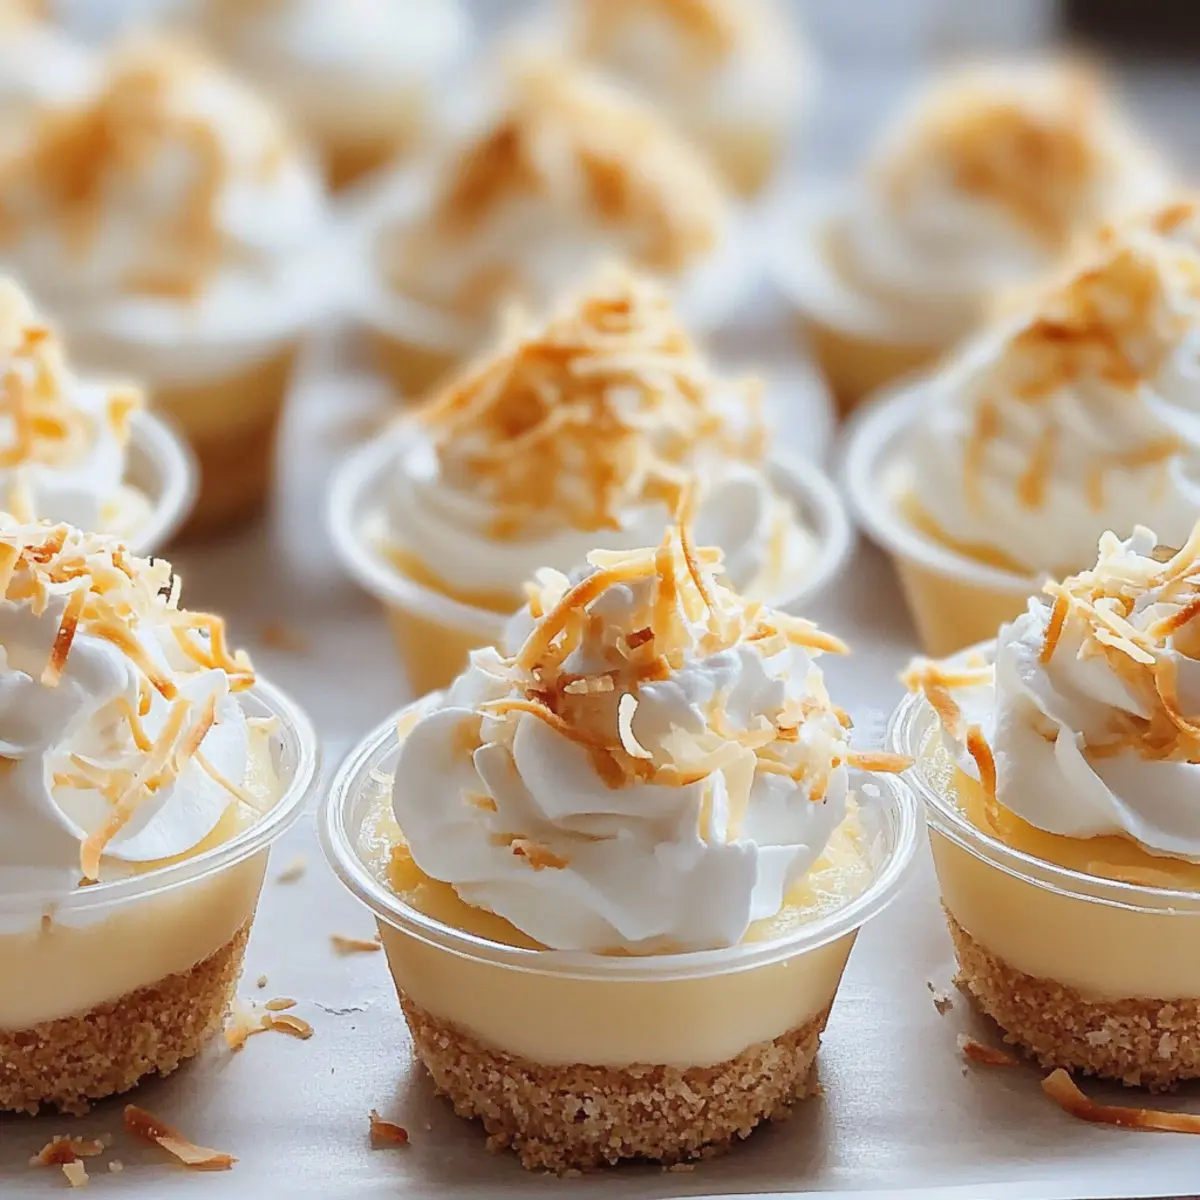
As the warm sun sets on a lazy summer afternoon, I find myself craving a treat that feels both indulgent and light, much like a gentle ocean breeze. That’s when these Dreamy Coconut Cream Pie Dessert Cups come to the rescue! With their no-bake convenience and gluten-free options, they’re perfect for anyone looking to whip up something special without spending hours in the kitchen. Each spoonful is a delightful escape, blending creamy coconut goodness with a satisfying crunch from the crust. Whether you’re hosting friends or just treating yourself, these mini desserts promise to bring a taste of the tropics right to your table. Ready to dive into the world of coconut bliss? Let’s get started!
Why are these dessert cups a must-try?
Easy to Prepare: No baking required! Just mix, assemble, and chill for a delicious, stress-free dessert.
Flavor Packed: Tropical coconut goodness shines through in every bite, making your taste buds sing with delight.
Customizable Options: Endless variations allow you to personalize each cup – try the Tropical Banana Bliss or a rich Chocolate Coconut Dream!
Perfect for Any Occasion: Impressive yet simple, these cups are ideal for summer gatherings or a casual afternoon treat.
Diet-Friendly Choices: Gluten-free and dairy-free alternatives give everyone a chance to indulge without worry.
With all these reasons, you’ll want to serve these Dreamy Coconut Cream Pie Dessert Cups at your next gathering or simply enjoy them solo!
Dreamy Coconut Cream Pie Dessert Cups Ingredients
• For the Crust
- Vanilla Wafer Crumbs – Provides a sweet and crunchy base; you can swap these for gluten-free cookie crumbs if needed.
- Unsalted Butter – Adds richness and binds the crust together; vegan butter works well for a dairy-free version.
• For the Cream Filling
- Instant Vanilla Pudding Mix – Creates a smooth, creamy filling; try coconut pudding mix for an even more intense coconut flavor.
- Coconut Pudding Mix – Enhances the delicious coconut flavor; if you can’t find it, vanilla pudding works perfectly.
- Whole Milk – Activates the pudding mix for rich consistency; coconut milk adds a fun, tropical twist.
- Coconut Extract – Intensifies the coconut flavor profile; you can leave this out if you’re sensitive to coconut.
- Heavy Cream – Introduces a luxurious texture to the filling and whipped topping; substitute with coconut cream for a dairy-free alternative.
- Powdered Sugar – Sweetens and stabilizes the whipped cream, ensuring the best flavor and texture.
- Vanilla Extract – Provides a warm note to the whipped cream; no substitutions recommended here.
• For the Topping
- Toasted Shredded Coconut – Adds a delightful crunch and flavor; be sure to toast evenly to avoid burning.
With these ingredients at hand, you’ll be on your way to creating the most delightful Dreamy Coconut Cream Pie Dessert Cups!
Step‑by‑Step Instructions for Dreamy Coconut Cream Pie Dessert Cups
Step 1: Prepare the Crust
Start by crushing the vanilla wafers into fine crumbs using a food processor or a ziplock bag and rolling pin. Melt the unsalted butter in a microwave-safe bowl, then combine it with the cookie crumbs. Press this mixture firmly into the bottom of small dessert cups to form a sturdy crust. Set these aside while you prepare the filling.
Step 2: Make the Filling
In a mixing bowl, whisk together the instant vanilla pudding mix and coconut pudding mix. Slowly pour in the whole milk, stirring until the mixture thickens, which should take about 2 minutes. Add the coconut extract for a tropical touch, and let the filling chill in the refrigerator for about 5 minutes to firm up slightly.
Step 3: Whip the Cream
In a separate bowl, pour in the heavy cream and add the powdered sugar and vanilla extract. Using an electric mixer, whip the cream on medium speed until soft peaks form, which should take about 3 to 4 minutes. Gently fold this whipped cream into the chilled pudding mixture until fully combined, creating a smooth and fluffy coconut filling.
Step 4: Toast the Coconut
Preheat your oven to 350°F (175°C). Spread the shredded coconut evenly on a baking sheet. Bake it in the oven for about 5-7 minutes, stirring occasionally, until it turns golden brown and fragrant. Watch closely to avoid burning, as it can turn quickly. Remove from the oven and let it cool on the counter.
Step 5: Assemble Cups
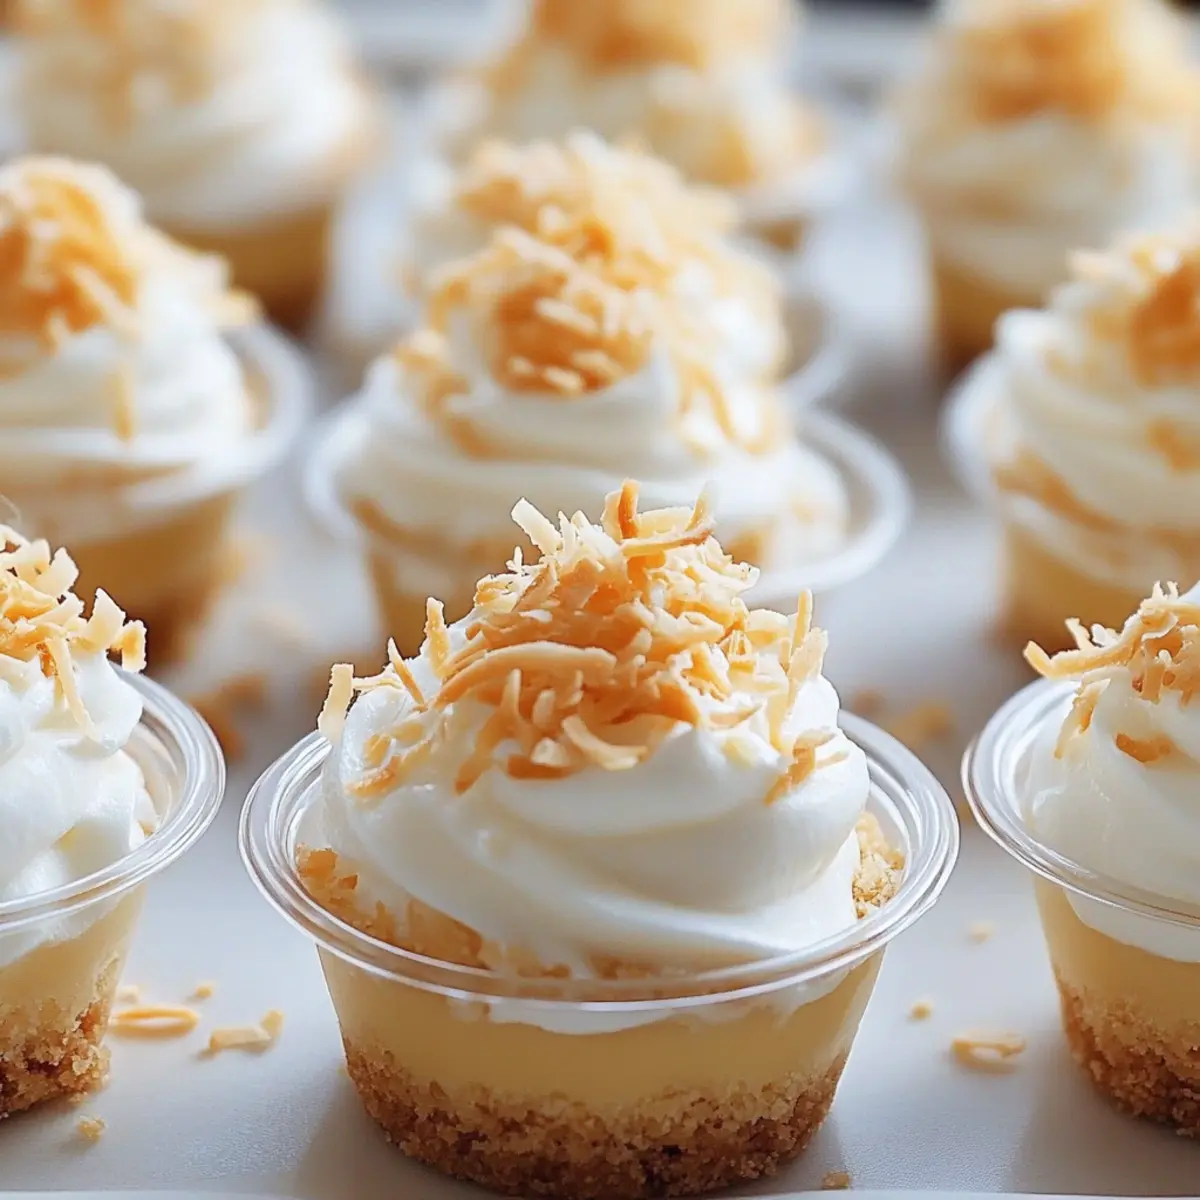
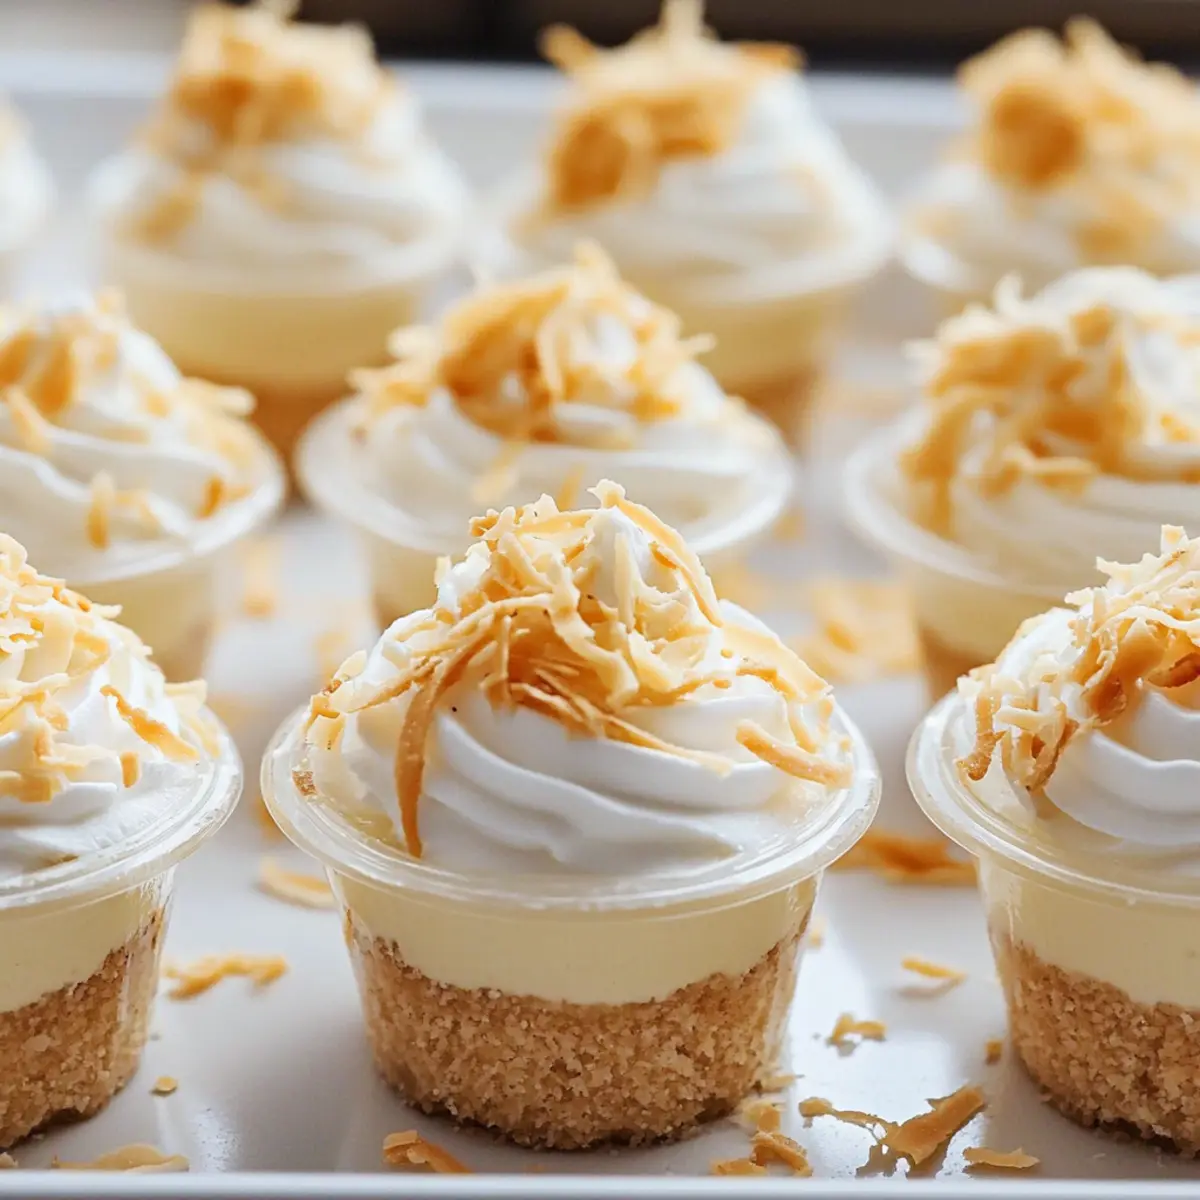
Carefully pipe or spoon the coconut cream filling into the prepared cups, filling them nearly to the top. Next, dollop or pipe additional whipped cream on top of each dessert cup for a luxurious finish. Finally, sprinkle a generous amount of the toasted shredded coconut atop the whipped cream to add a delightful crunch and flavor.
Step 6: Chill & Serve
Refrigerate the assembled Dreamy Coconut Cream Pie Dessert Cups for at least 1 hour, allowing the flavors to meld and the filling to set. Once chilled, they’ll be easier to serve, and you’ll enhance the creamy textures. After chilling, simply bring them out and enjoy your tropical treat!
Expert Tips for Dreamy Coconut Cream Pie Dessert Cups
-
Crust Consistency: Ensure the vanilla wafer crumbs are tightly packed to avoid crumbling when serving. Press firmly into the cups for a sturdy base.
-
Chill Before Mixing: Chill the pudding mixture for about 5 minutes before gently folding in the whipped cream. This step creates a lighter, airier filling.
-
Watch the Toasting: Keep a close eye on the shredded coconut while toasting. Stir it occasionally to promote even browning and avoid burning.
-
Make Ahead: These Dreamy Coconut Cream Pie Dessert Cups can be assembled 2-3 days in advance. Store them covered in the refrigerator for easy entertaining.
-
Experiment with Flavors: Don’t hesitate to try different combinations! Each cup can be customized to suit your tastes – just have fun with the variations!
Dreamy Coconut Cream Pie Dessert Cups Variations
Feel free to customize these delightful dessert cups and add your personal touch for an even more enjoyable treat!
-
Tropical Banana Bliss: Substitute half of the pudding with mashed bananas for a fruity and delightful twist.
-
Chocolate Coconut Dream: Mix in melted dark chocolate into the pudding and dust cocoa powder on top for a decadent finish. Chocolate lovers will rejoice in this sweet combination!
-
Almond Crunch Edition: Incorporate crushed almonds into the crust and sprinkle chopped almonds on top for a nutty texture enhancement.
-
Spiced Coconut Passion: Blend in ground cinnamon and cardamom to the pudding for a cozy, spiced flavor profile, perfect for a comforting dessert.
-
Berry Coconut Fusion: Add a layer of fresh berries like blueberries or strawberries between the crust and filling; the tartness complements the sweetness beautifully.
-
Pineapple Paradise: Stir in chopped pineapple pieces into the filling for a tropical explosion, similar to a classic piña colada!
-
Coconut Lime Zest: Mix in a splash of fresh lime juice and zest for a zesty twist; the bright flavors will elevate your dessert to new heights.
-
Matcha Coconut Delight: Replace a portion of the pudding with matcha powder for a unique green tea flavor that adds a lovely color contrast too!
For a refreshing pairing, serve your dessert cups alongside a delightful cocktail like an Iced Pumpkin Cream or a light fruit salad. Enjoy the endless possibilities and make these dessert cups your own!
How to Store and Freeze Dreamy Coconut Cream Pie Dessert Cups
Fridge: Store the dessert cups in airtight containers for up to 3 days. This ensures they remain fresh and delicious, ready for your tropical indulgence anytime!
Freezer: For longer storage, the cups can be frozen for up to 2 weeks. Just be sure to transfer them to a freezer-safe container to prevent freezer burn.
Thawing: When you’re ready to enjoy again, thaw the Dreamy Coconut Cream Pie Dessert Cups in the refrigerator for a few hours. This way, they maintain their creamy texture.
Reheating: These cups are best served chilled, so no reheating is necessary! Just scoop and enjoy the tropical delight straight from the fridge.
What to Serve with Dreamy Coconut Cream Pie Dessert Cups
Pair these delightful dessert cups with a few complements to elevate your meal experience!
- Crispy Tropical Salad: A bright mix of fresh greens, mango, and avocado topped with a zesty lime vinaigrette to balance the creaminess.
- Grilled Pineapple Skewers: The smoky sweetness of grilled pineapple enhances the tropical theme, adding a warm contrast to the chilled cups.
- Coconut-Lime Rice: Serve a side of fluffy coconut-lime infused rice that reflects the flavors of the dessert, bringing a delightful harmony to the meal.
- Sparkling Tropical Mocktail: A refreshing blend of coconut water, lime juice, and soda water offers a fizzy pairing bursting with tropical flavors.
- Chocolate Dipped Strawberries: These indulgent treats make for a rich yet refreshing contrast that compliments the creamy texture of the dessert cups.
- Fresh Fruit Platter: A colorful assortment of seasonal fruits adds a refreshing touch, creating a vibrant and lighter side to enjoy alongside the dessert.
Make your gathering feel special by complementing the Dreamy Coconut Cream Pie Dessert Cups with these delightful pairings!
Make Ahead Options
These Dreamy Coconut Cream Pie Dessert Cups are perfect for busy home cooks looking to save time without sacrificing flavor! You can prepare the crust and filling up to 2-3 days ahead, ensuring your dessert is ready to assemble before serving. To maintain their quality, store the crust in an airtight container at room temperature, while the filling should be refrigerated in a separate container. When you’re ready to serve, simply fill the prepared cups with the coconut cream mixture, top with whipped cream, and sprinkle with toasted coconut just before enjoying. This way, you’ll present a delightful, fresh dessert with minimal last-minute effort—just as delicious and satisfying!
Dreamy Coconut Cream Pie Dessert Cups Recipe FAQs
How do I choose ripe ingredients for this recipe?
Absolutely! When selecting your ingredients, look for ripe and fresh options. For the shredded coconut, choose unsweetened coconut flakes that are plump and white with no dark spots; this ensures a rich coconut flavor. If you’re opting for bananas in the Tropical Banana Bliss variation, select bananas that are just ripe—spotting on the skin indicates they are perfect for mashing and will add natural sweetness to your cups.
How should I store these dessert cups?
Very! Store your Dreamy Coconut Cream Pie Dessert Cups in airtight containers in the refrigerator for up to 3 days. This keeps them fresh and ready to indulge. Ensure they are well-covered to prevent any absorption of odors from the fridge. If you prepare these in advance for a party, they’ll stay delightful in the fridge, retaining that tropical flavor!
Can I freeze Dreamy Coconut Cream Pie Dessert Cups?
The more the merrier! You can absolutely freeze these dessert cups for up to 2 weeks. To do this, transfer them to freezer-safe containers or wrap each cup tightly in plastic wrap before placing them in a larger container. This will protect them from freezer burn. When you’re ready to serve, simply thaw them in the refrigerator for several hours or overnight before enjoying. This helps maintain their creamy texture.
What should I do if the crust crumbles when serving?
Don’t fret! If your vanilla wafer crust crumbles, it likely hasn’t been pressed down tightly enough. Be sure to pack the crumbs firmly into the bottom of the cups using a spoon or your fingers to create a stable base. If you’re facing a crumbly crust despite this, consider adding a touch more melted butter to help bind the crumbs together.
Are there any allergy considerations I should keep in mind?
Absolutely! If you’re catering to dietary restrictions, note that this recipe can be easily modified. Use gluten-free cookie crumbs for the crust and vegan butter in place of regular butter for a dairy-free option. Always check the labels of premade products like the instant pudding mix, as some brands may contain allergens. It’s best to choose options certified gluten-free or dairy-free if needed, ensuring everyone can enjoy these coconut dessert cups without worry.
Dreamy Coconut Cream Pie Dessert Cups for a Tropical Treat
Ingredients
Equipment
Method
- Start by crushing the vanilla wafers into fine crumbs using a food processor or a ziplock bag and rolling pin. Melt the unsalted butter in a microwave-safe bowl, then combine it with the cookie crumbs. Press this mixture firmly into the bottom of small dessert cups to form a sturdy crust. Set these aside while you prepare the filling.
- In a mixing bowl, whisk together the instant vanilla pudding mix and coconut pudding mix. Slowly pour in the whole milk, stirring until the mixture thickens, which should take about 2 minutes. Add the coconut extract for a tropical touch, and let the filling chill in the refrigerator for about 5 minutes to firm up slightly.
- In a separate bowl, pour in the heavy cream and add the powdered sugar and vanilla extract. Using an electric mixer, whip the cream on medium speed until soft peaks form, which should take about 3 to 4 minutes. Gently fold this whipped cream into the chilled pudding mixture until fully combined, creating a smooth and fluffy coconut filling.
- Preheat your oven to 350°F (175°C). Spread the shredded coconut evenly on a baking sheet. Bake it in the oven for about 5-7 minutes, stirring occasionally, until it turns golden brown and fragrant. Watch closely to avoid burning, as it can turn quickly. Remove from the oven and let it cool on the counter.
- Carefully pipe or spoon the coconut cream filling into the prepared cups, filling them nearly to the top. Next, dollop or pipe additional whipped cream on top of each dessert cup for a luxurious finish. Finally, sprinkle a generous amount of the toasted shredded coconut atop the whipped cream to add a delightful crunch and flavor.
- Refrigerate the assembled Dreamy Coconut Cream Pie Dessert Cups for at least 1 hour, allowing the flavors to meld and the filling to set. Once chilled, they’ll be easier to serve, and you’ll enhance the creamy textures. After chilling, simply bring them out and enjoy your tropical treat!
Leave a Reply